Bubble Braids For Disney
 Bubble Braids For Disney
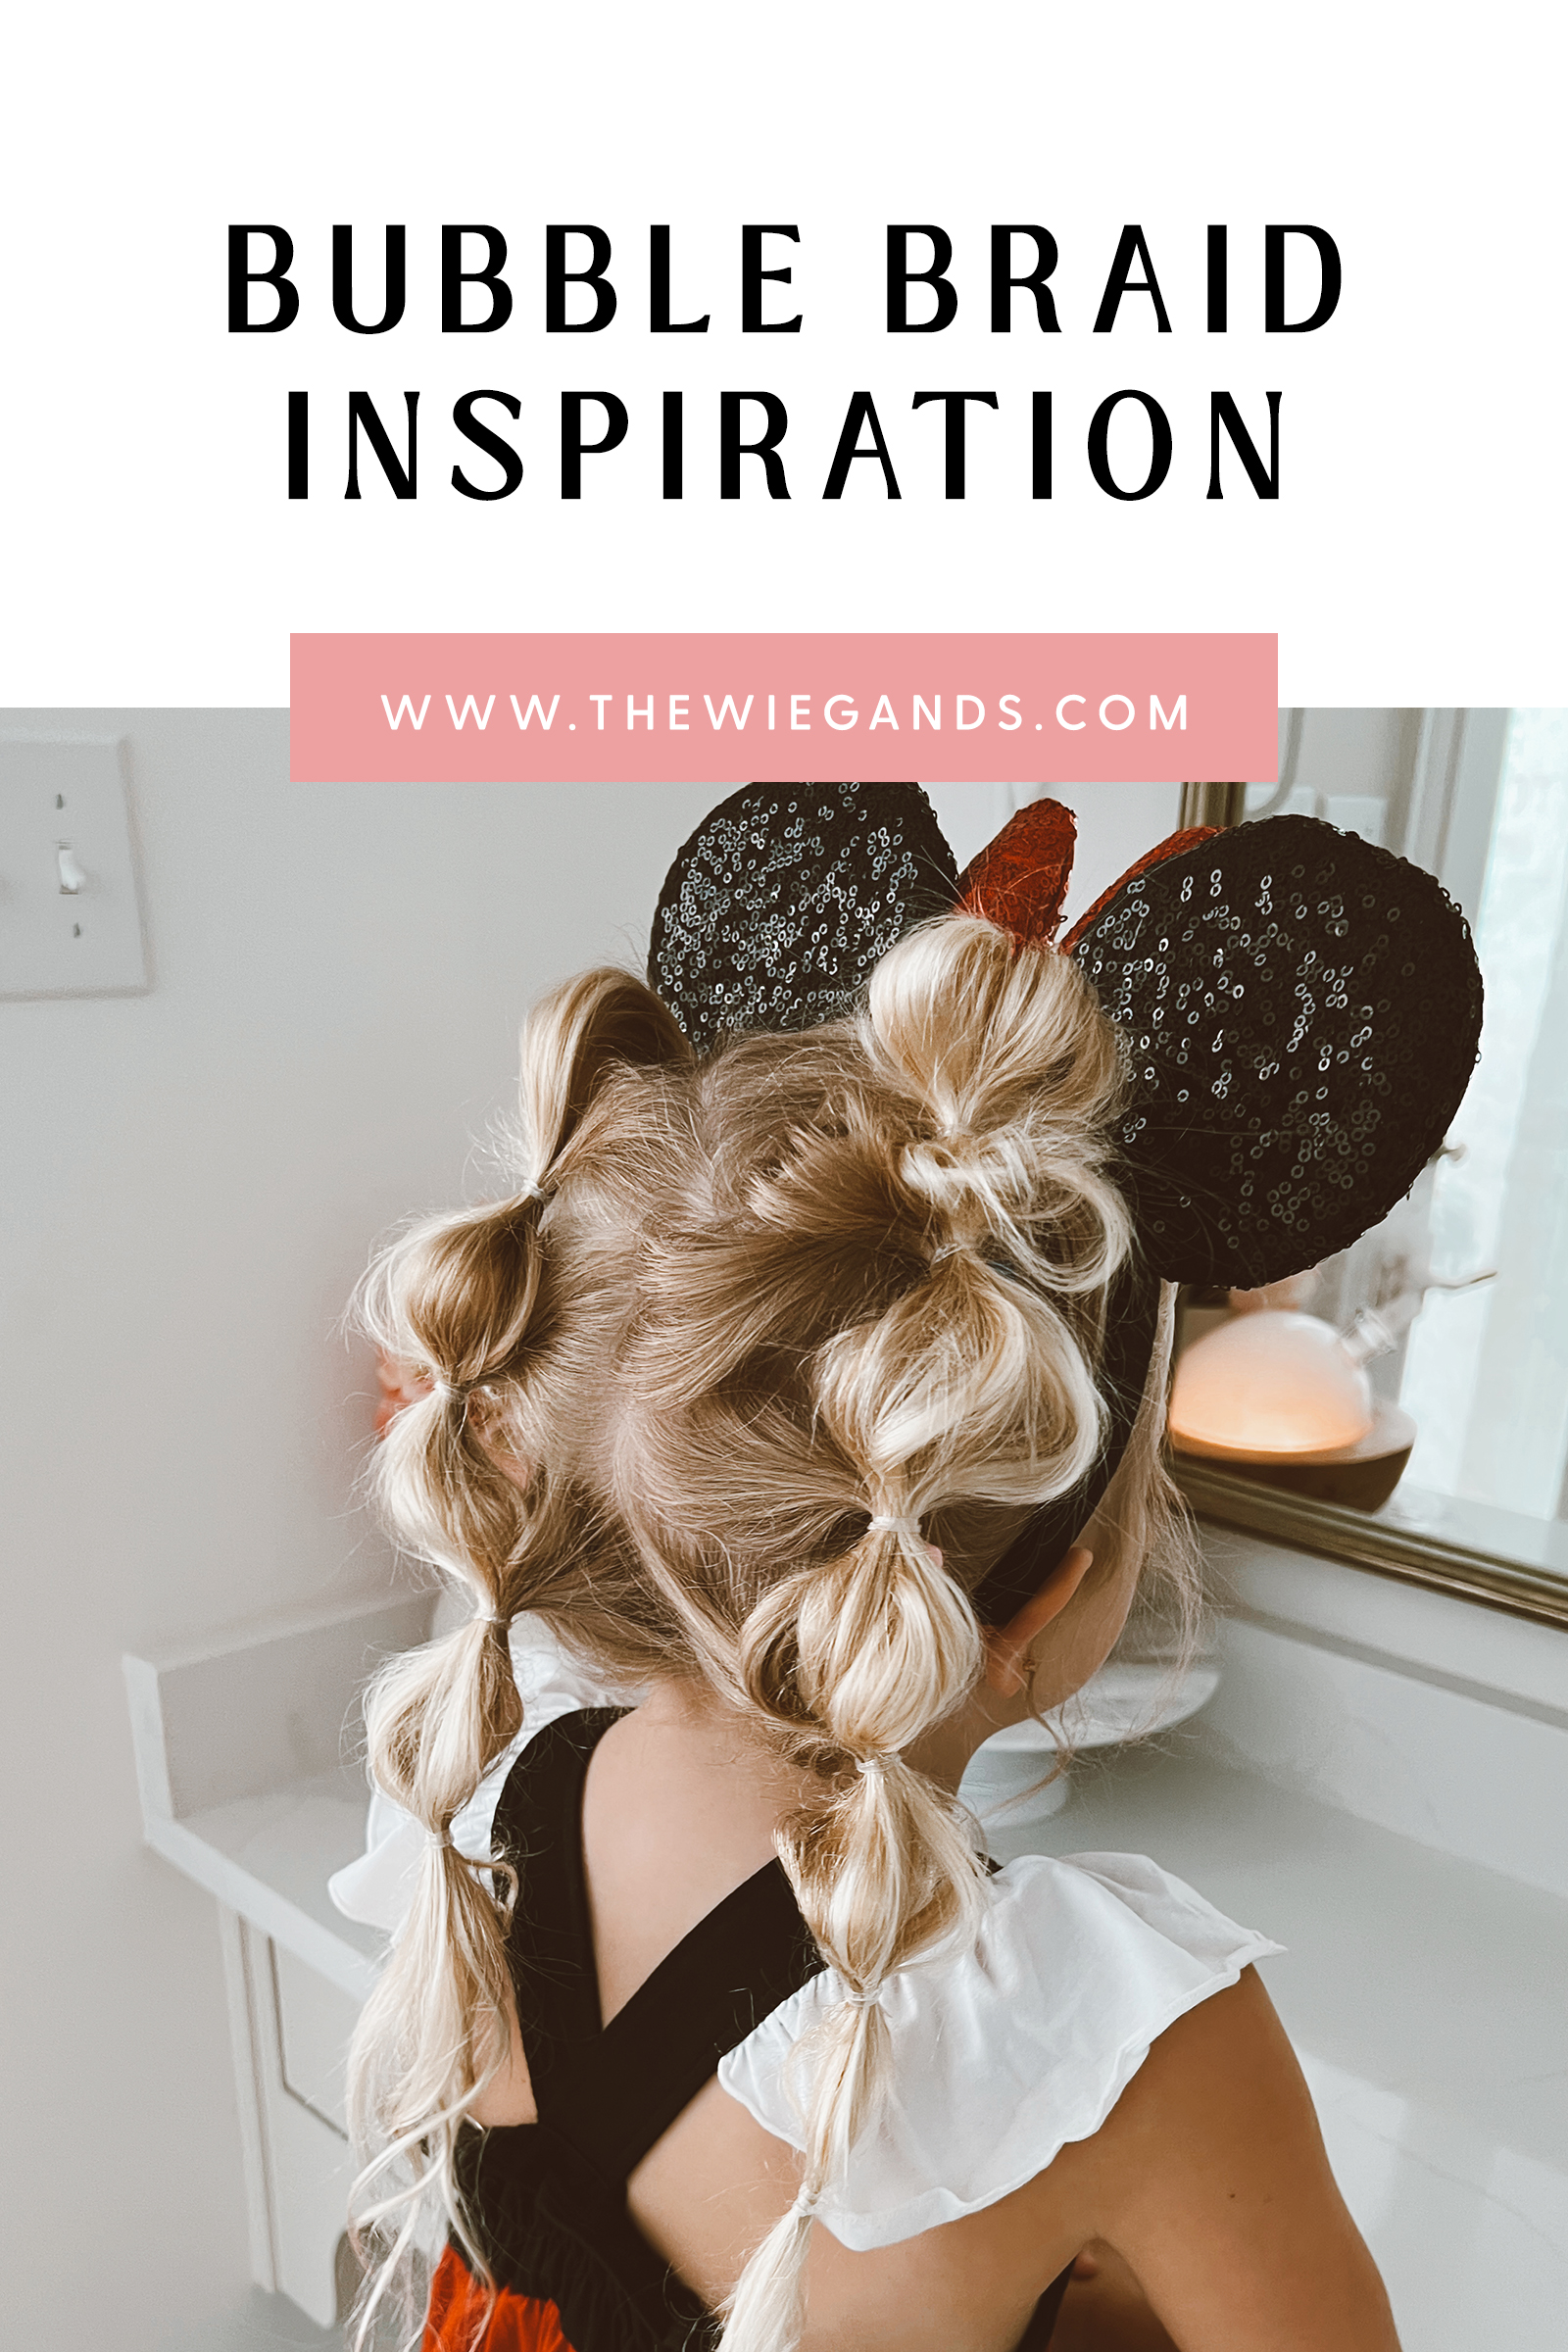
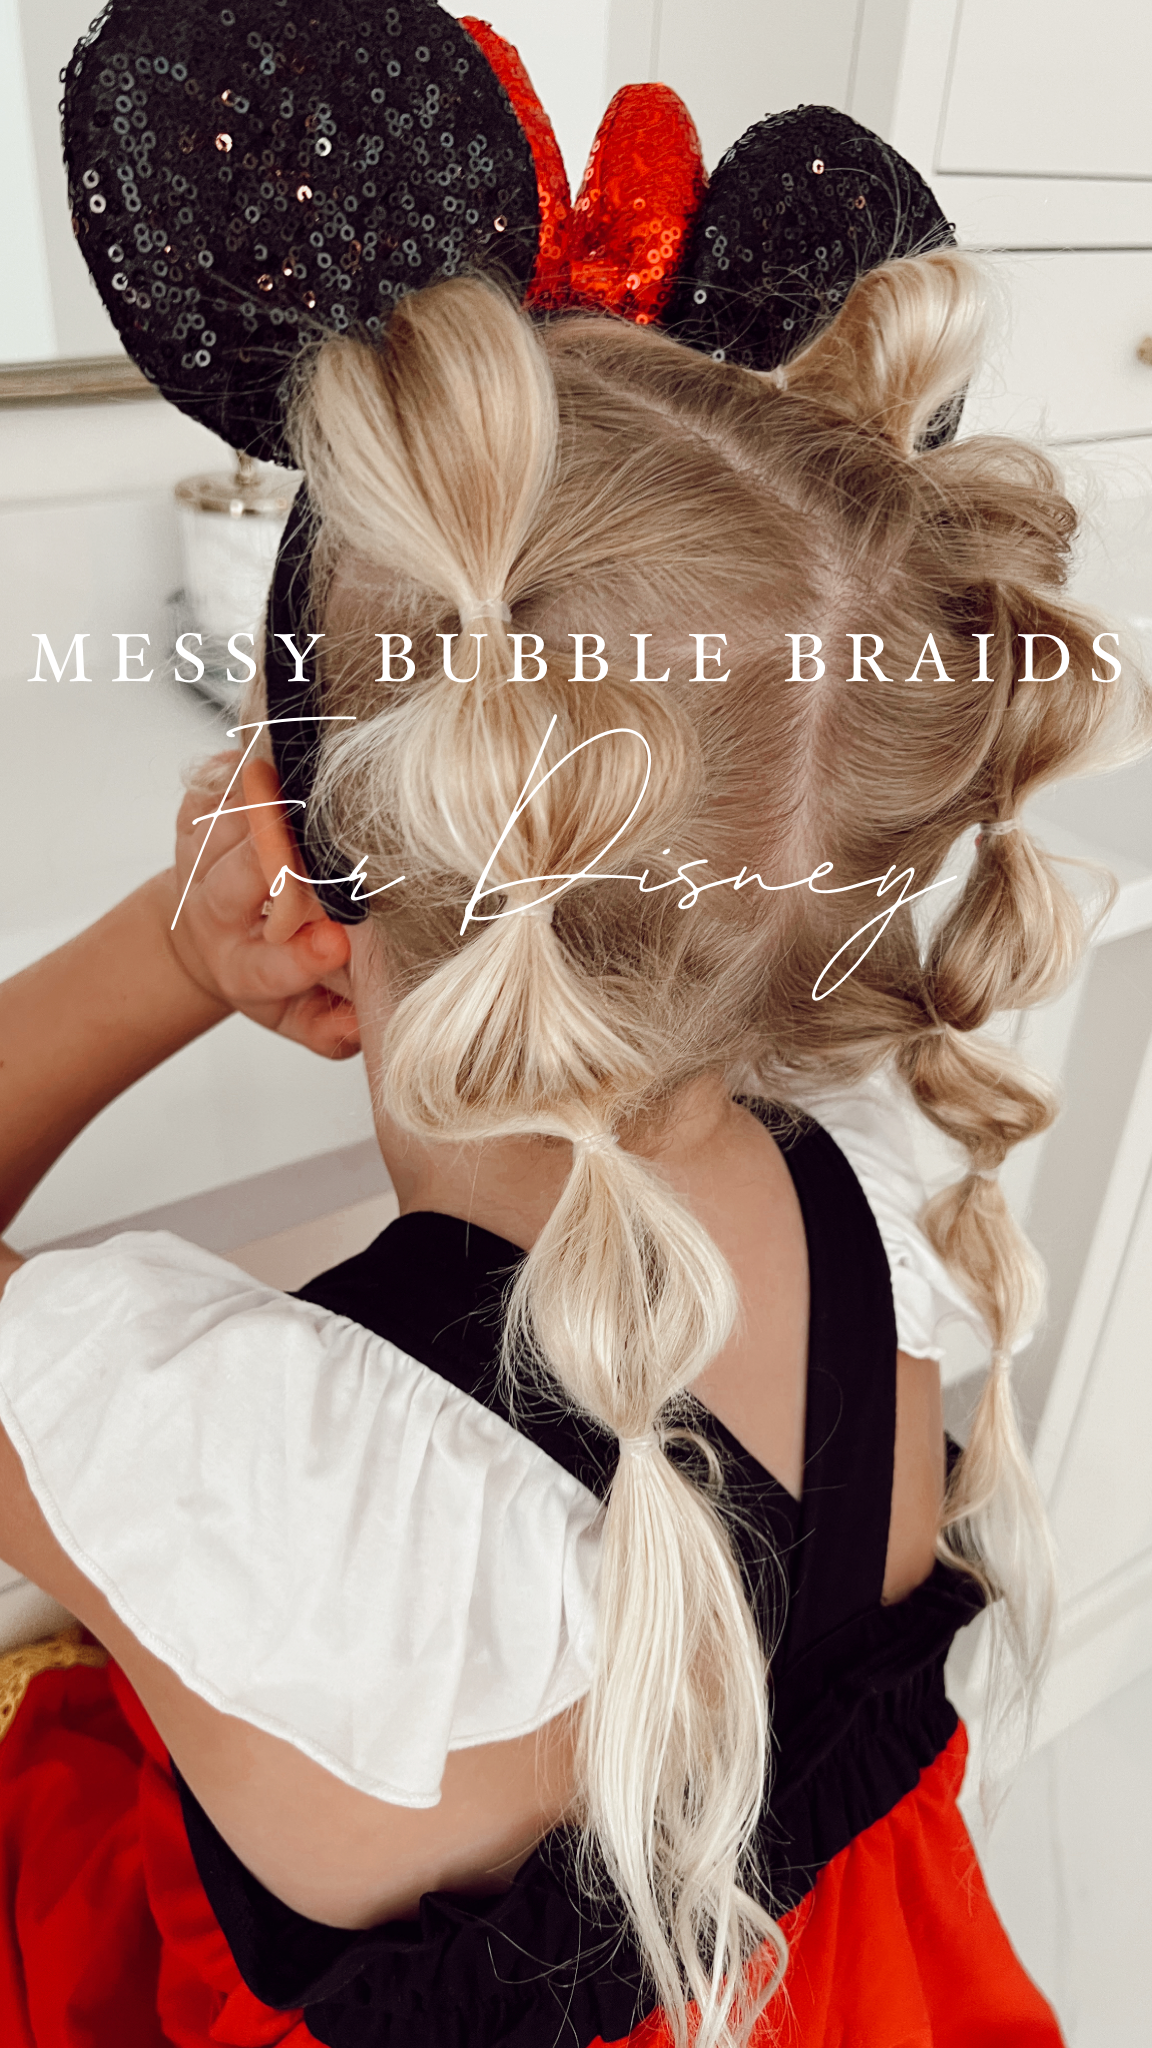
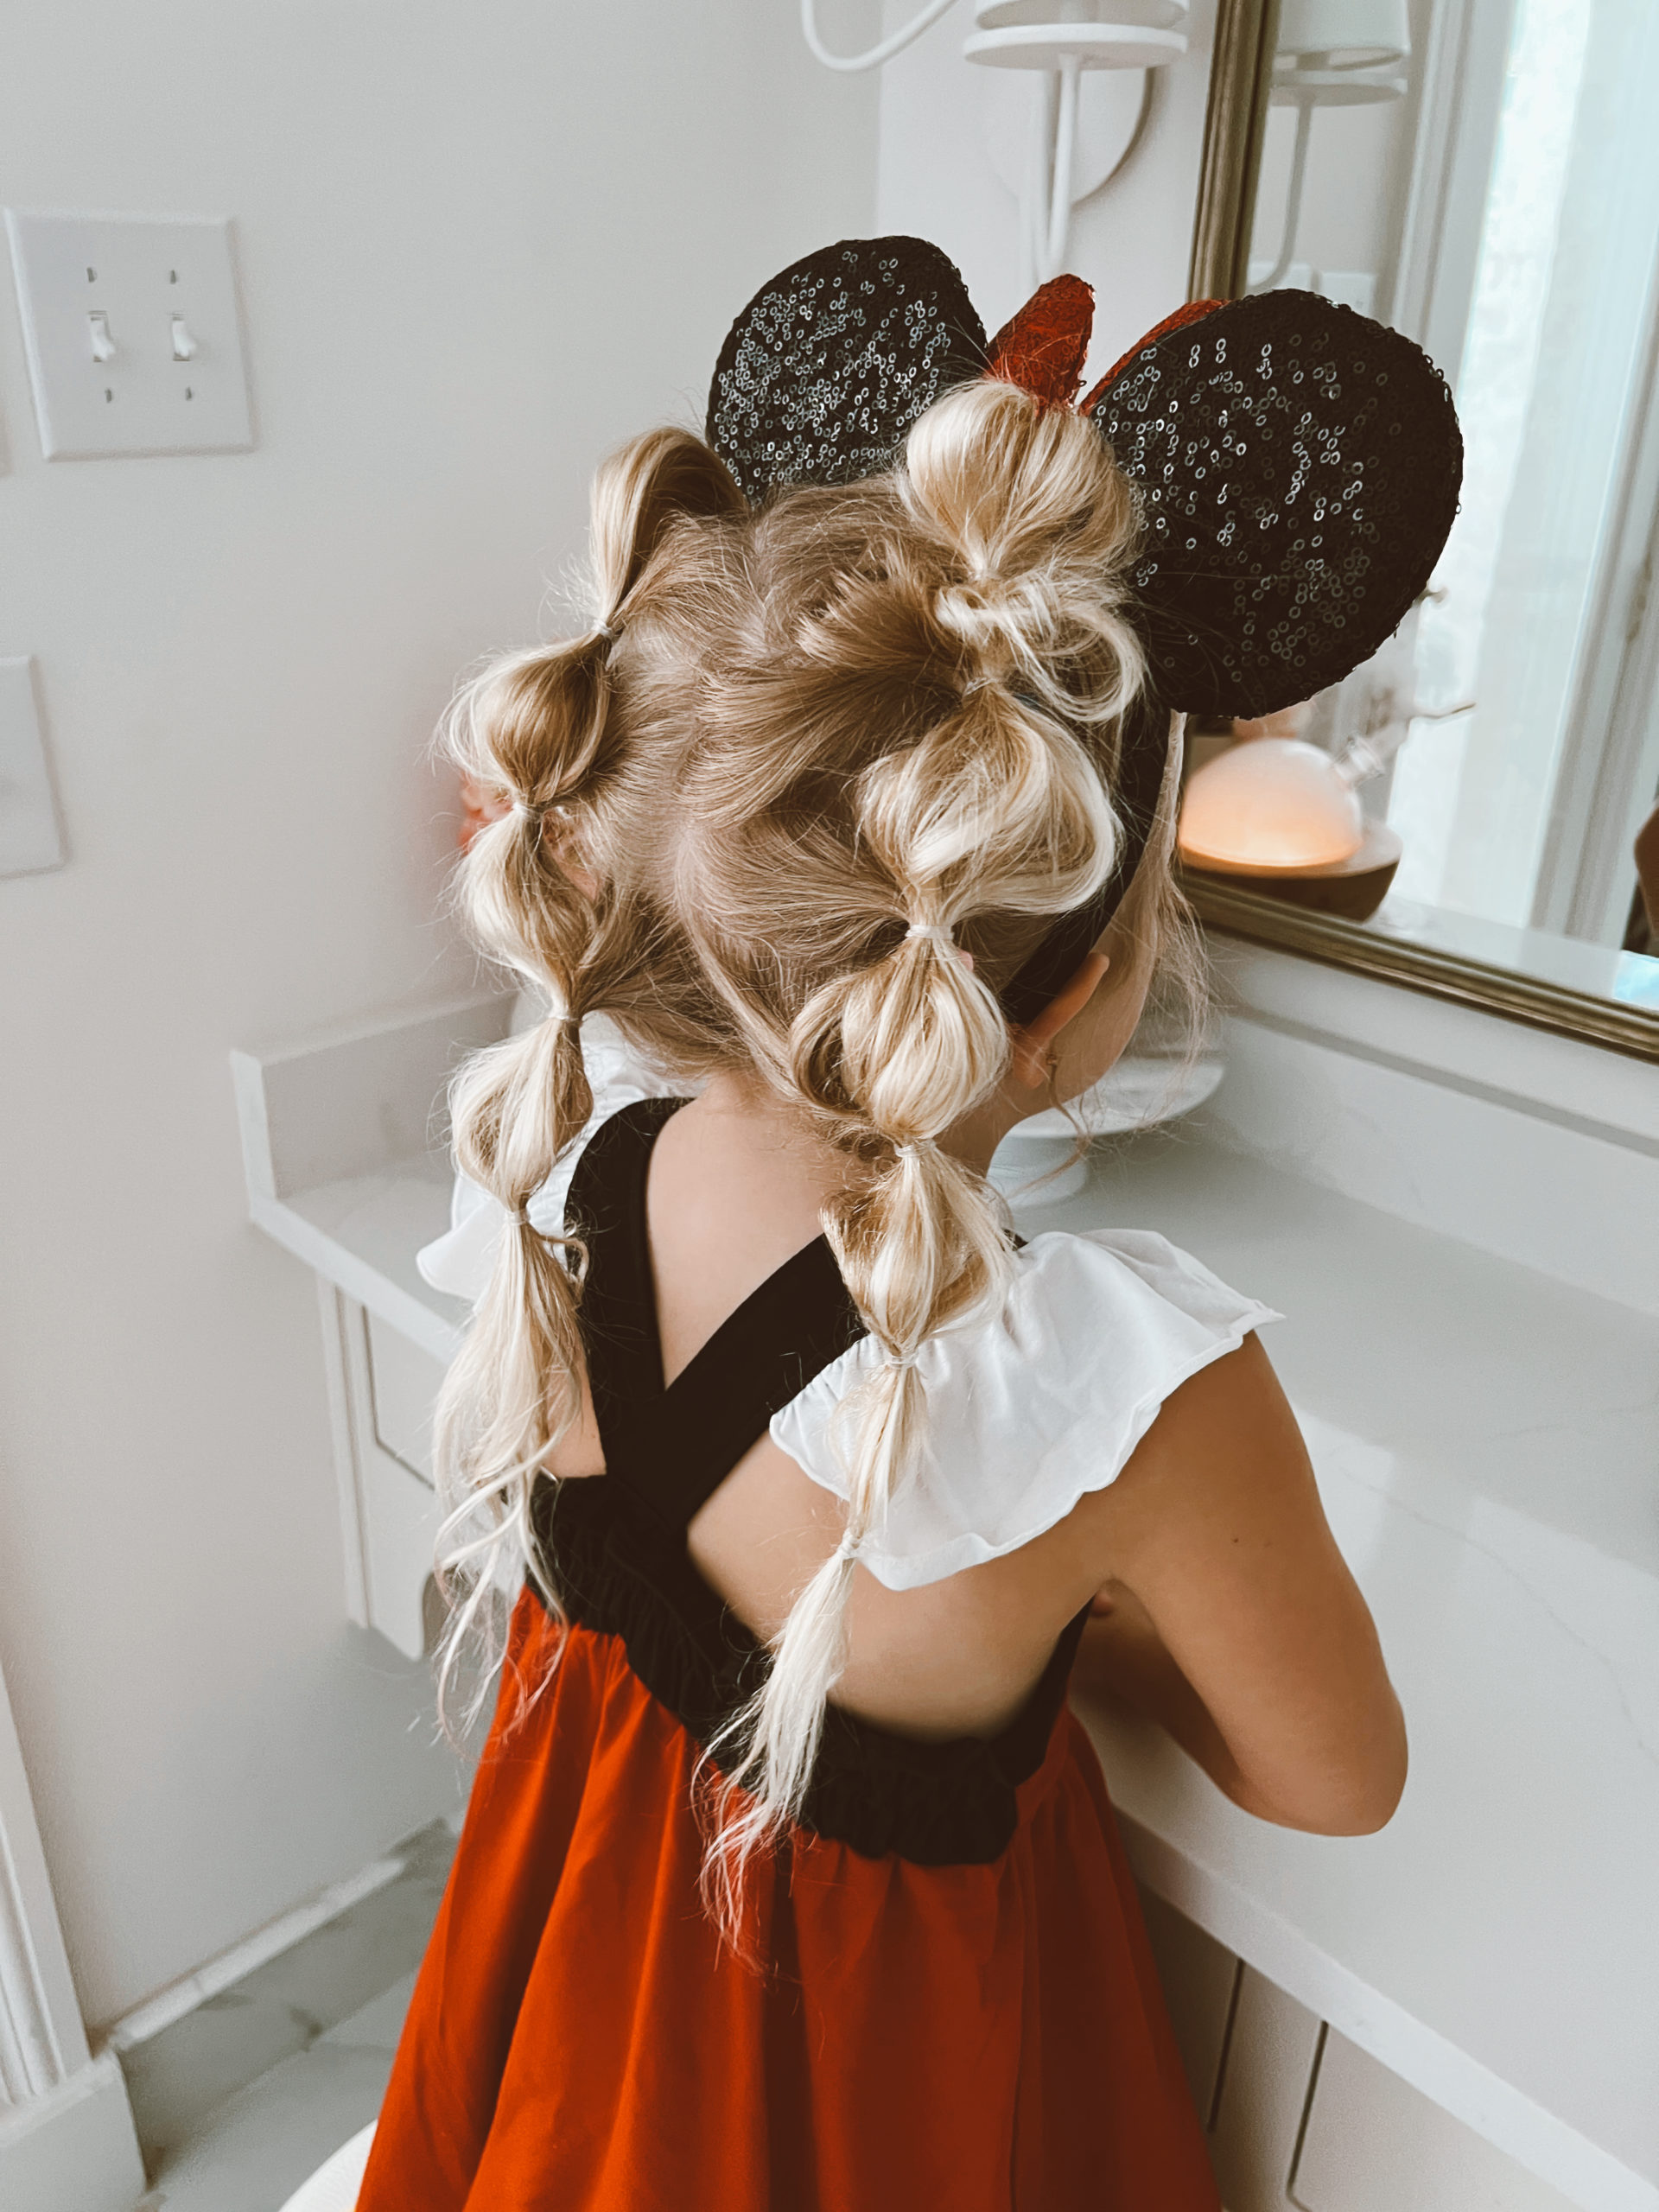
We had such a fun end of summer visit to Disneyland, and I am still reliving all of the highlights! Disney really is a magical place, and visiting with our kiddos made for memories that I know I will always cherish.I really enjoyed helping my girls with their outfits and hair, especially Adelaide — who really got into the fairytale of it all! Depending on the time of year that you visit, it can be quite warm at both Disneyland and Disney World, so I like to think of creative hairstyles that will keep my girls’ hair off of their necks and also out of their faces when riding rides! This bubble braids hairstyles was the perfect mix of playful and practical!
Here’s a step by step on how to make your own bubble braids, perfect for Disney or any occasion this fall! Need supplies? I have you covered!
 Bubble Braids Tutorial
What you’ll need:
+ clip in hair extensions if you want to add volume and length +
(you can create still bubble braids on short hair without)
How to:
+ Start with making a center part down the length of the hair to the nape of the neck. +
+ Section off both sides and clip back the side you aren’t using yet. +
+ Section the top part of one side and secure with an elastic. +
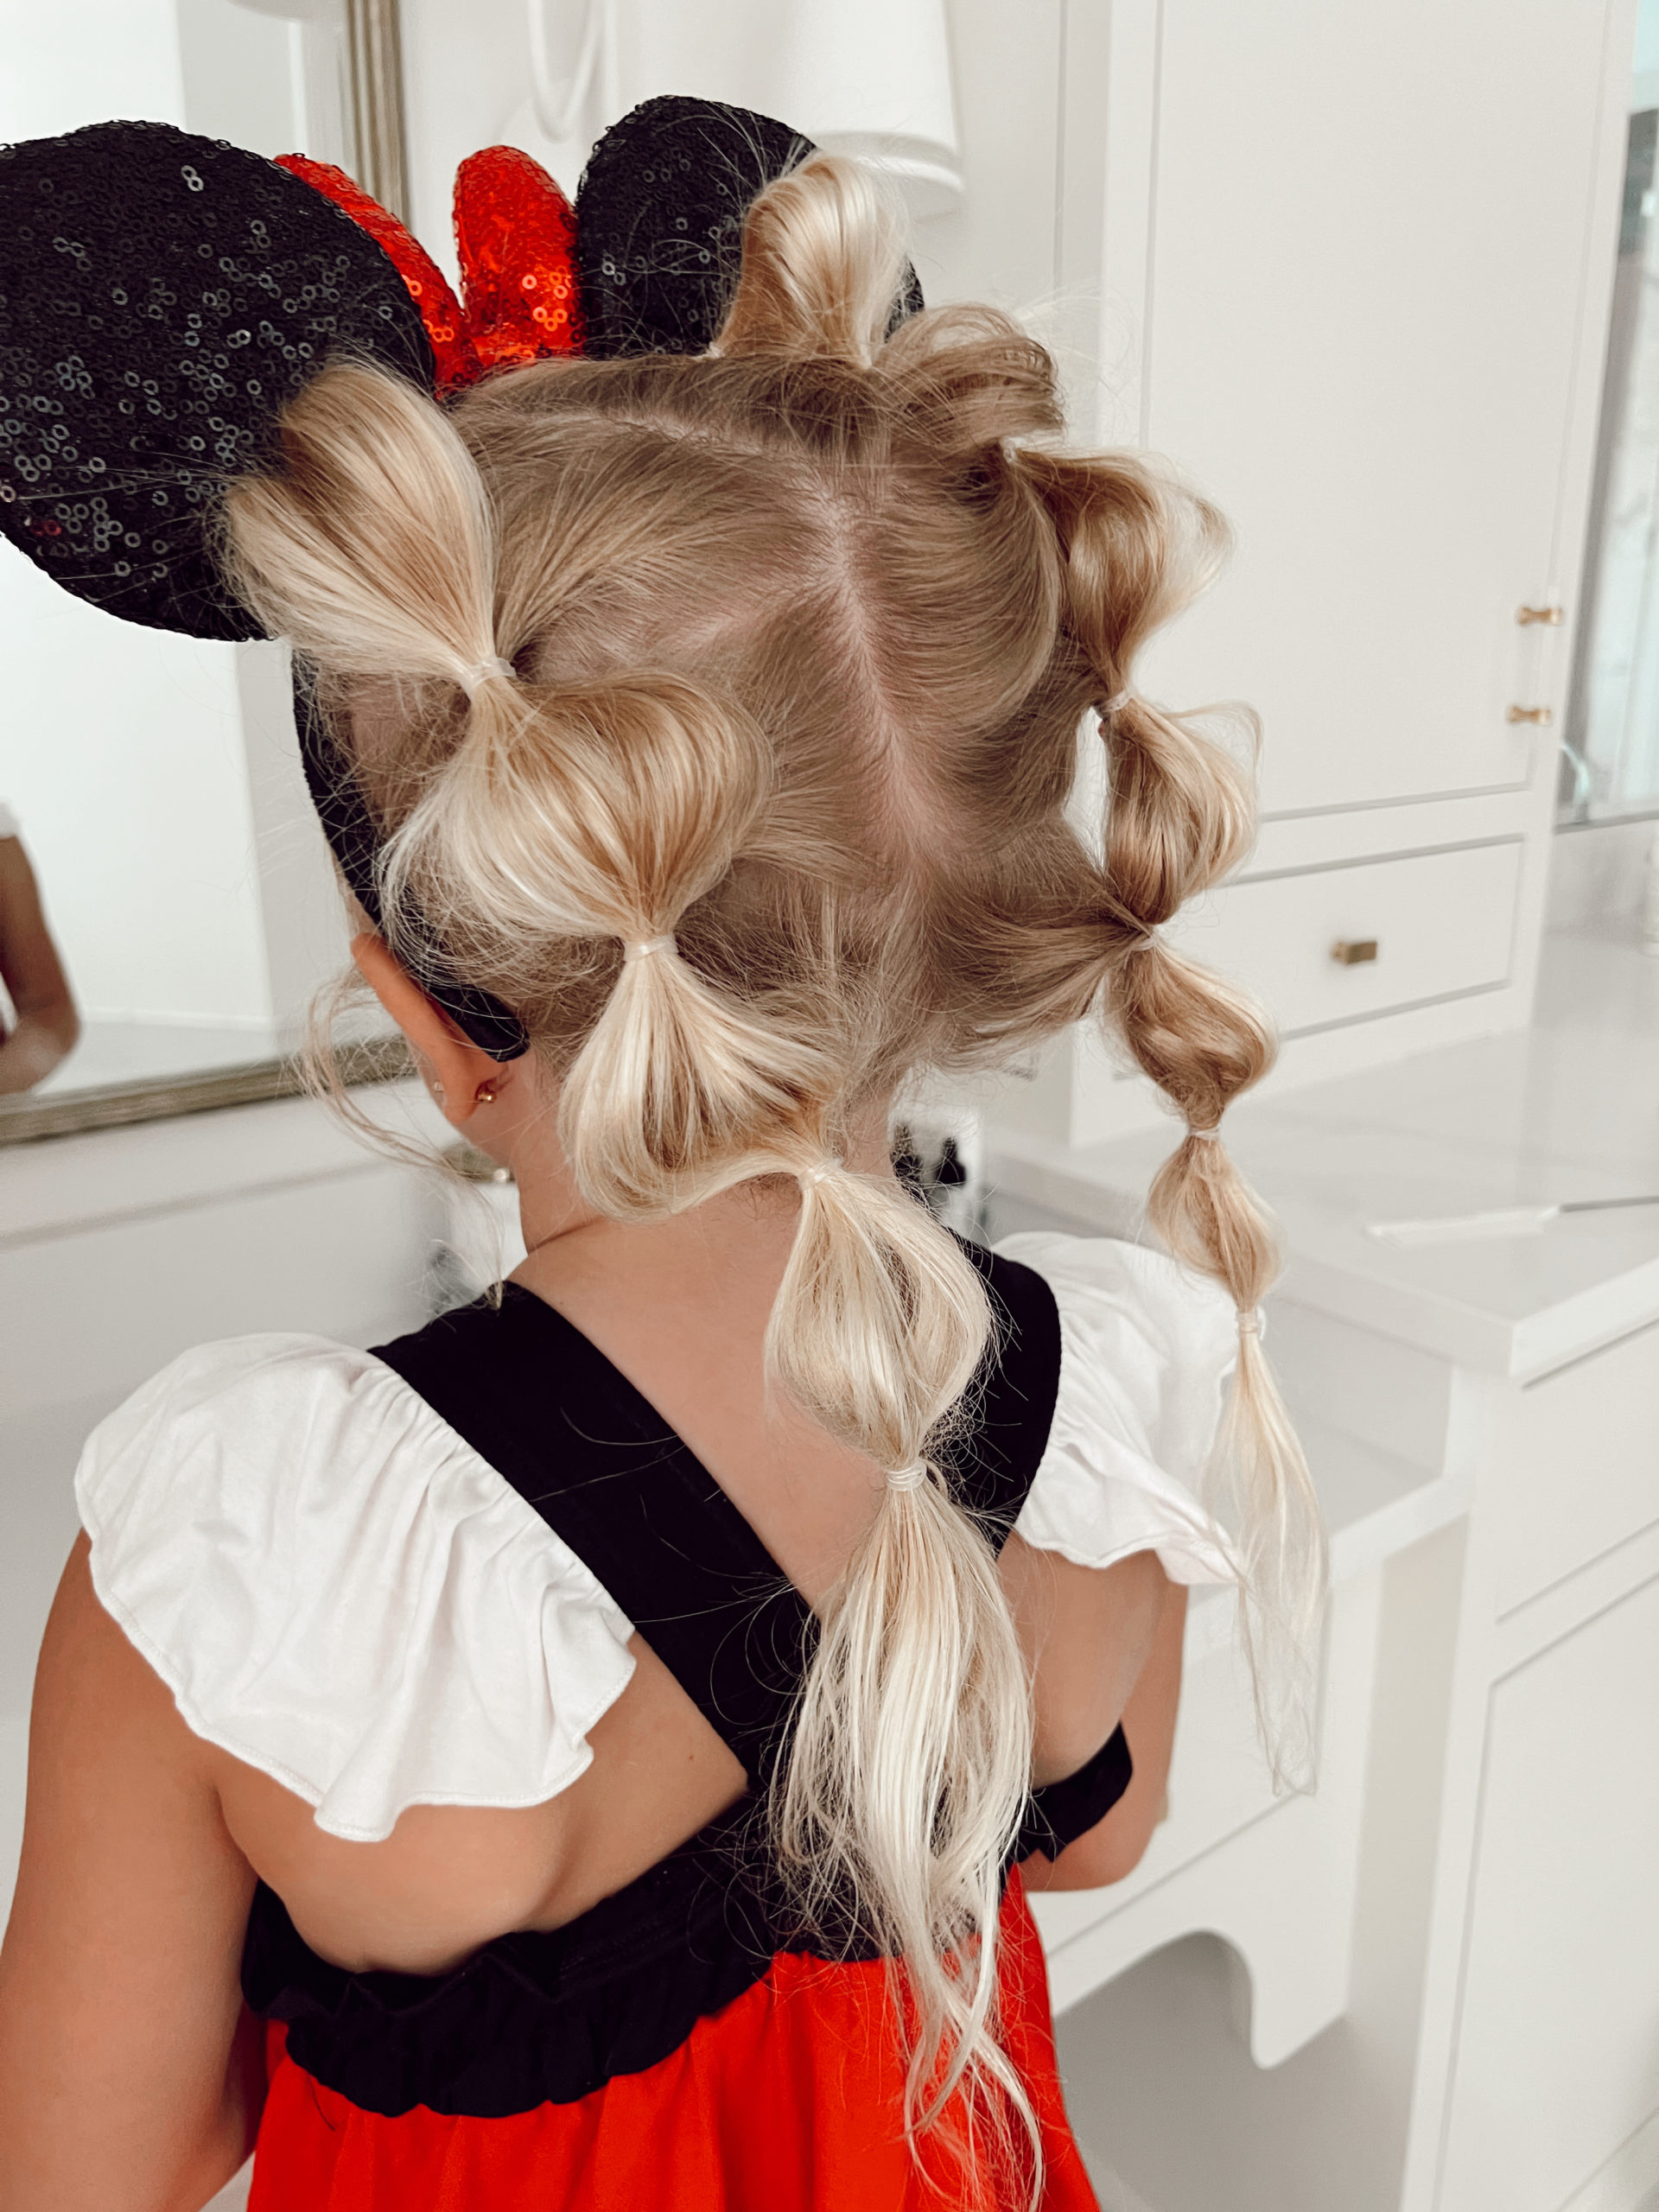
+ You’ll continue to section your way down, tie off with an elastic, and “pancake” or pull out small parts to create a bubble, as you go. +
This will add volume and make the bubble braid effect.
You can add bows at the end or leave as is. Add a pair of Minnie ears for extra fun at Disney!
 More hairstyles that are perfect for a day at Disney:
+ Half up do with a bow! +
+ Pigtails! +
+ French braid or two French braids! +
+ Pulled back in a claw clip. +
+ High pony with a bow. +
+ Space buns to make your own Minnie ears! +
+ Bubble braids half up half down. +
+ Bubble braids pigtails! +
Whether you want to do bubble braids on short hair or on curly hair, you can follow the same tutorial or modify it a bit to work on your hair type!
We had so much fun being girly for Disney, making cute hairstyles, and embracing the magic of it all! Grab the supplies here!!
XO,

View Comments +
+ Add A Comment