DIY Spring Flowers
DIY Spring Flowers
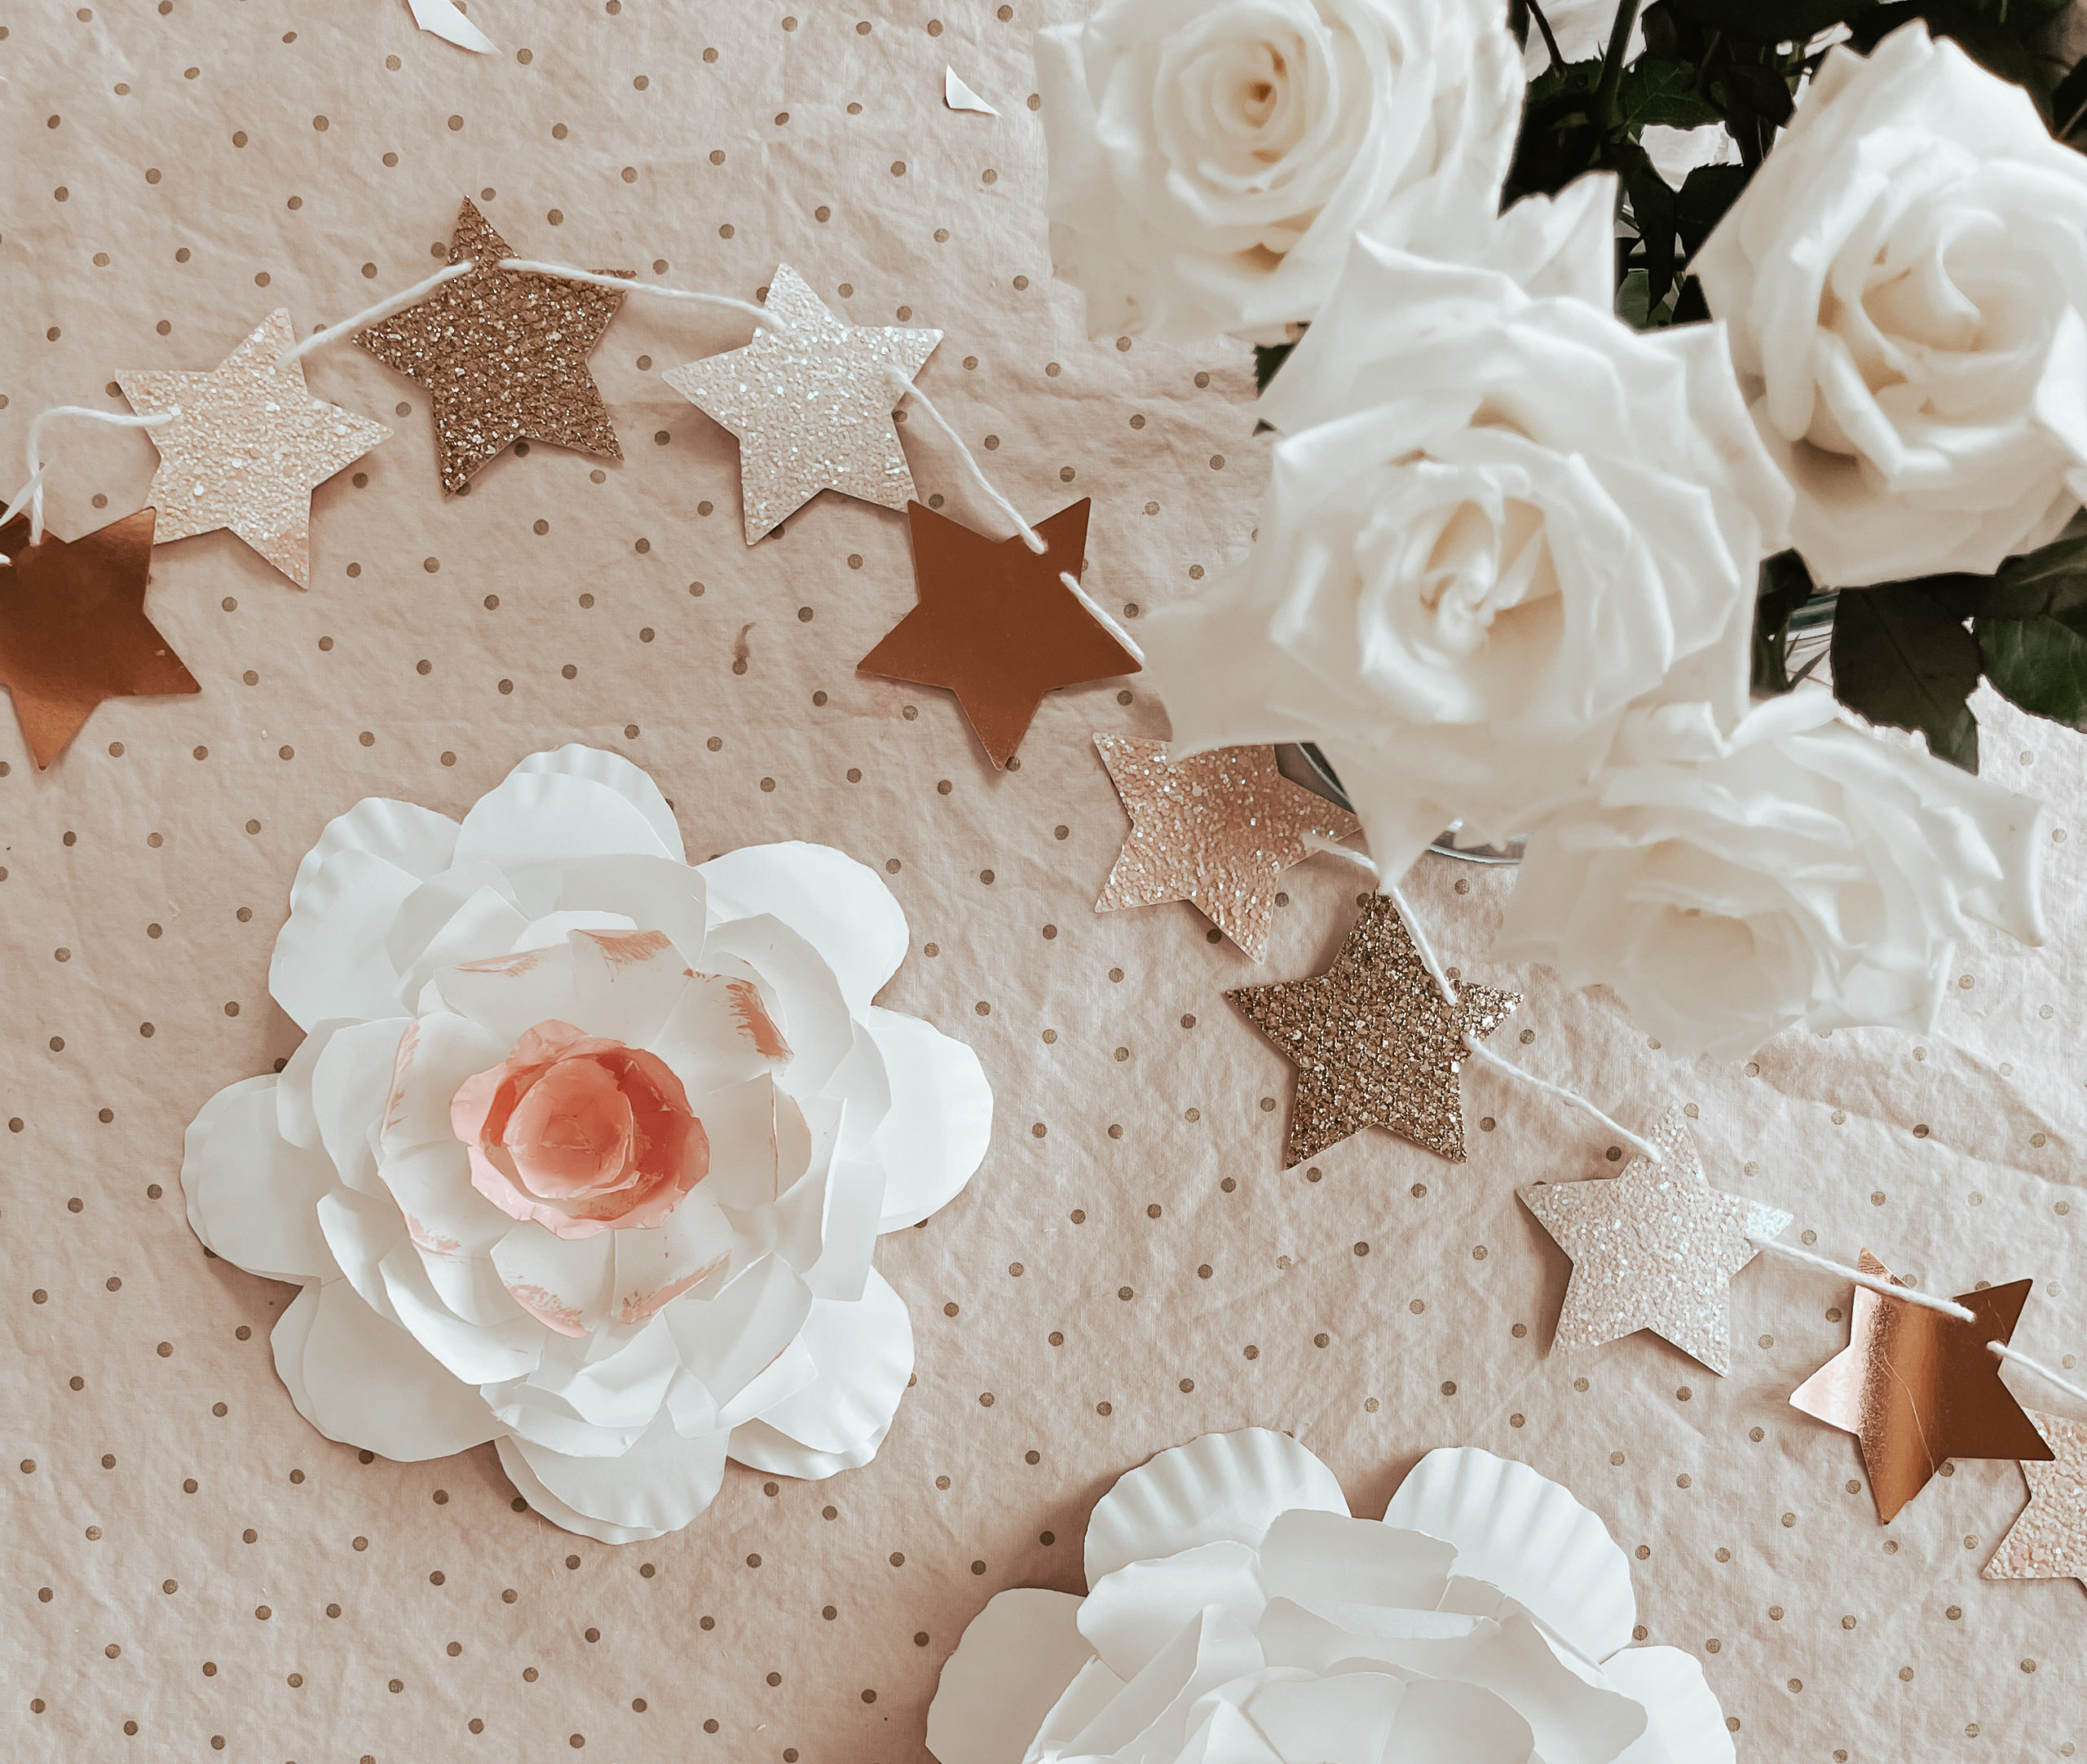
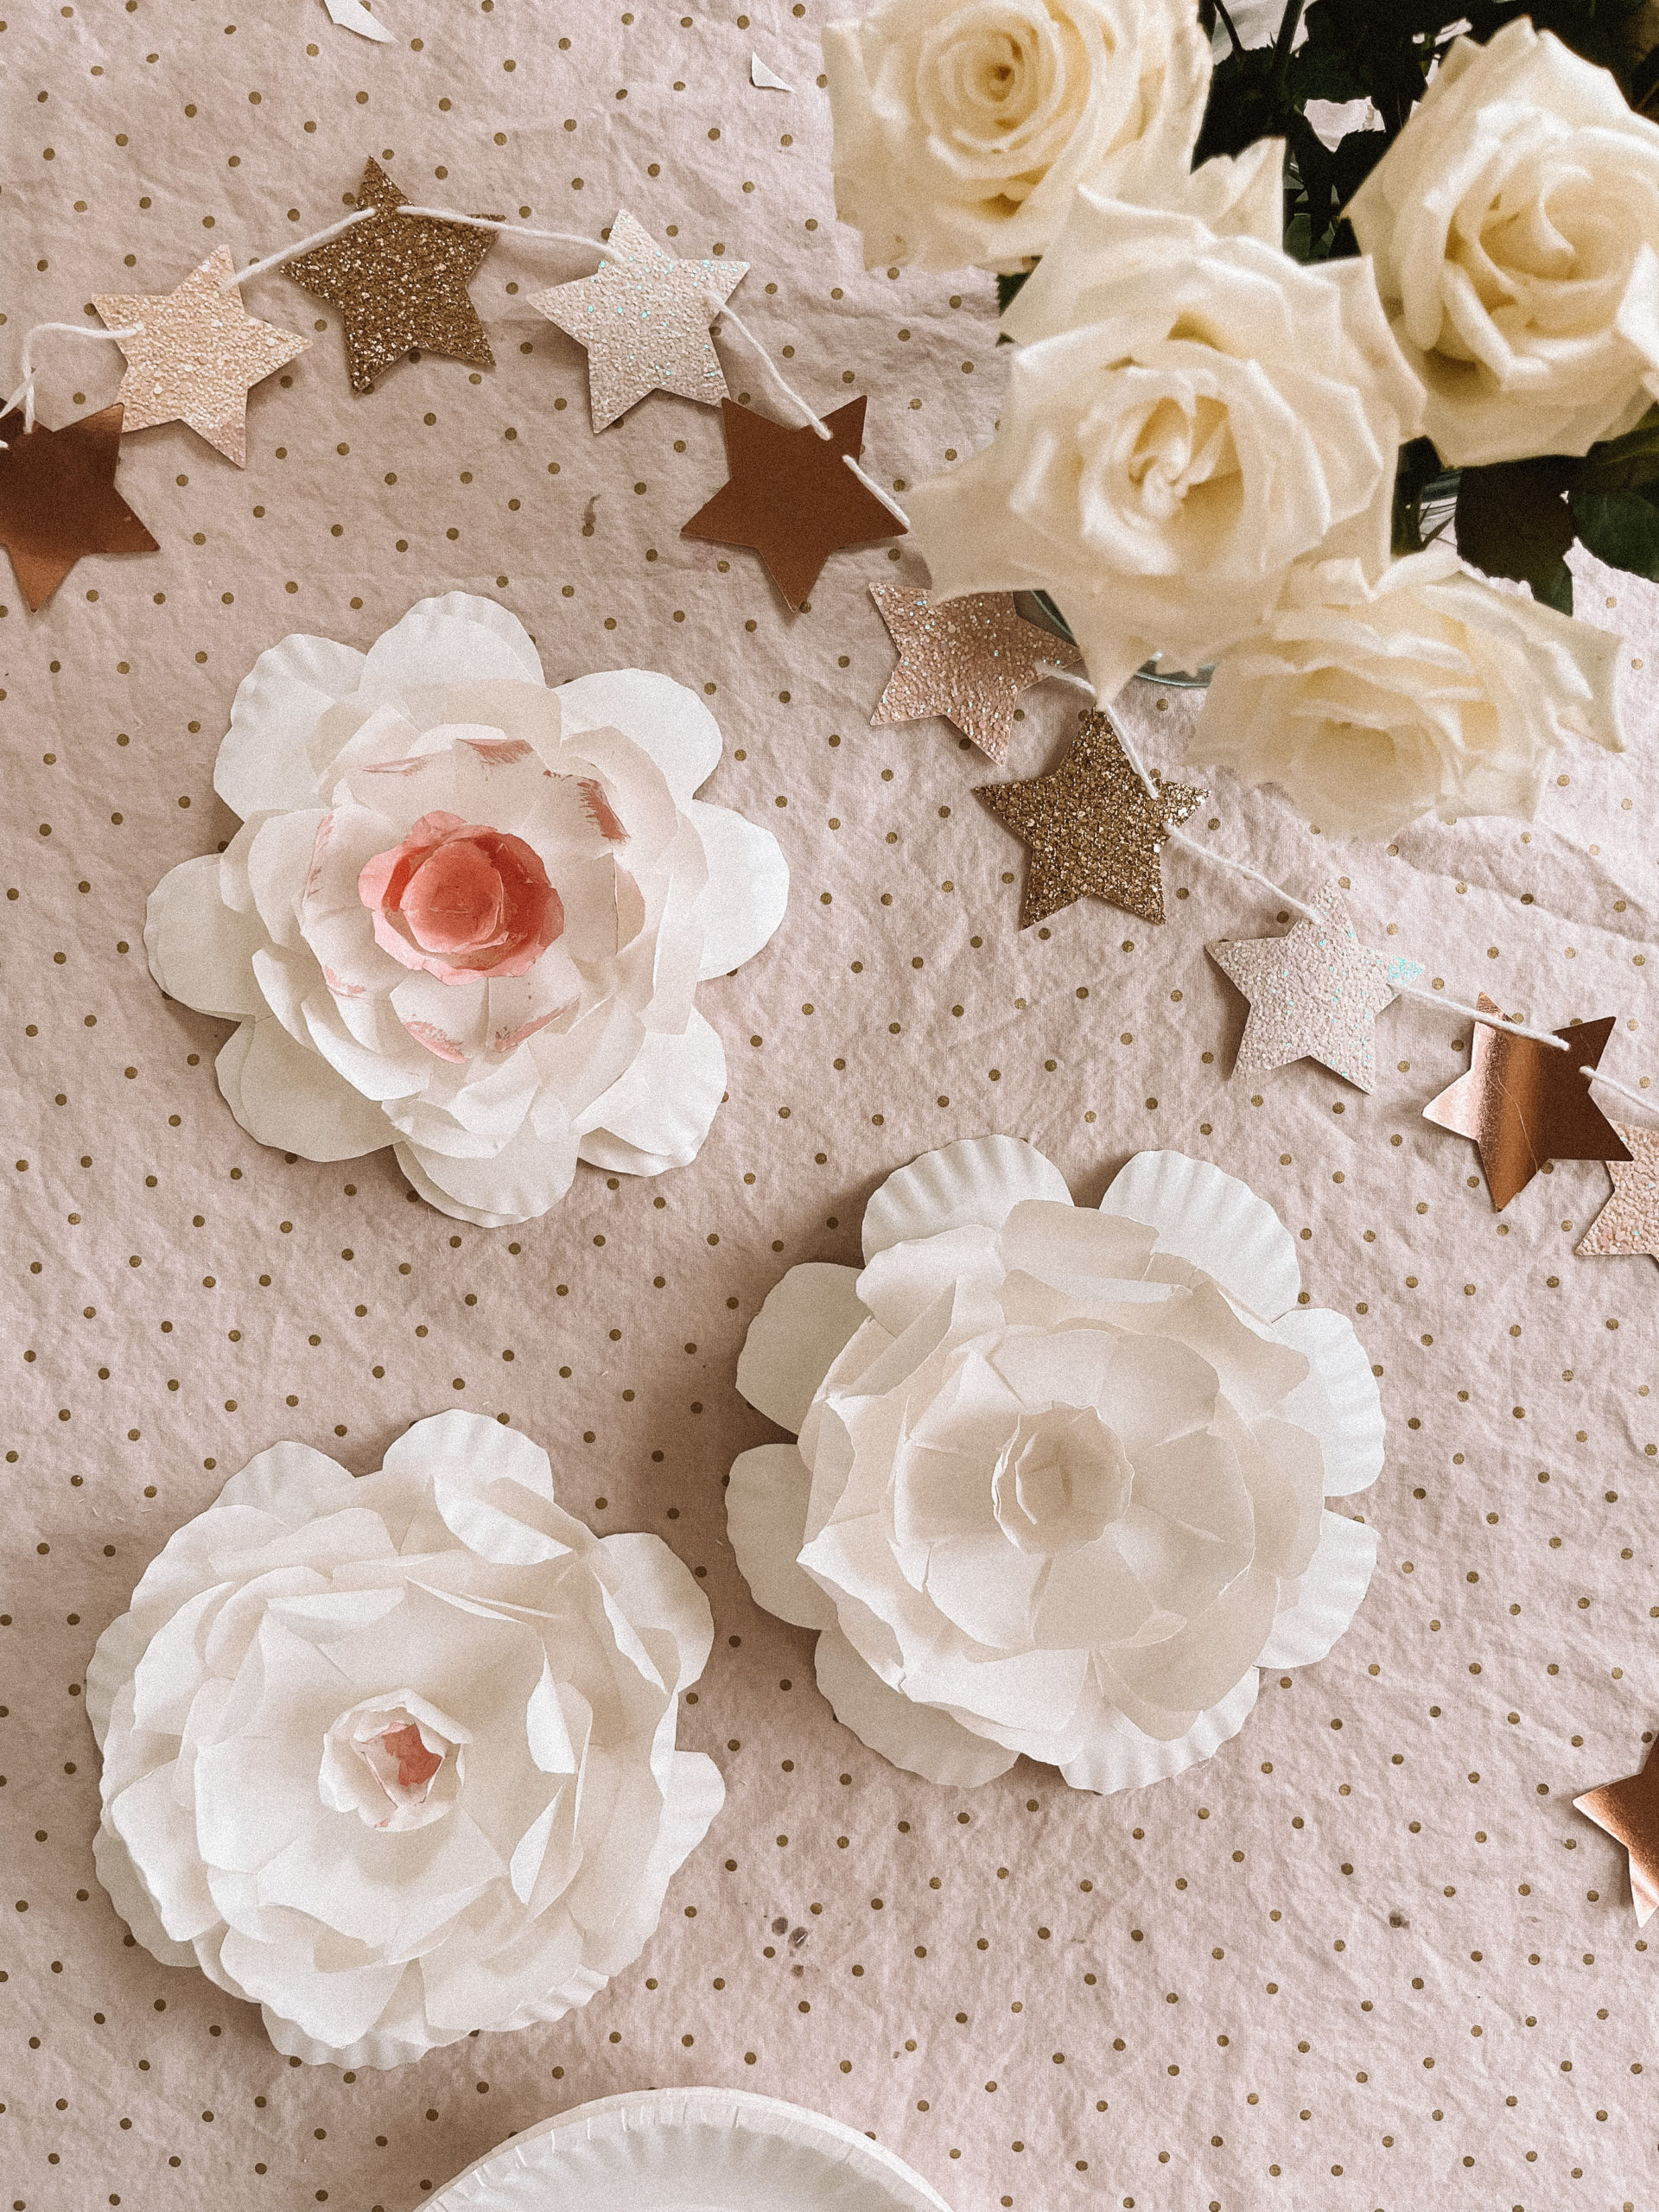
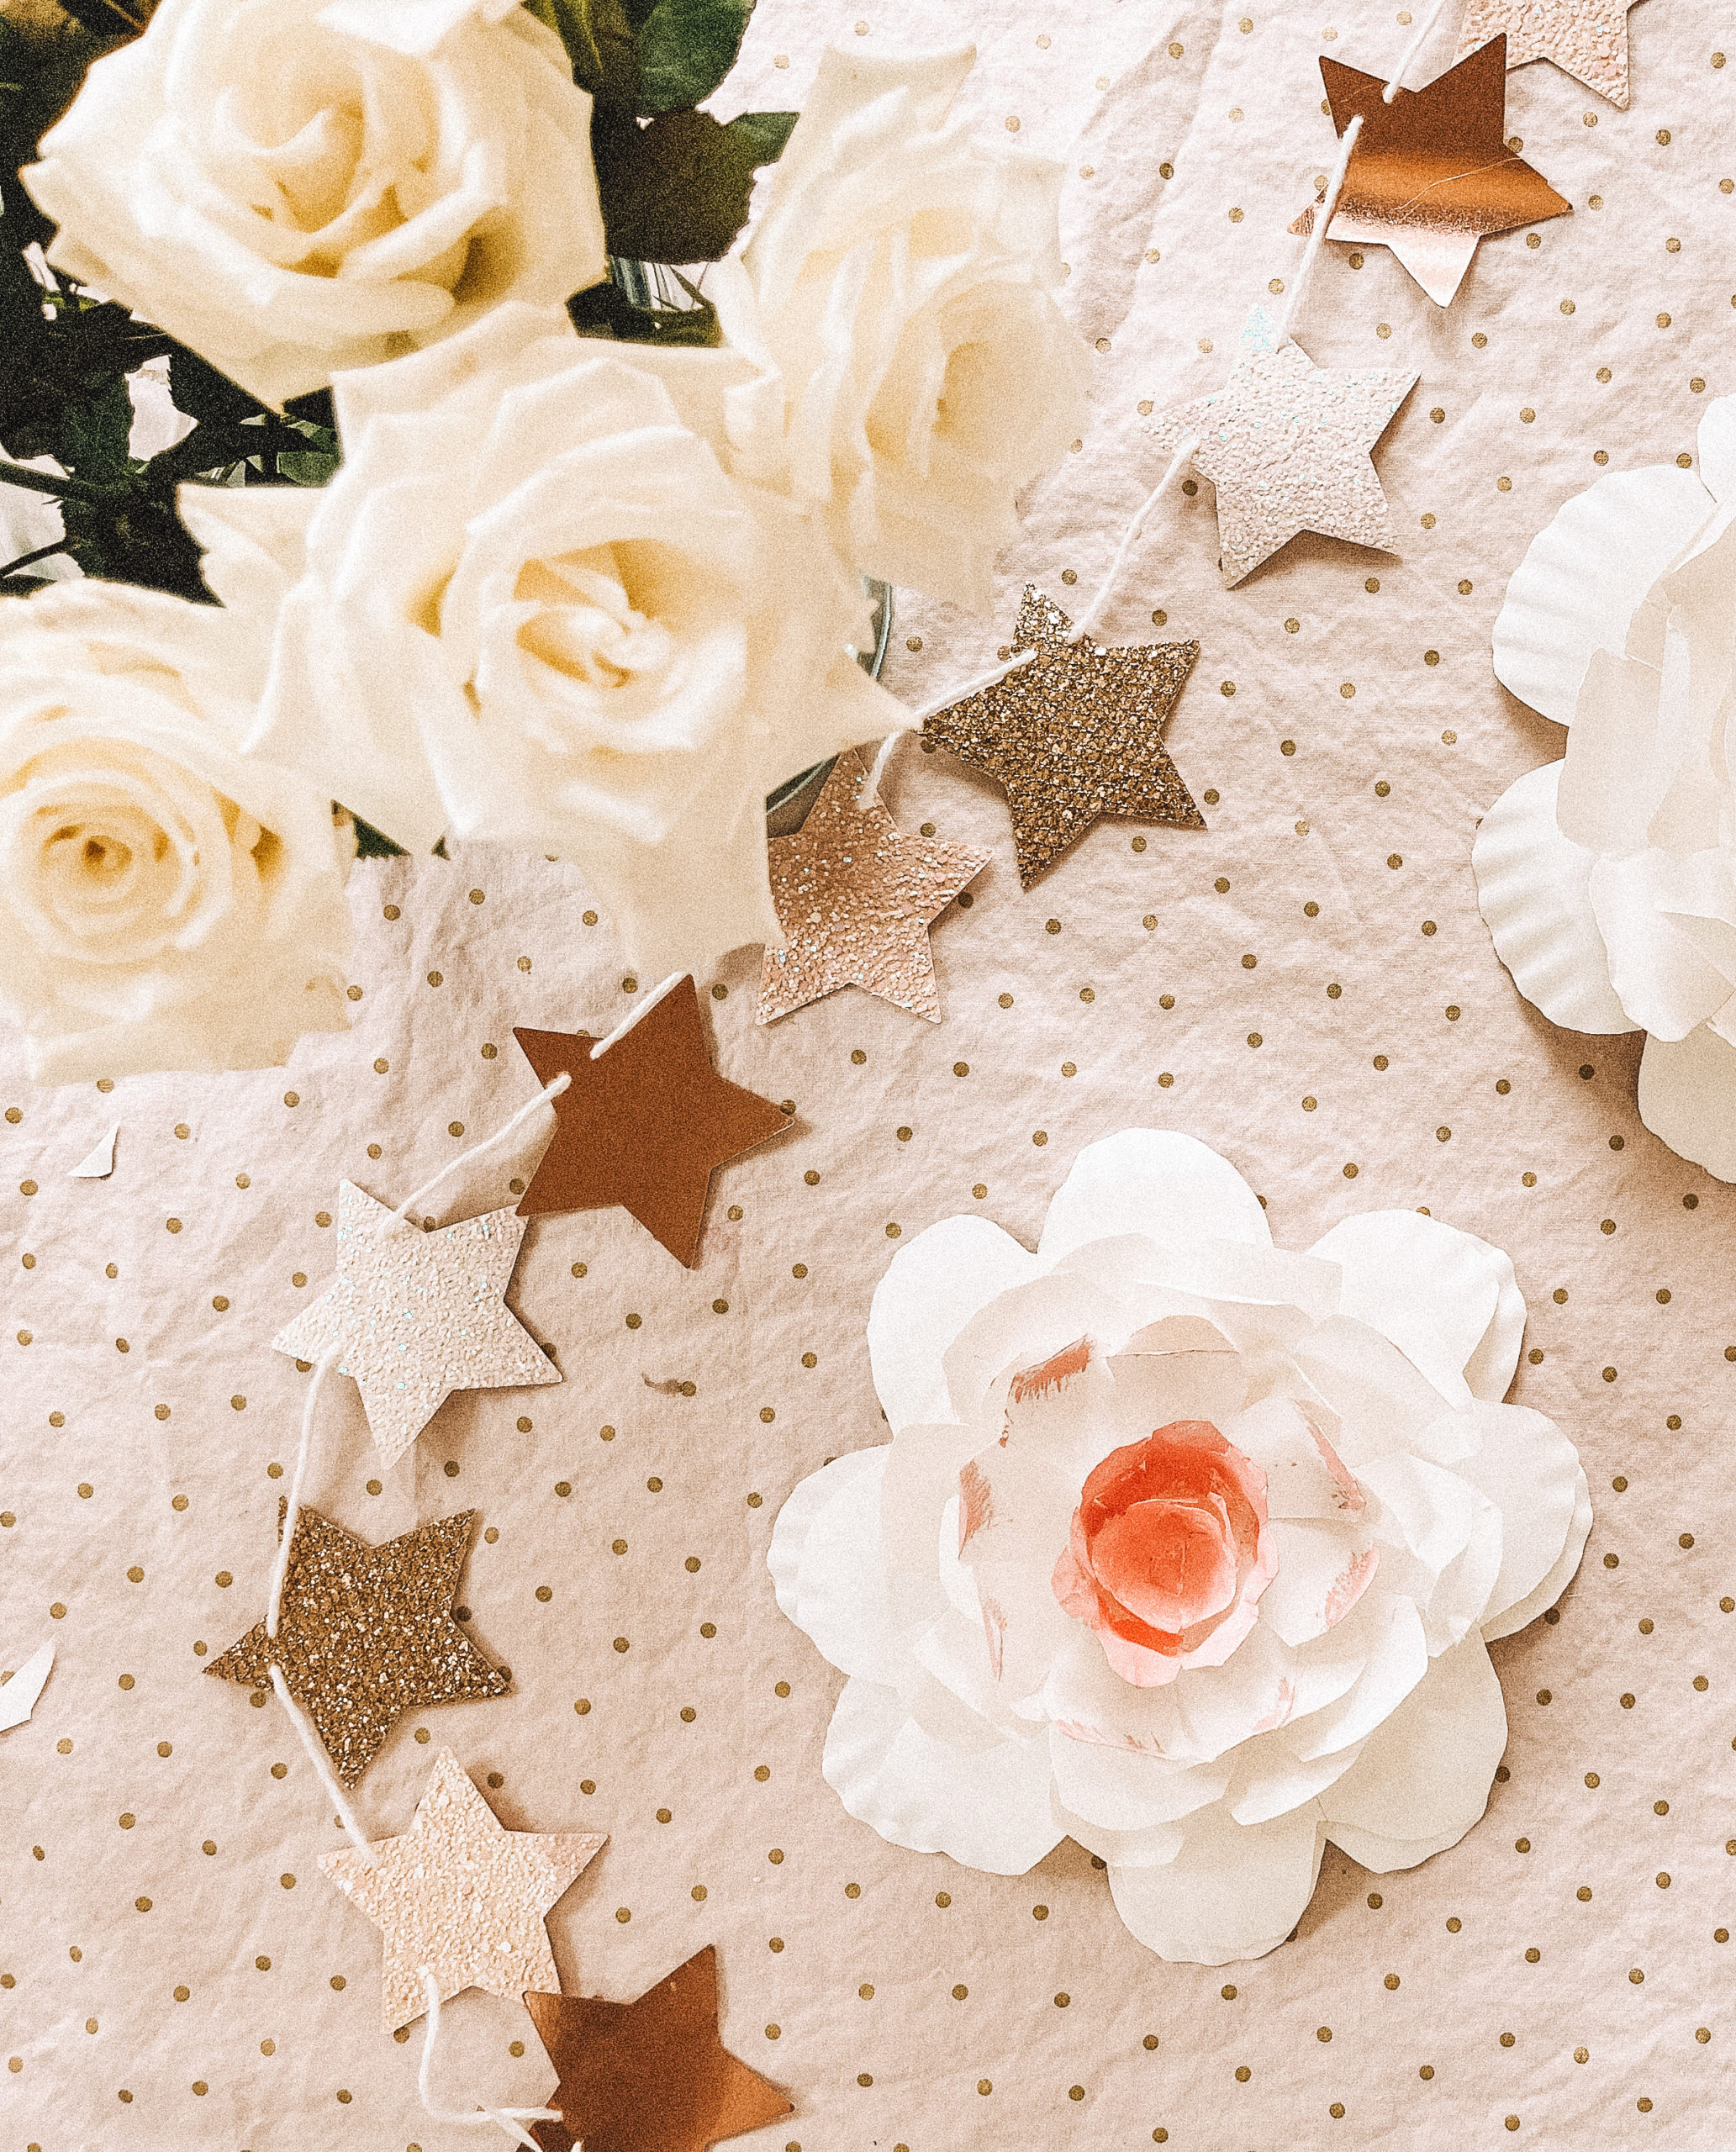
One of my favorite ways to spend time with my girls, is crafting and making art projects together. These spring flowers were so much fun to make, and are such a sweet decoration to add to a spring table or to your kiddos bedroom or play room! These are simple enough to work on together for diy spring flowers kids!
What You’ll Need For Your DIY Spring Flowers
+paper plates+
+scissors+
+glue gun+
+paint (optional)+
 Directions
1. Fold plate in half, then in half again.
2. Cut a heart shape (if you want to save time, cut 2 plates at the same time!) I cut a total of 6 plates- 1 large, 2 medium, 2 small. Save your scraps for the last step!
3. Cut a slit down the middle of the heart, about halfway to the middle.
4. Unfold and cut small slits between all of the petals (the parts that don’t already have a slit).
5. To make them look more realistic, fold the petals different directions. I cupped them in my hands a little bit too.
6. Once you have cut multiple sizes (I did 5 total), it’s time to start gluing them together. Take your biggest flower and turn it upside down. Now take your medium flower and glue it to the middle of the biggest one. Continue with the rest of your flowers, making sure to alternate the petals in between each other.
7. Now it’s time to make the center using your scraps! Take a small scrap and cut scalloped edge. Cut the other side straight. Not cut small slits along that straight bottom. (This will help you be able to glue it easily and it “sit” on the flower.) Glue to the middle. Make one more the exact same way but smaller. Glue to the middle.
8. Bend more of the petals up if needed. The more you mess with the petals, the more real they look!
9. Paint some of the petals your favorite color or leave them white.
Take a photo of your diy spring flowers and tag me on social media! This is such a fun way for your kiddos to help you bring a little extra spring inside!
XO,
Casey Wiegand


View Comments +
+ Add A Comment