
a lifestyle blog about motherhood, intention, whimsical moments, and wellness
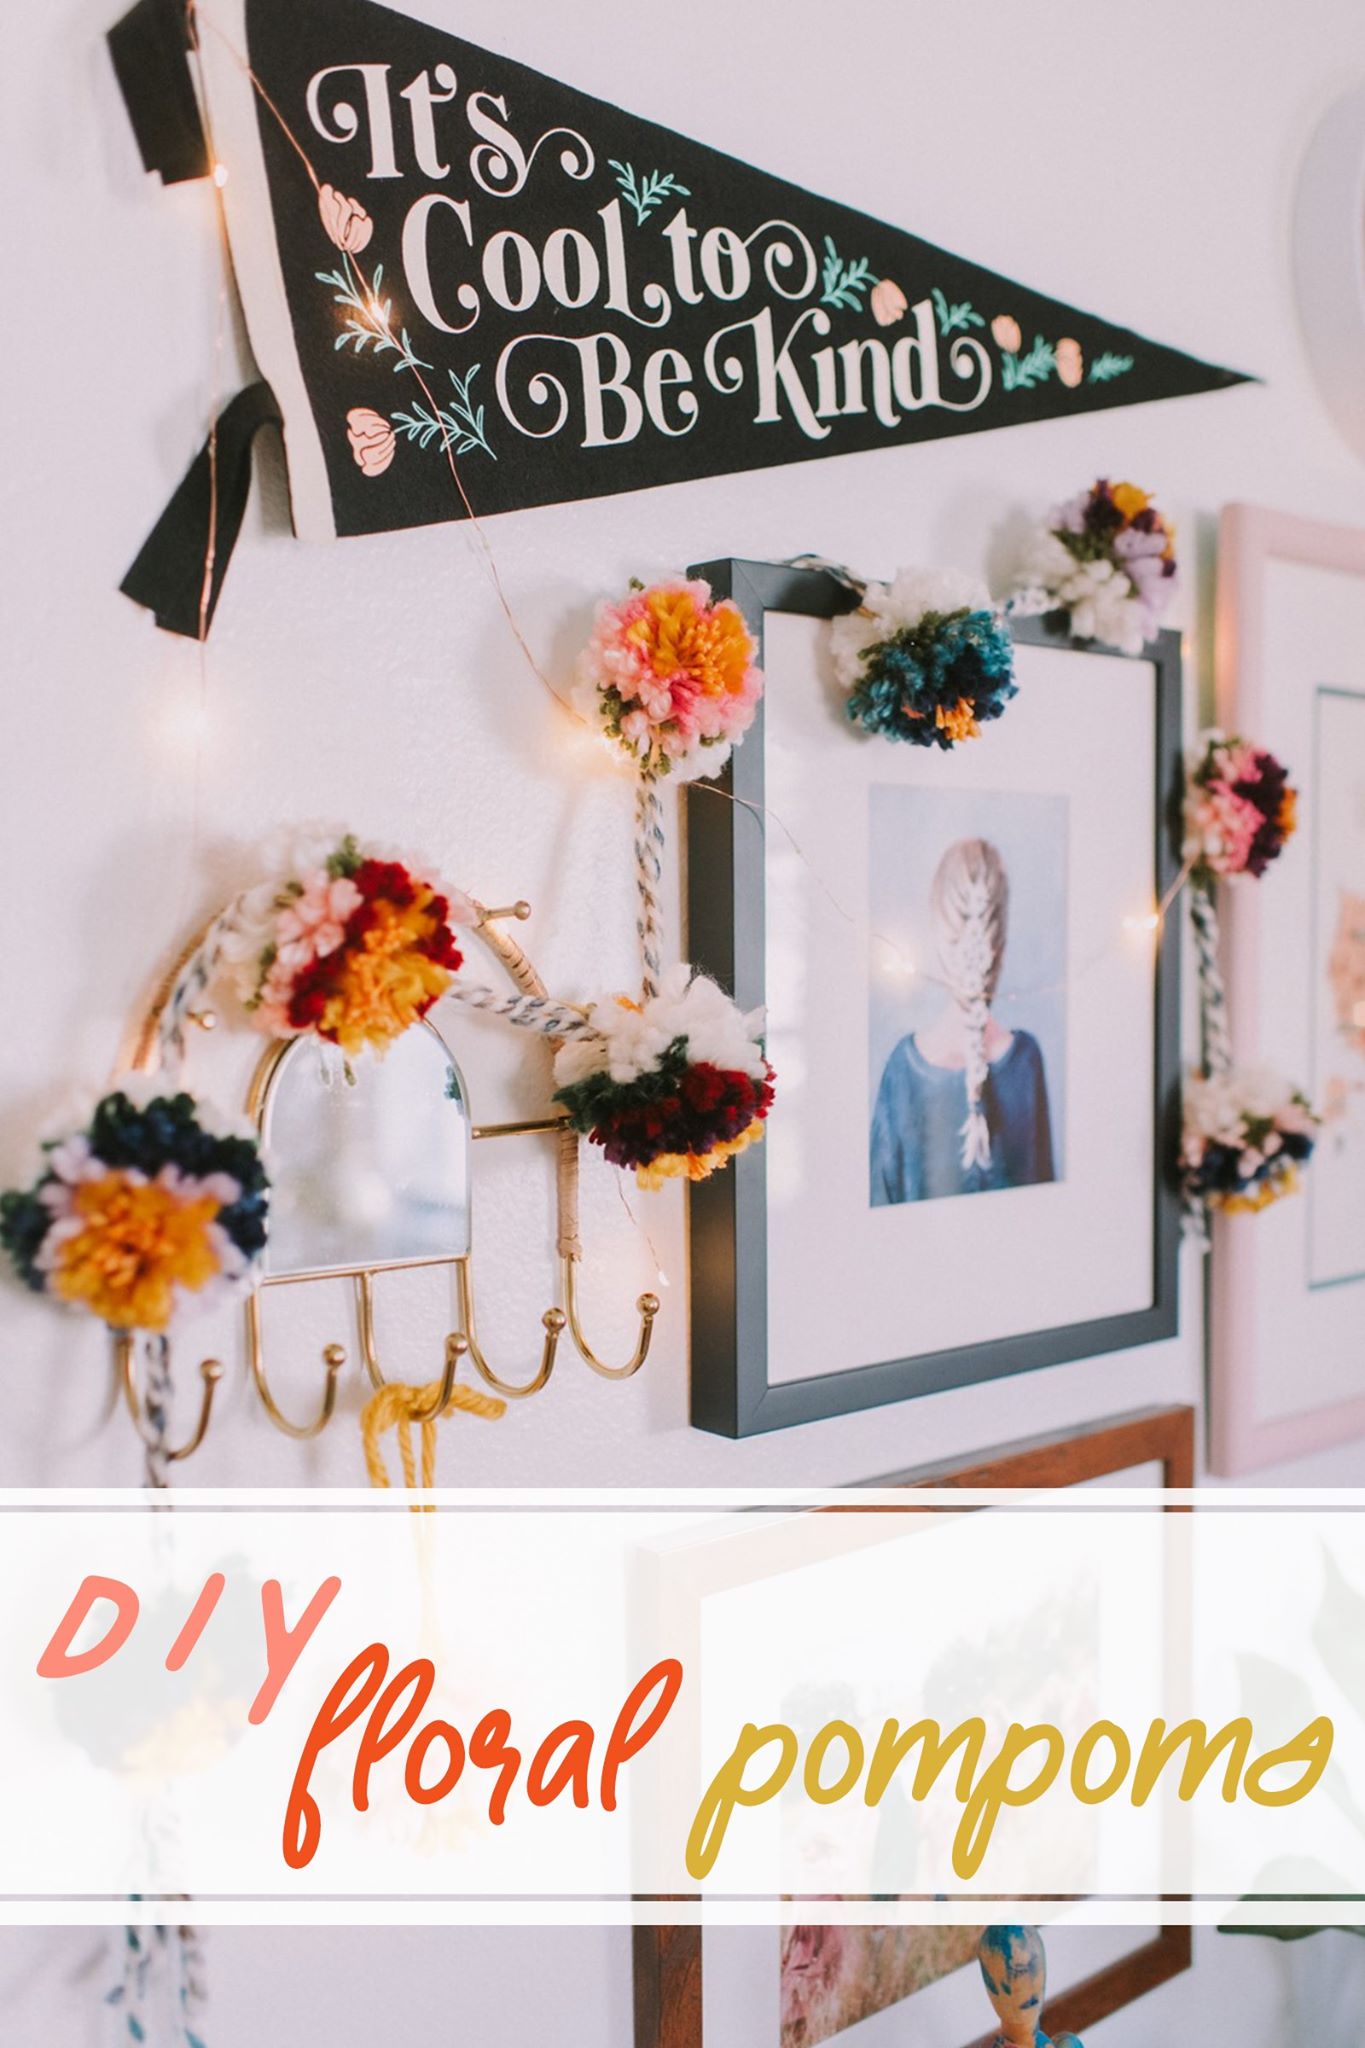
Floral Pompoms DIY
")
Floral Pompoms DIY
Lexi Wharem is a mother and photographer based in Lake Wales, Florida. She can be found on instagram sharing pieces of her life and work as she chases her dreams of being an visual storyteller.
I know that fuzzy little pompoms probably shouldn’t bring me so much joy, but they really do! I can’t tell you how many strings of pom poms I have hung around my house, but I can tell you that from now on I will be crafting all of my own pompom beauties, because handmade is the best!
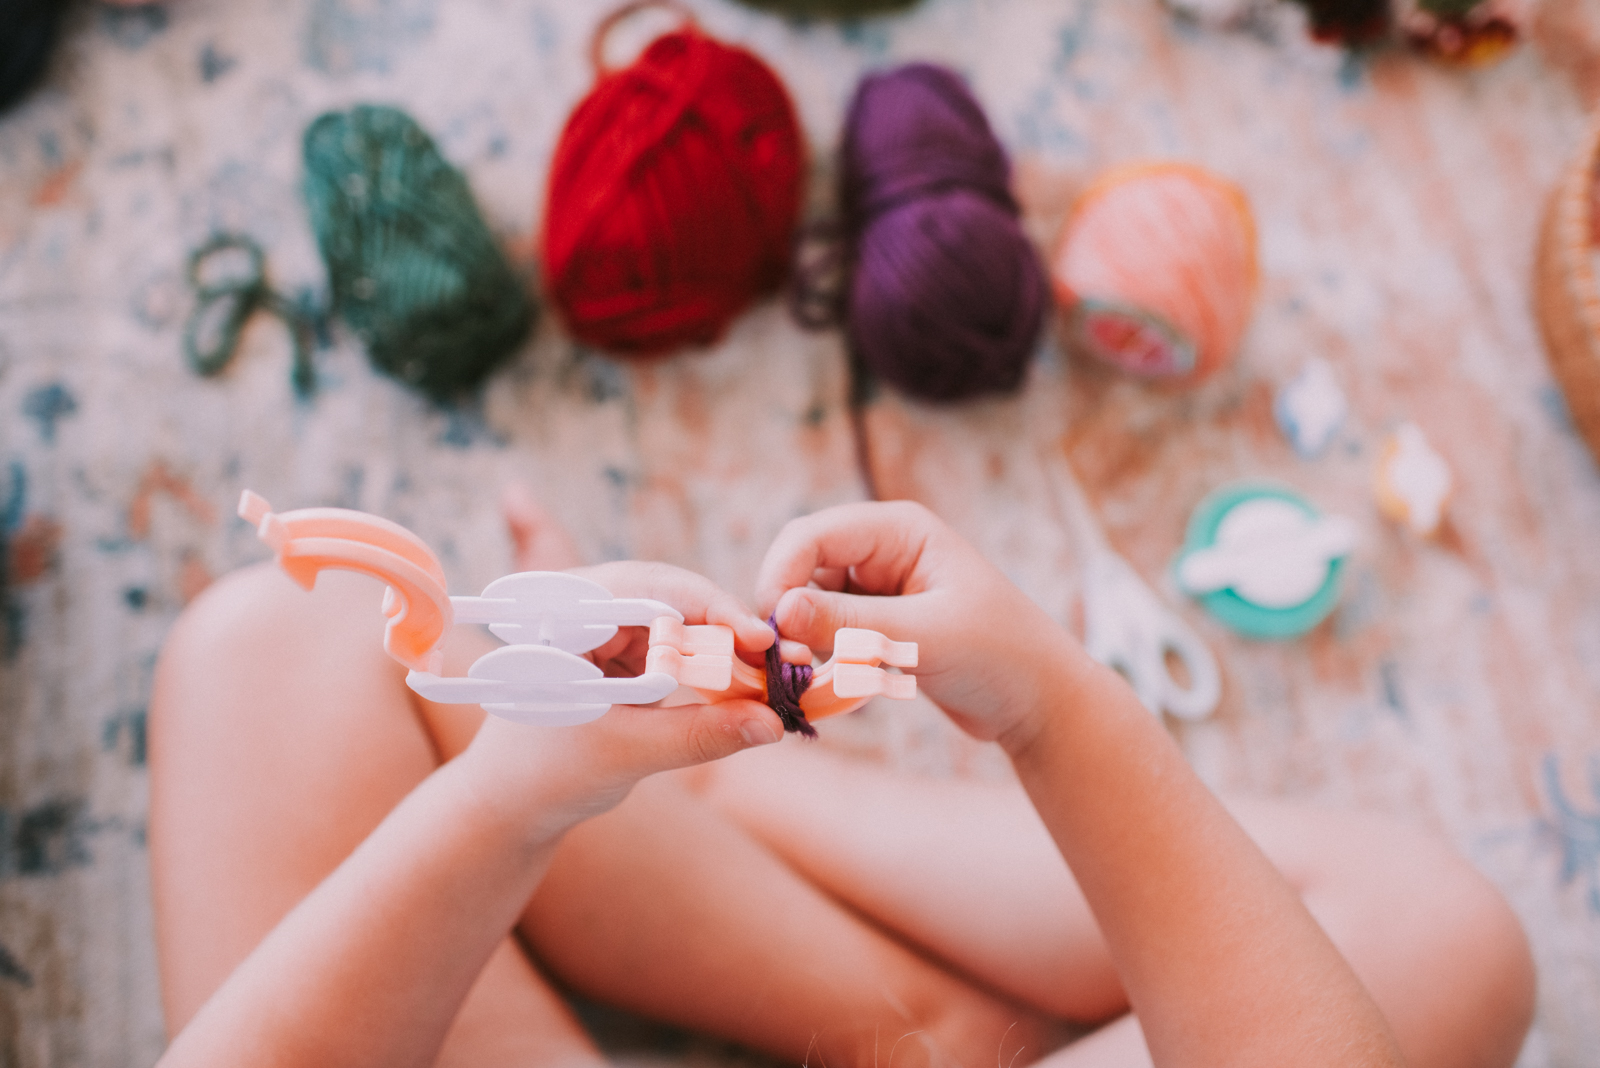
Once I discovered how easy these little beauties were to make, I drafted my girls to join in because this is such a fun hands-on craft for them, especially while we are still quarantining homebodies! Even my five-year-old was able to make her own with minimal help on my part!

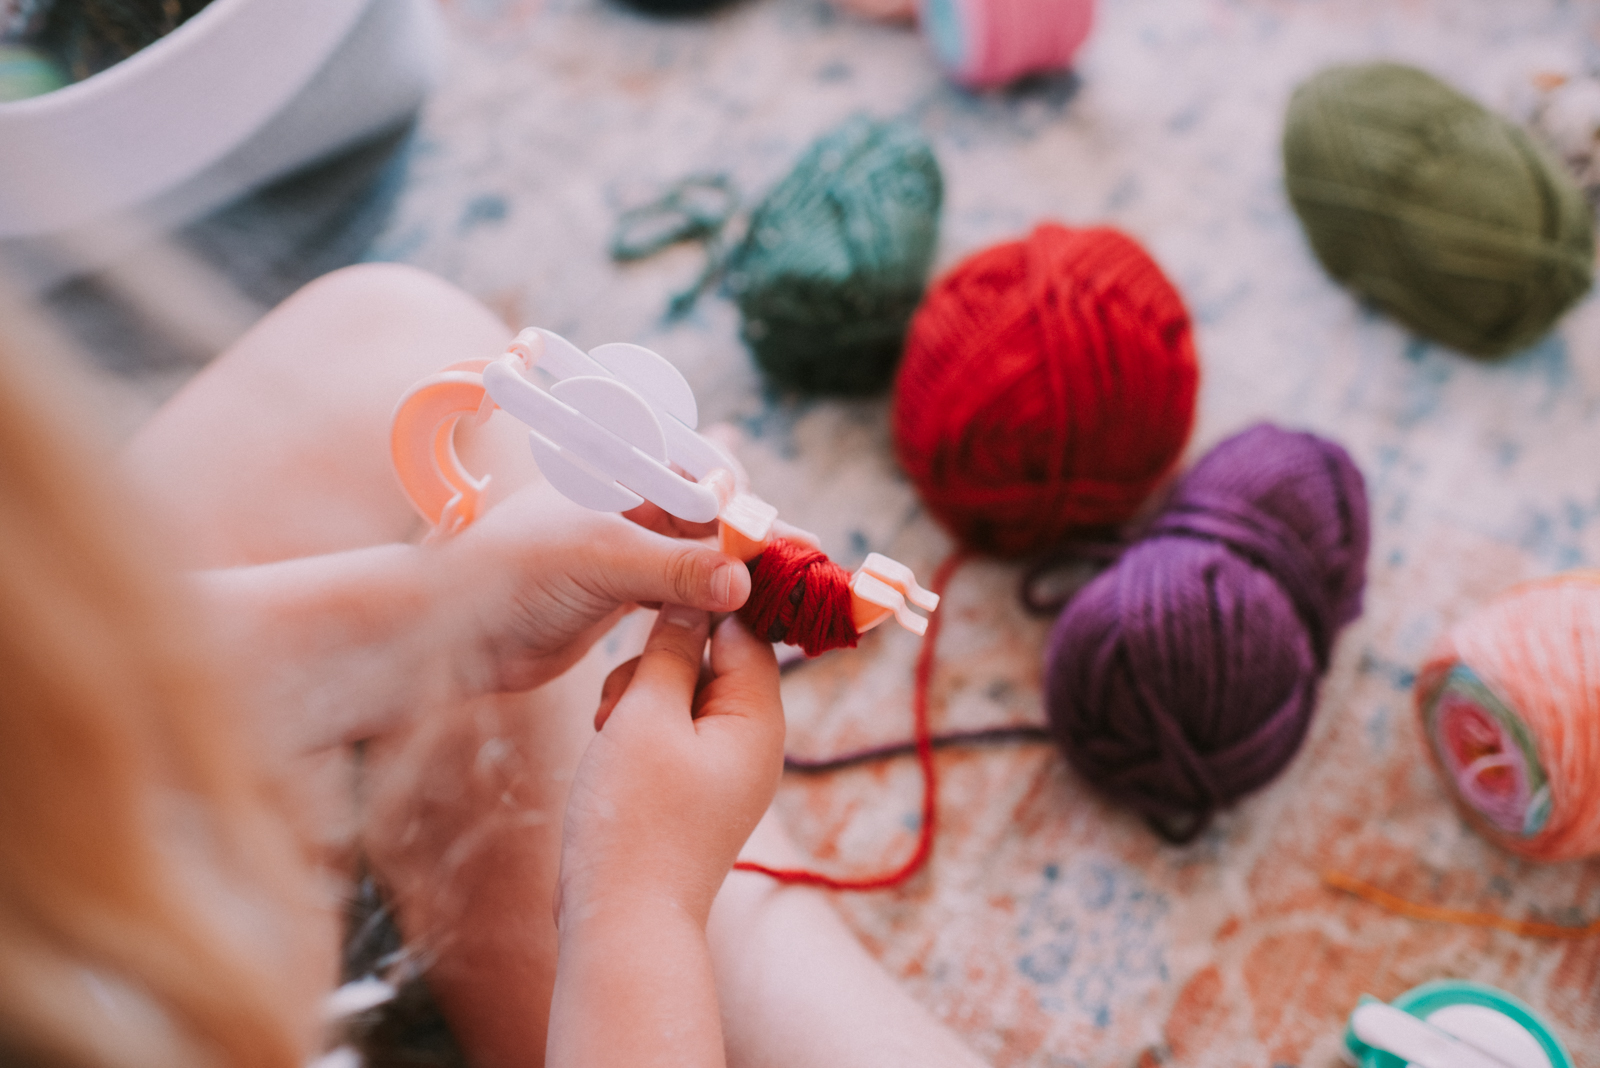
There are a few ways to make pompoms, but I chose to buy a pack of pompom makers from Amazon, which you can find here. They were inexpensive and I like that they came in a variety of sizes. I purchased yarn from Walmart, choosing colors I knew I would want to recreate a ‘flower’ look, as well as both thin and thick yarn, so I could mix them for a little added dimension. You can stick with all thin yarn, all thick, or a mix of both!
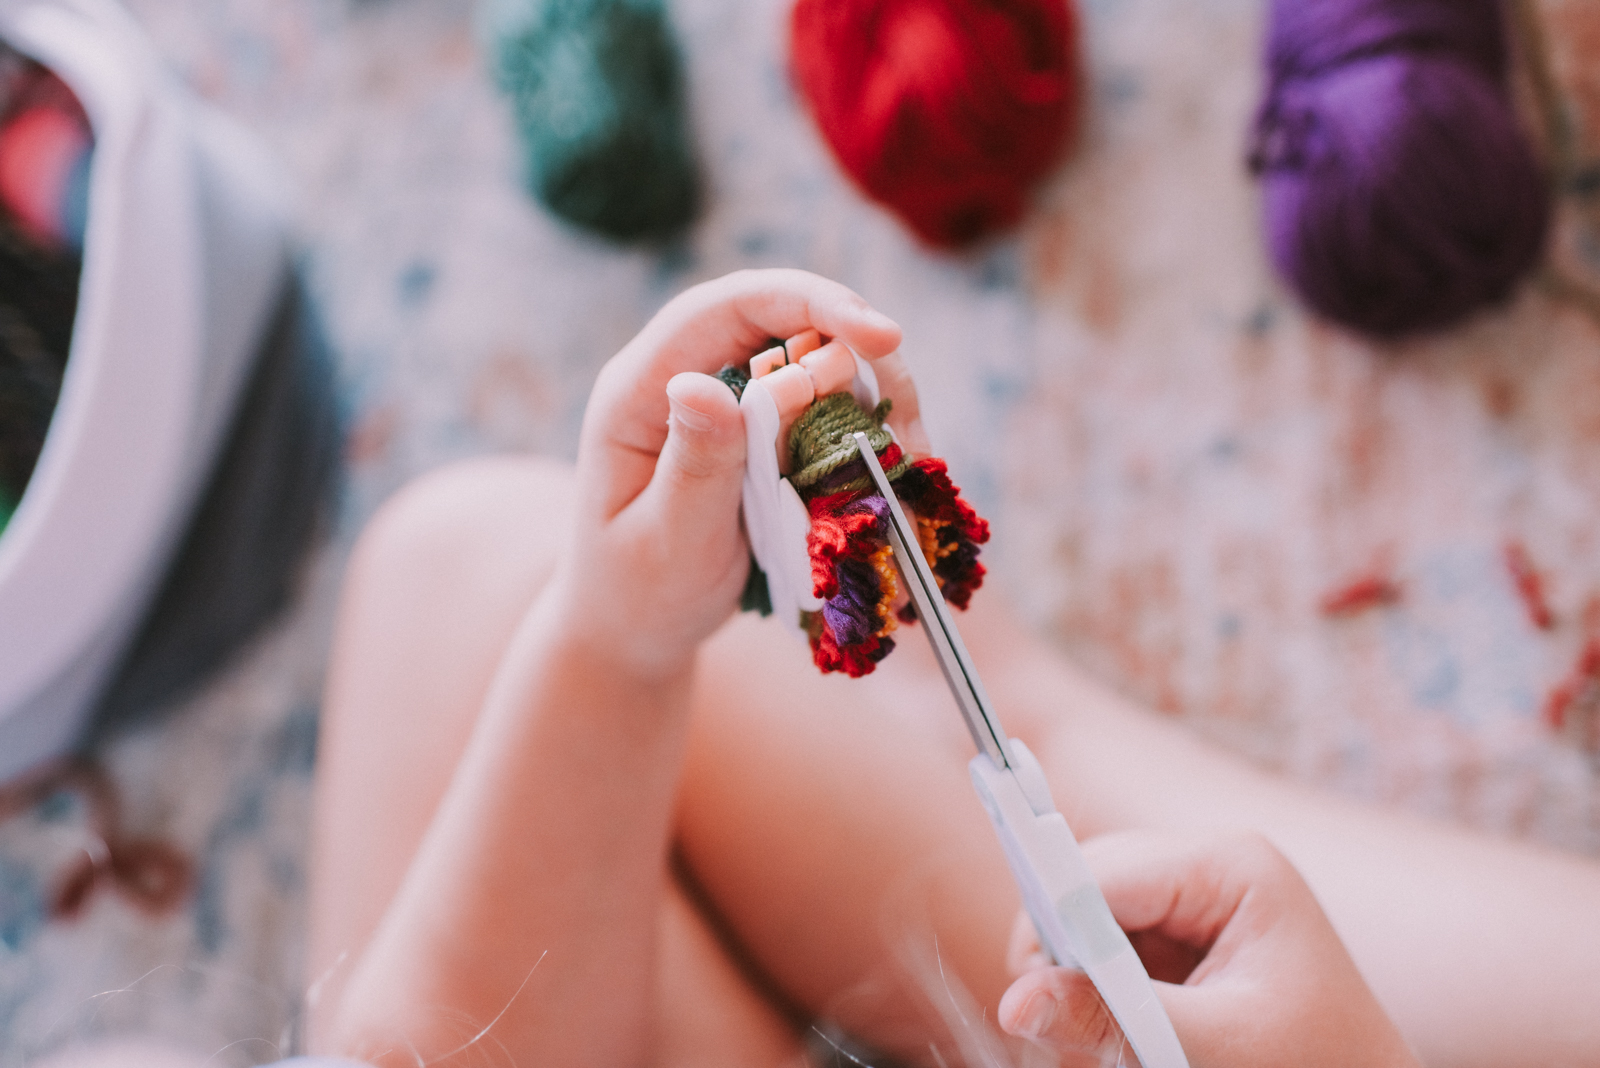
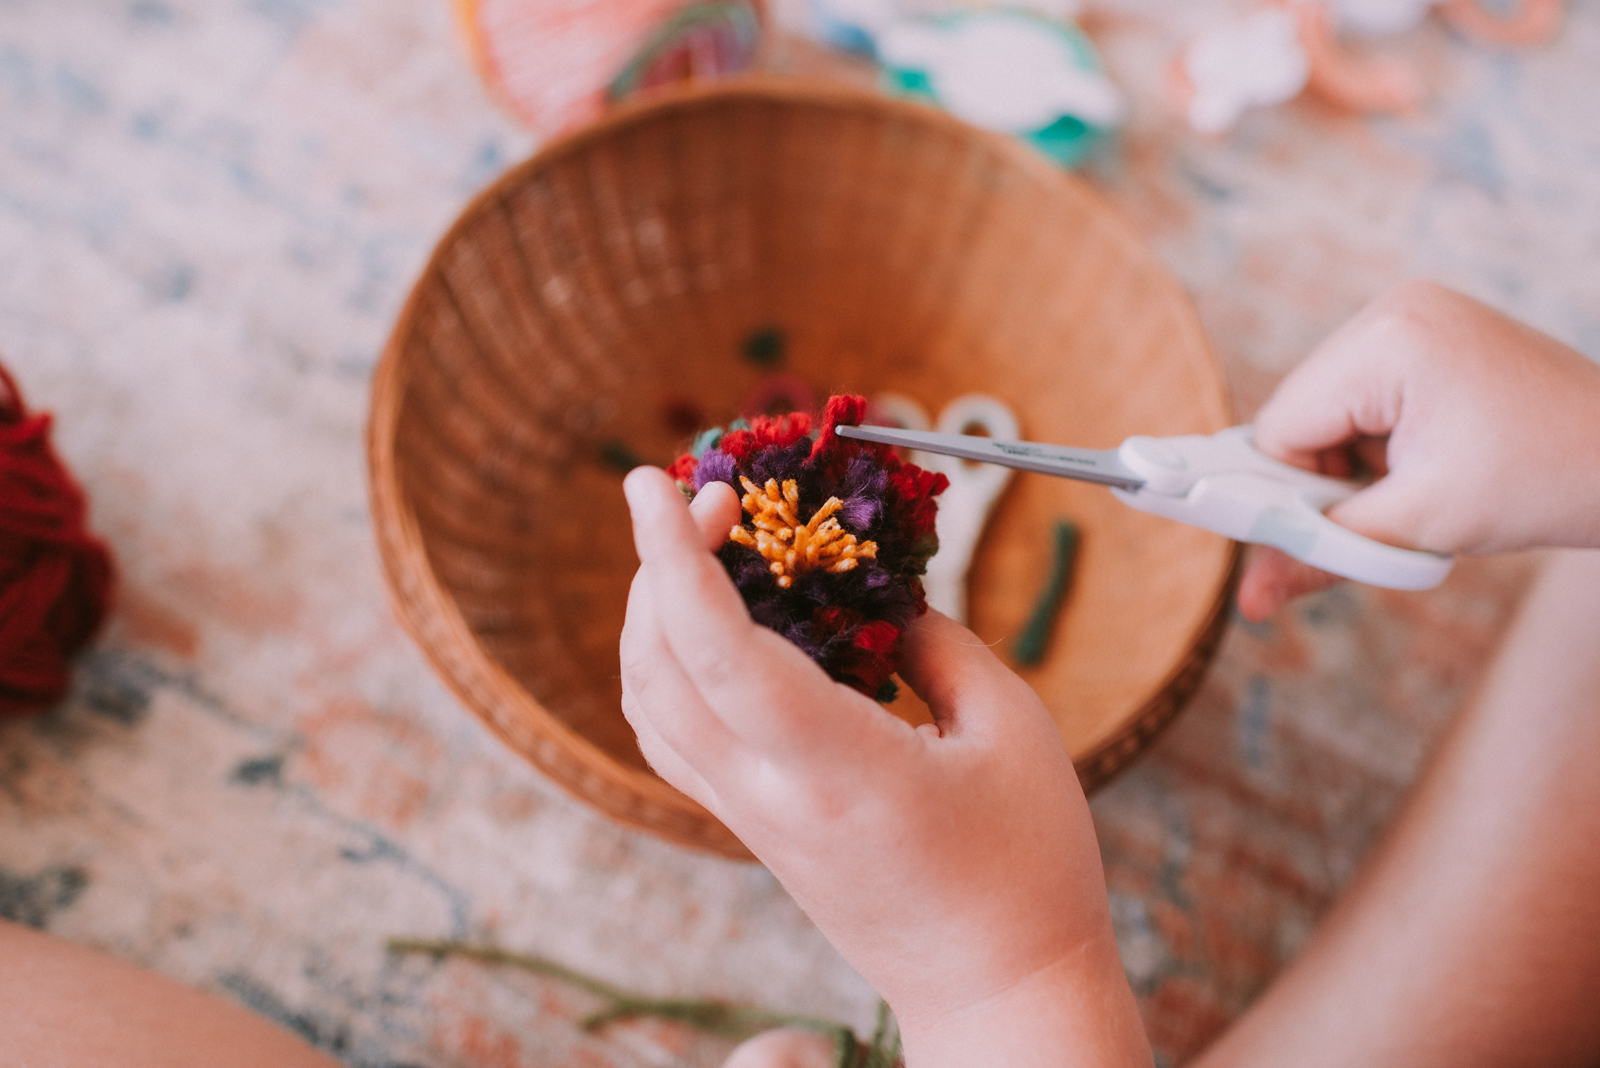
You will also want to have a good pair of crafting scissors on hand, since cutting is probably the trickiest part of the process.
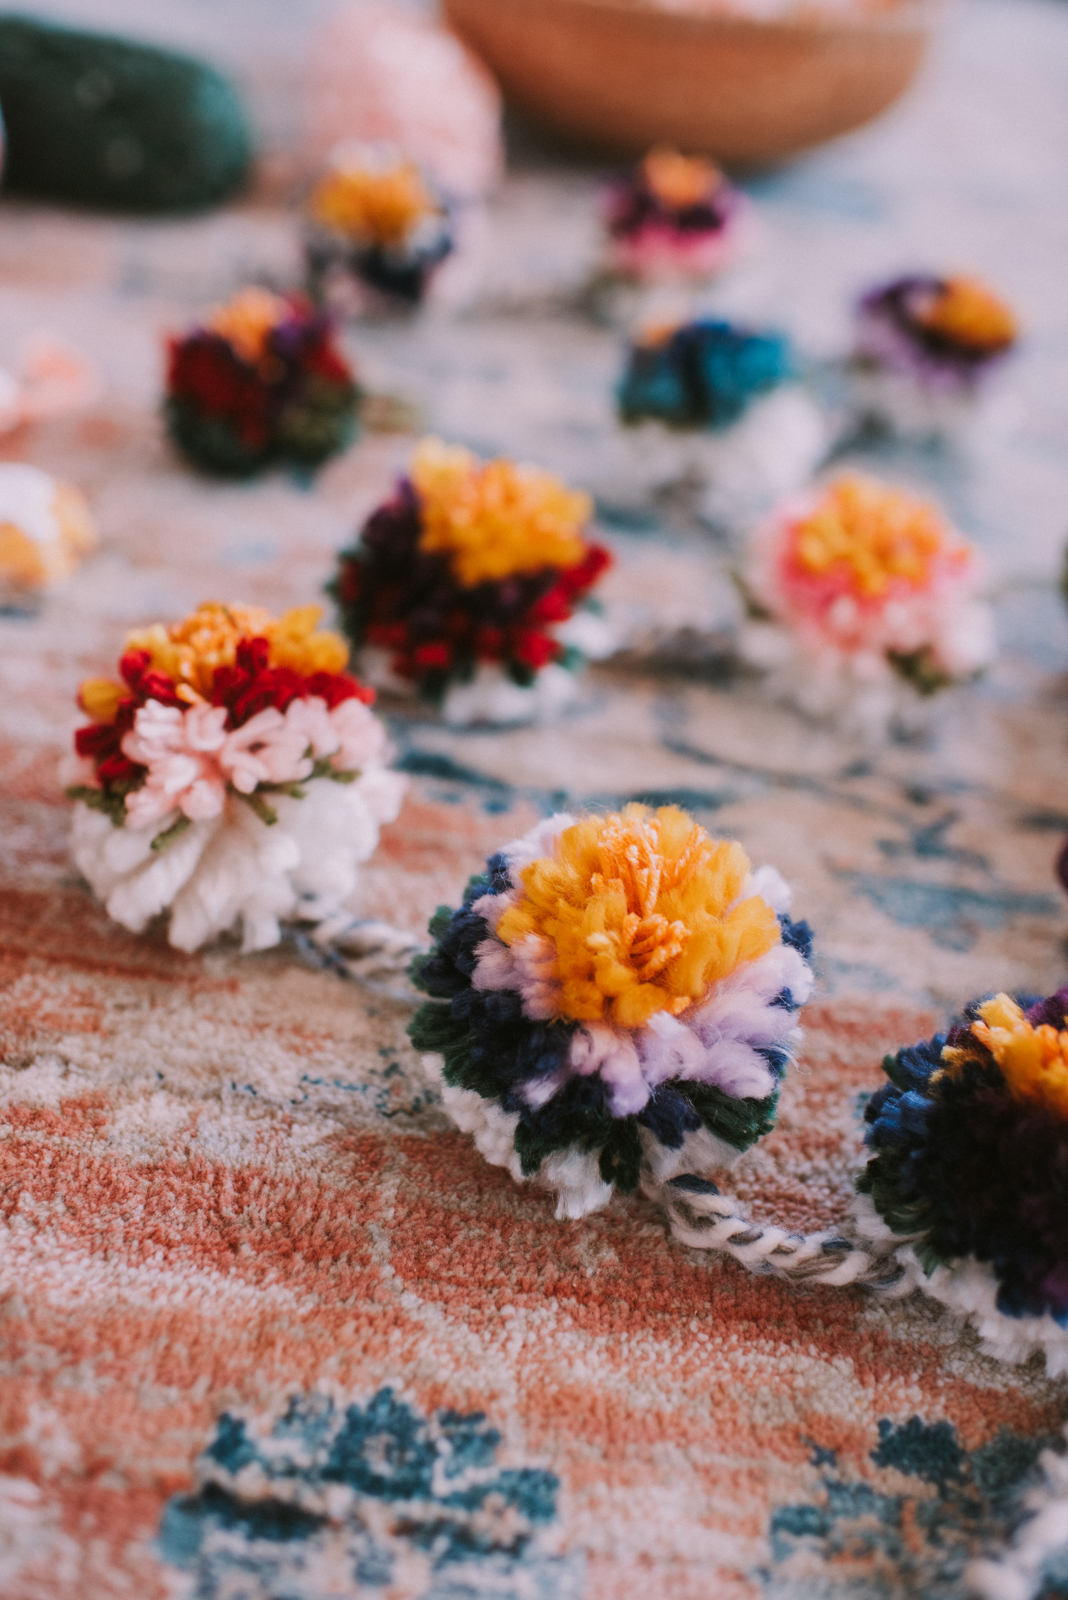
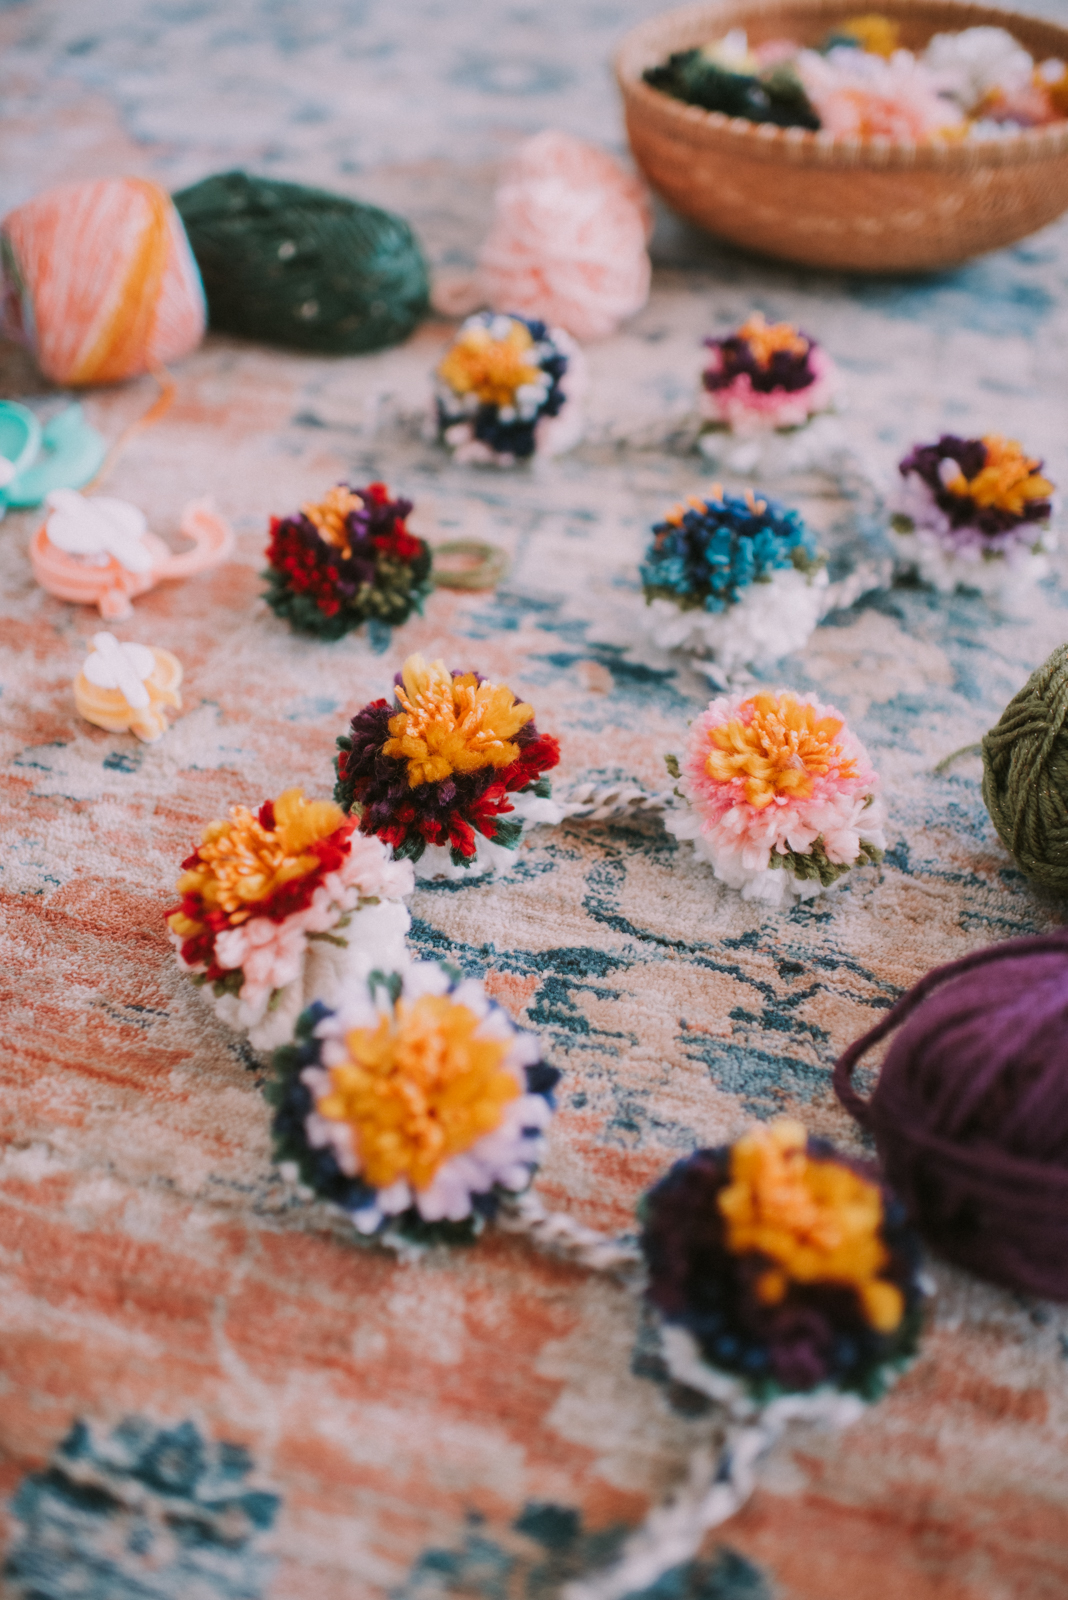
First you will want to choose the colors for your pompom flower. I used a yellow/orange yarn for the very center, two complimentary colors for the ‘petals’, and green for the ‘leaves’ and backside of the pompom.
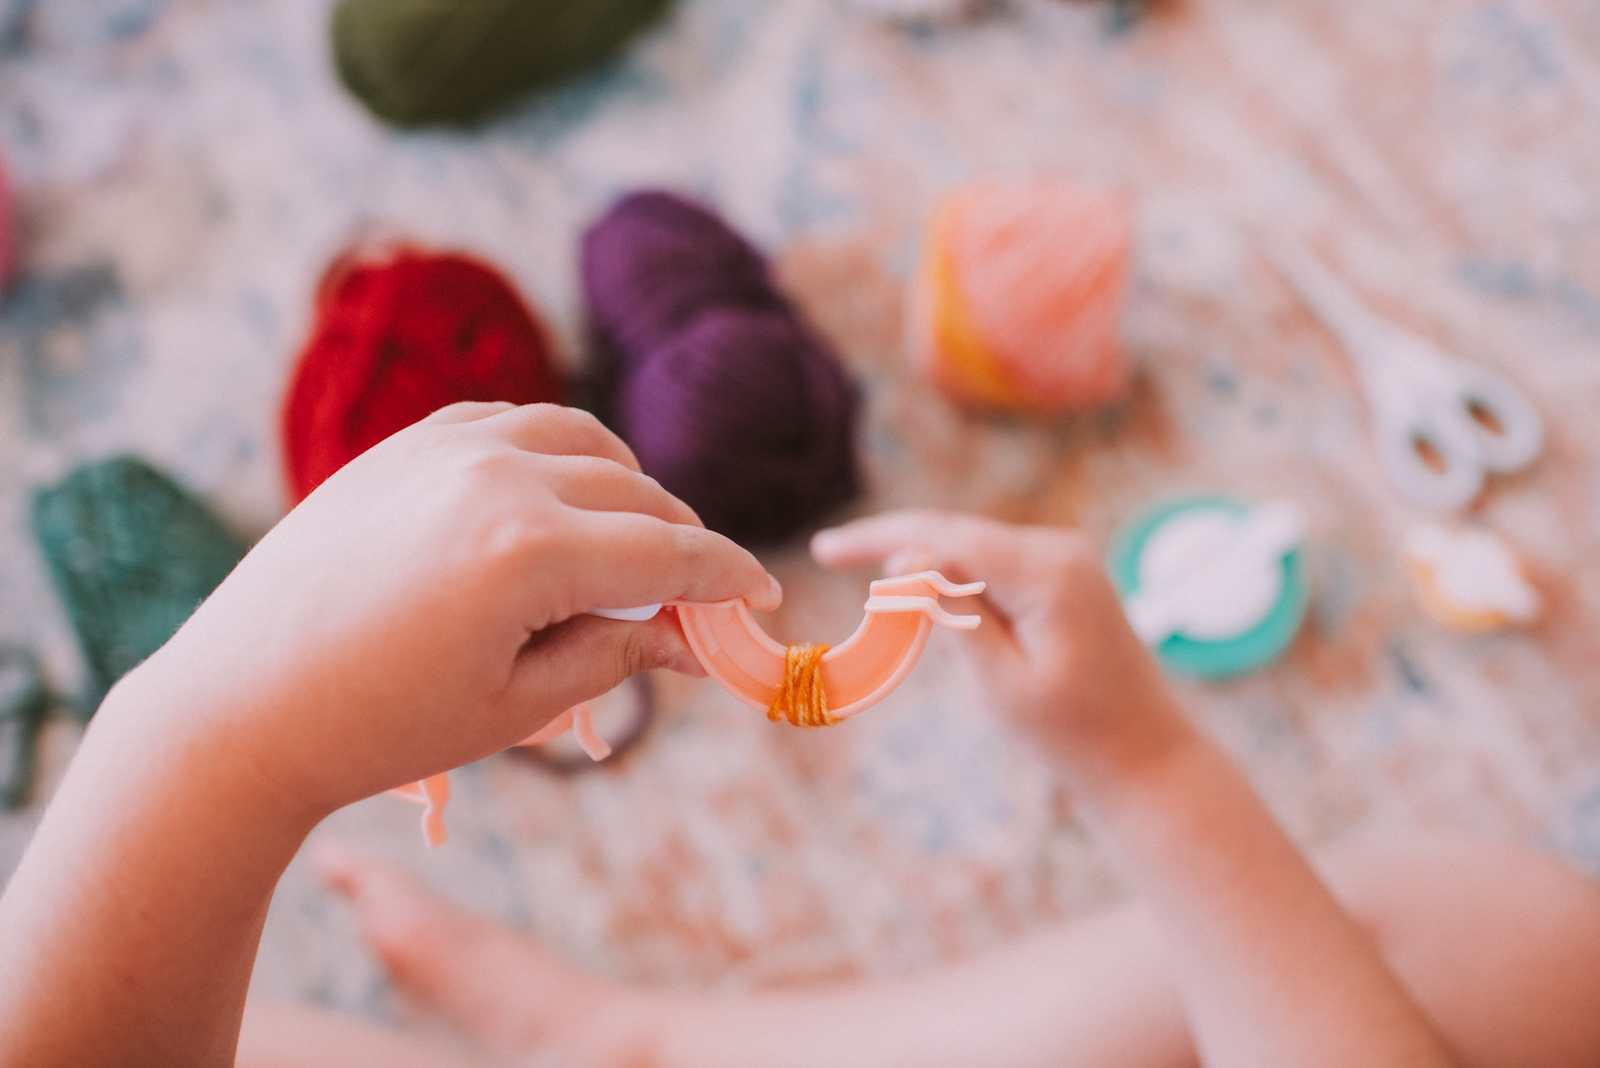
To start, you will want to begin by wrapping the yellow yarn about 10 times around the center of one side of your pompom maker. This will form the very center of the ‘flower’. If you use a thicker yarn, you may only need to wrap it a handful of times. Err on the side of less than more, as you will be layering yarn in this section and it will be tough to cut through if it gets too thick.
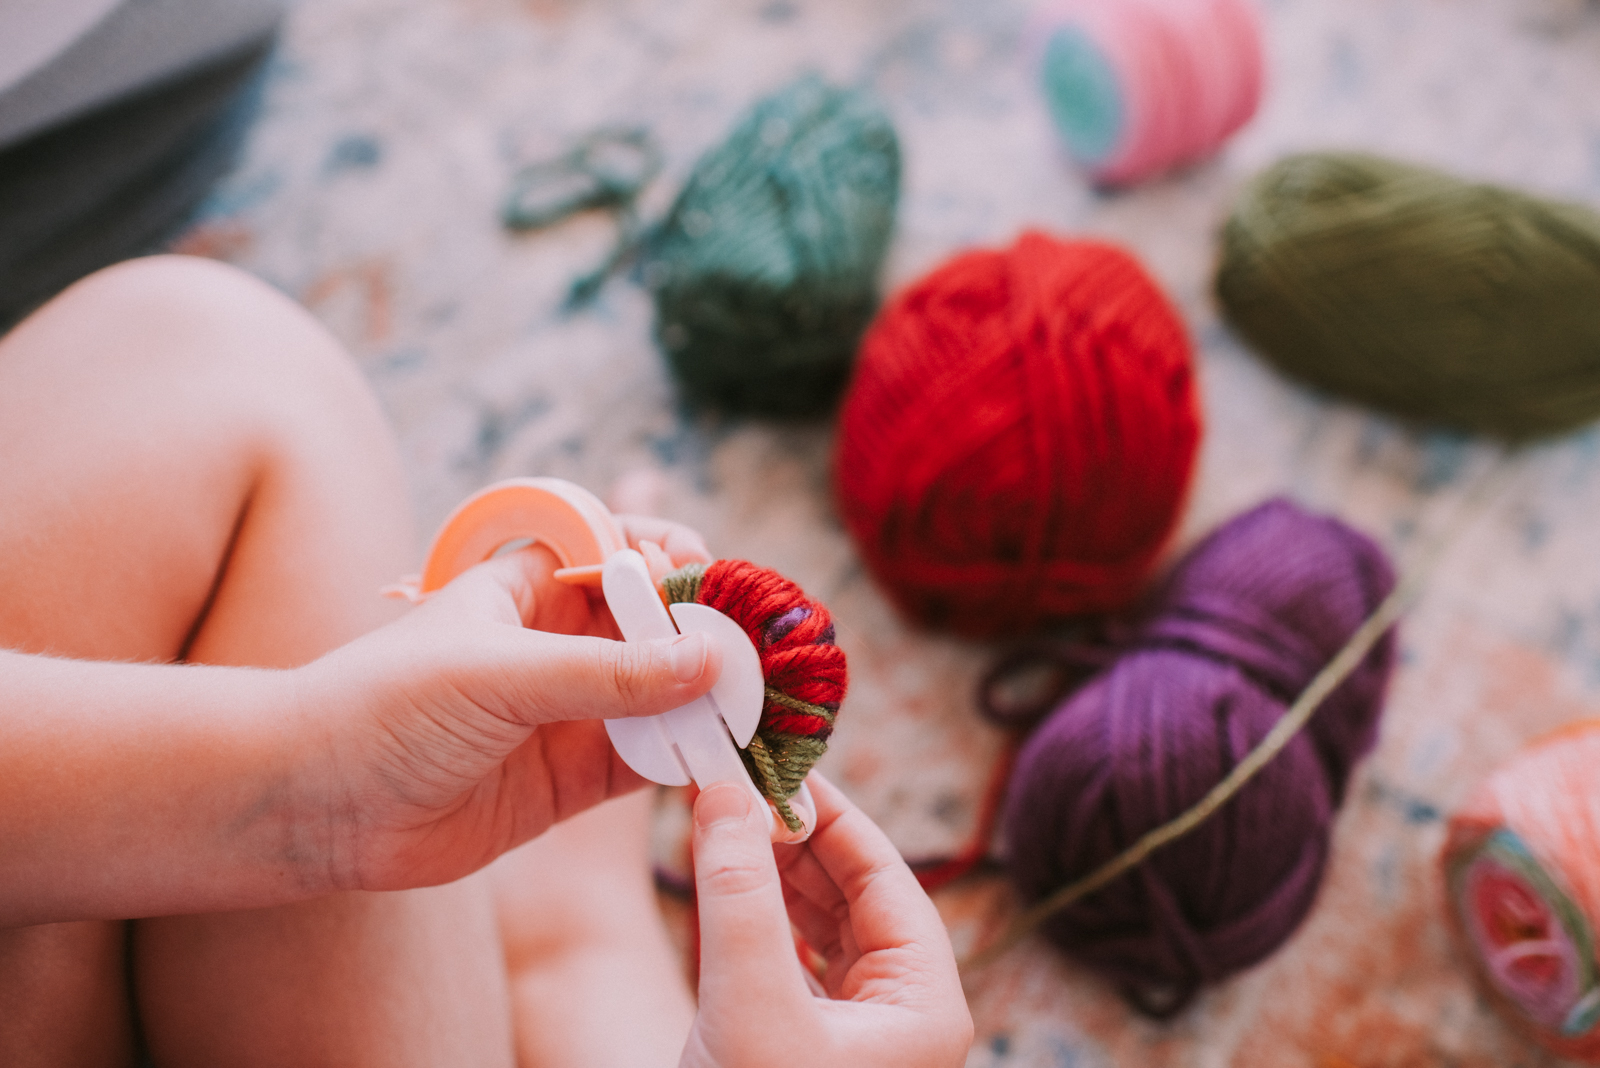
After you’ve wrapped your center color, cut it and just tuck the end in on itself (or just hold it in place with your finger). Begin wrapping your first ‘flower’ color yarn, going over the center yellow section, and fanning out a little further on the sides. You don’t have to completely cover the yellow, just be sure you add a little more to this layer than the first. Again, less is more here, since we still have one more layer to add!
After you’ve wrapped your second color you can start on your final flower color yarn. Again, you will want to layer this over that center section we have already wrapped, and also down the sides, leaving just a little space on each end.

After you’ve wrapped your three ‘flower’ colors, you can move on to your ‘leaves’. Using your green yarn, wrap the two open spaces on each end, so the entire side of the pompom maker is now filled.
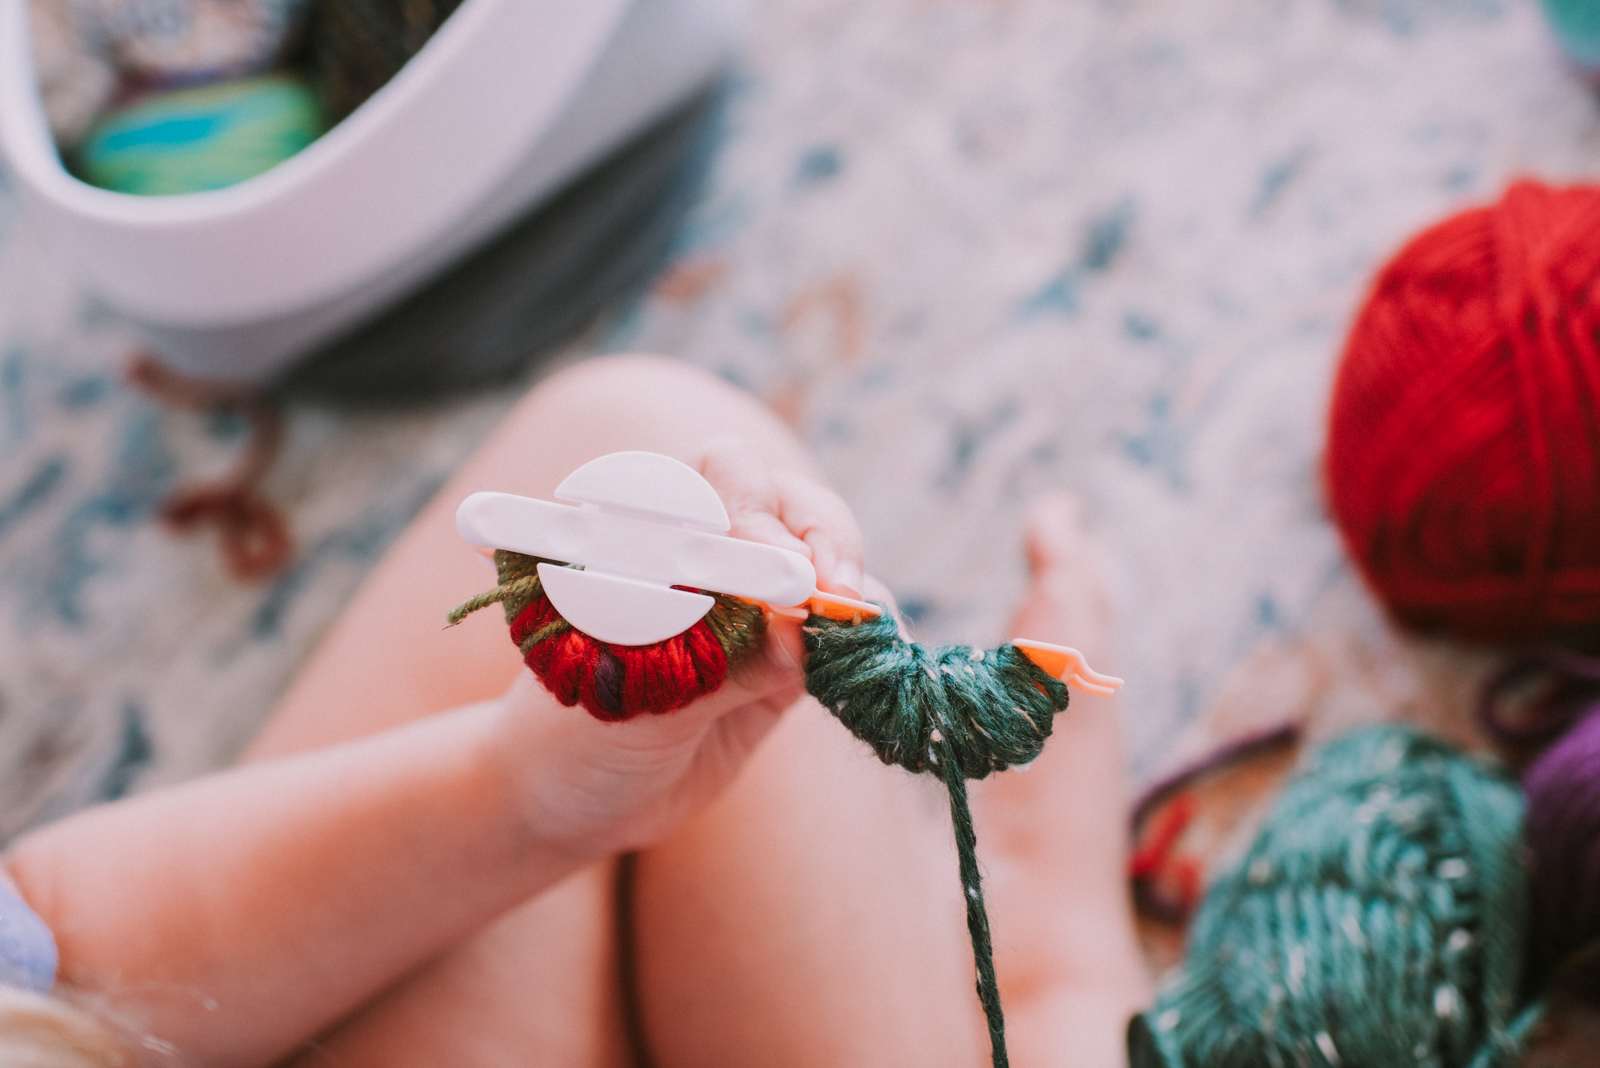
Once you’ve finished wrapping the green yarn, trim it and close that side of the pompom maker to keep your yarn in place. For the other side of our pompom we decided to finish it off using another green yarn we had on hand, but you could also use white or cream or another neutral, or you could repeat your flower pattern on the other side as well, to create two-sided floral pompoms. Whatever suits your fancy! Proceed to wrap the second half of the pompom maker in that color, then close it up to secure.
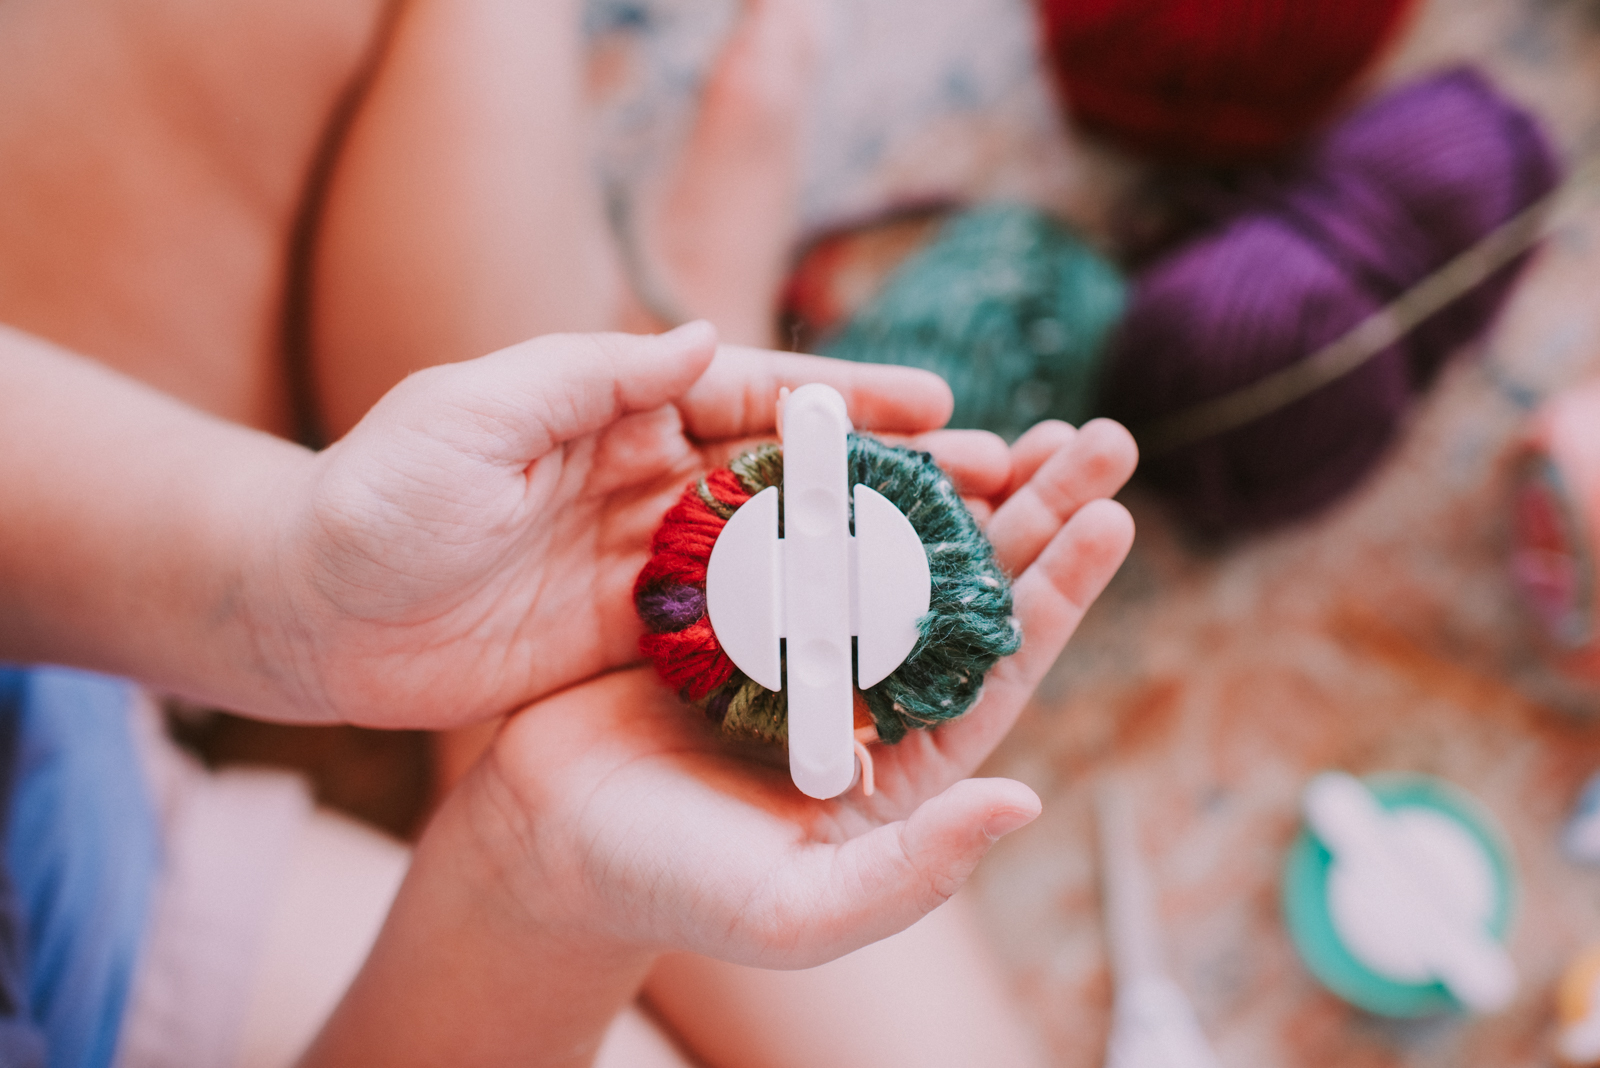
Once all of your yarn is wrapped around the pompom maker, grab your scissors and start slowly, and carefully, cutting along the midline section (there is a groove that makes it easier to follow the line). This is probably the trickiest part, so just go very slowly, cutting a few strings/sections at a time until you cut all the way around through all of your yarn.
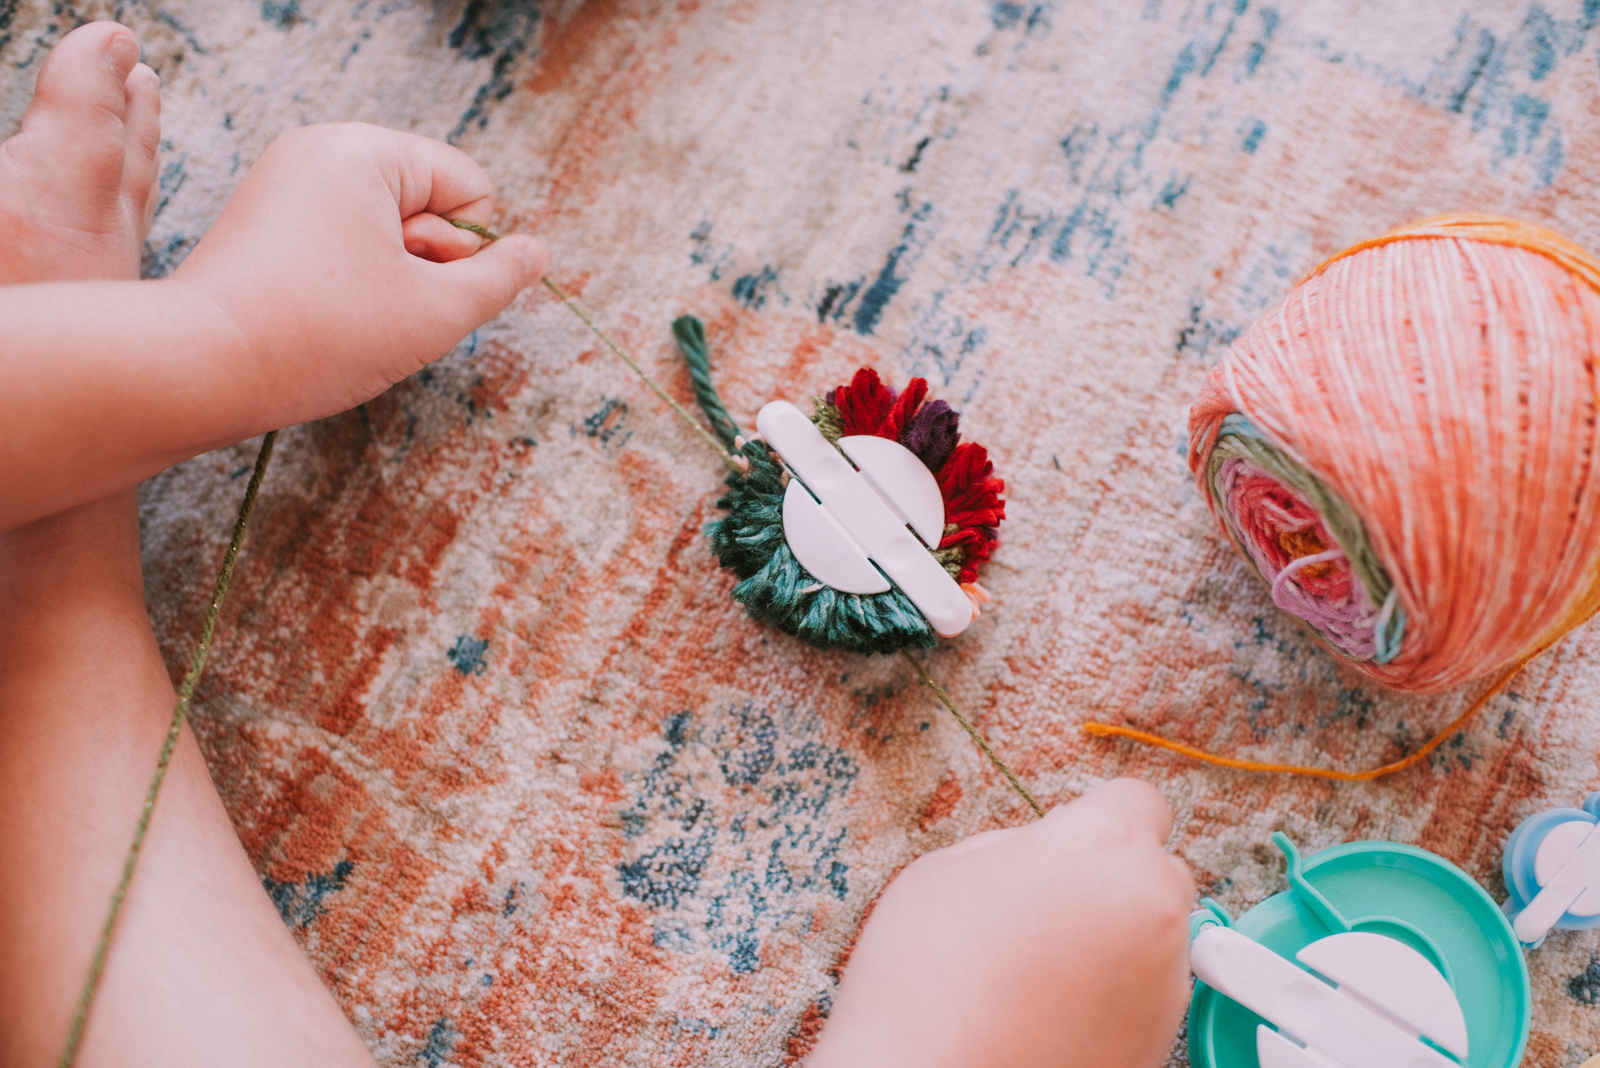
To finish, grab the thinnest yarn you used (the green yarn worked best here), and wrap it tightly around the pompom maker’s center, tying it a couple times to secure it.

Finally, open up your pompom maker and release your finished floral pompom!
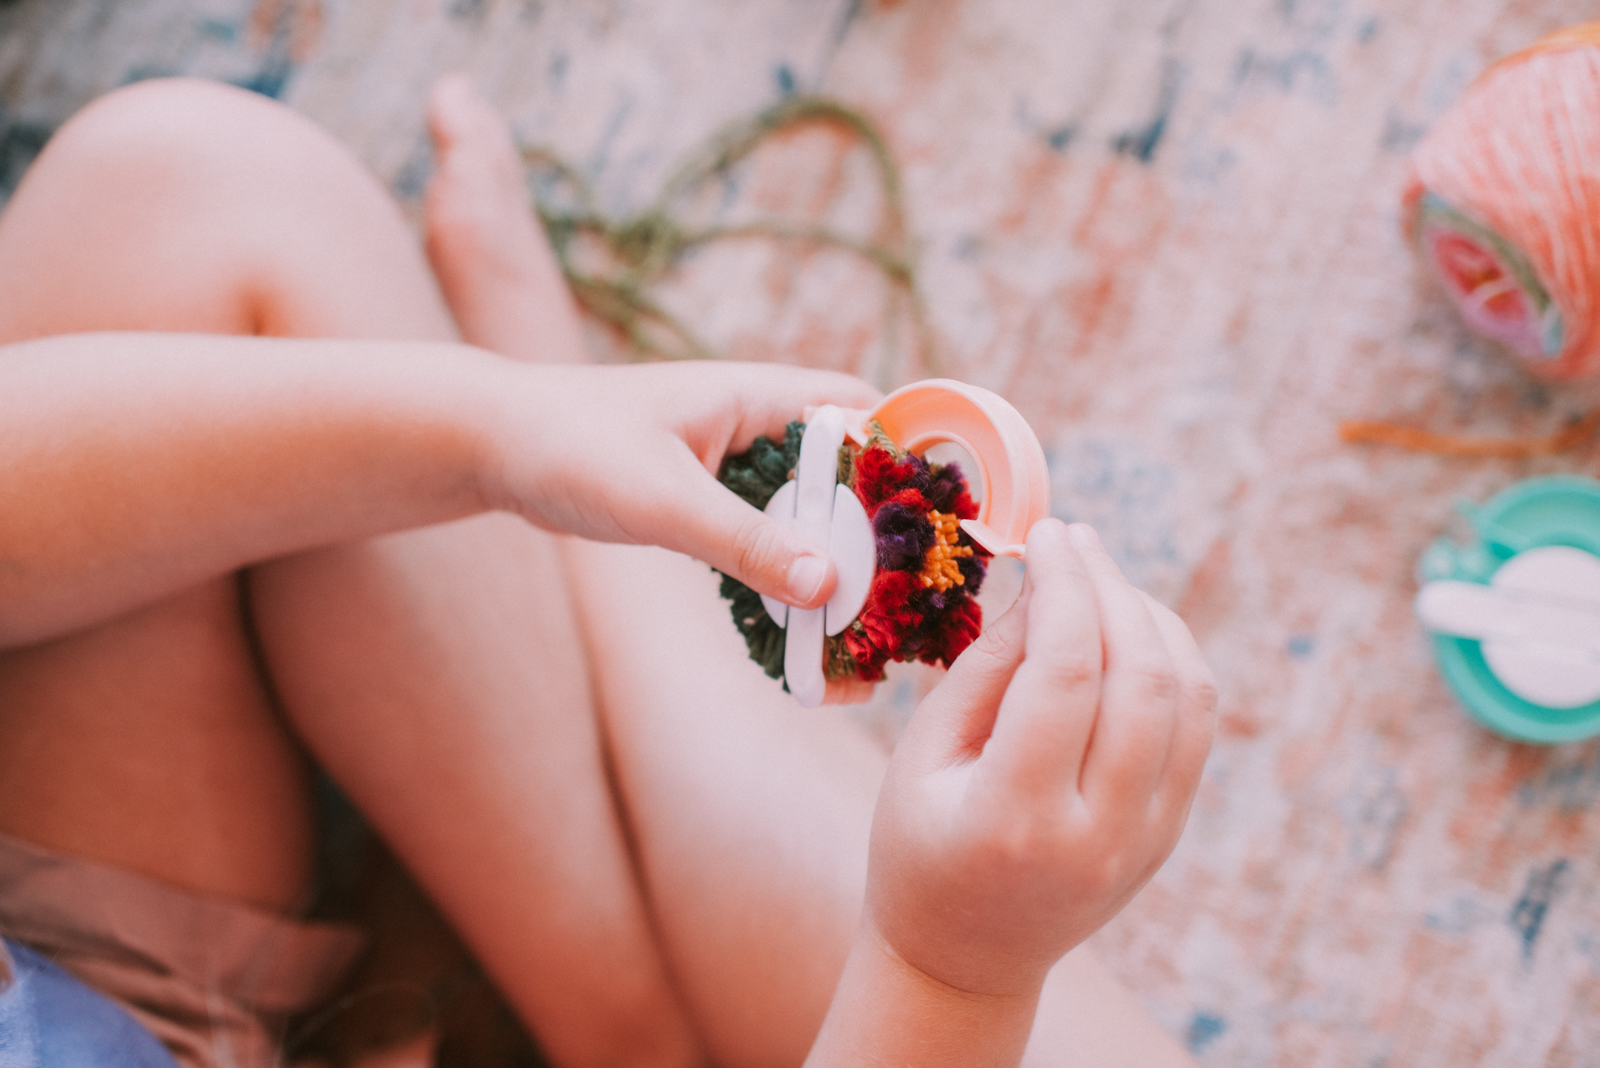
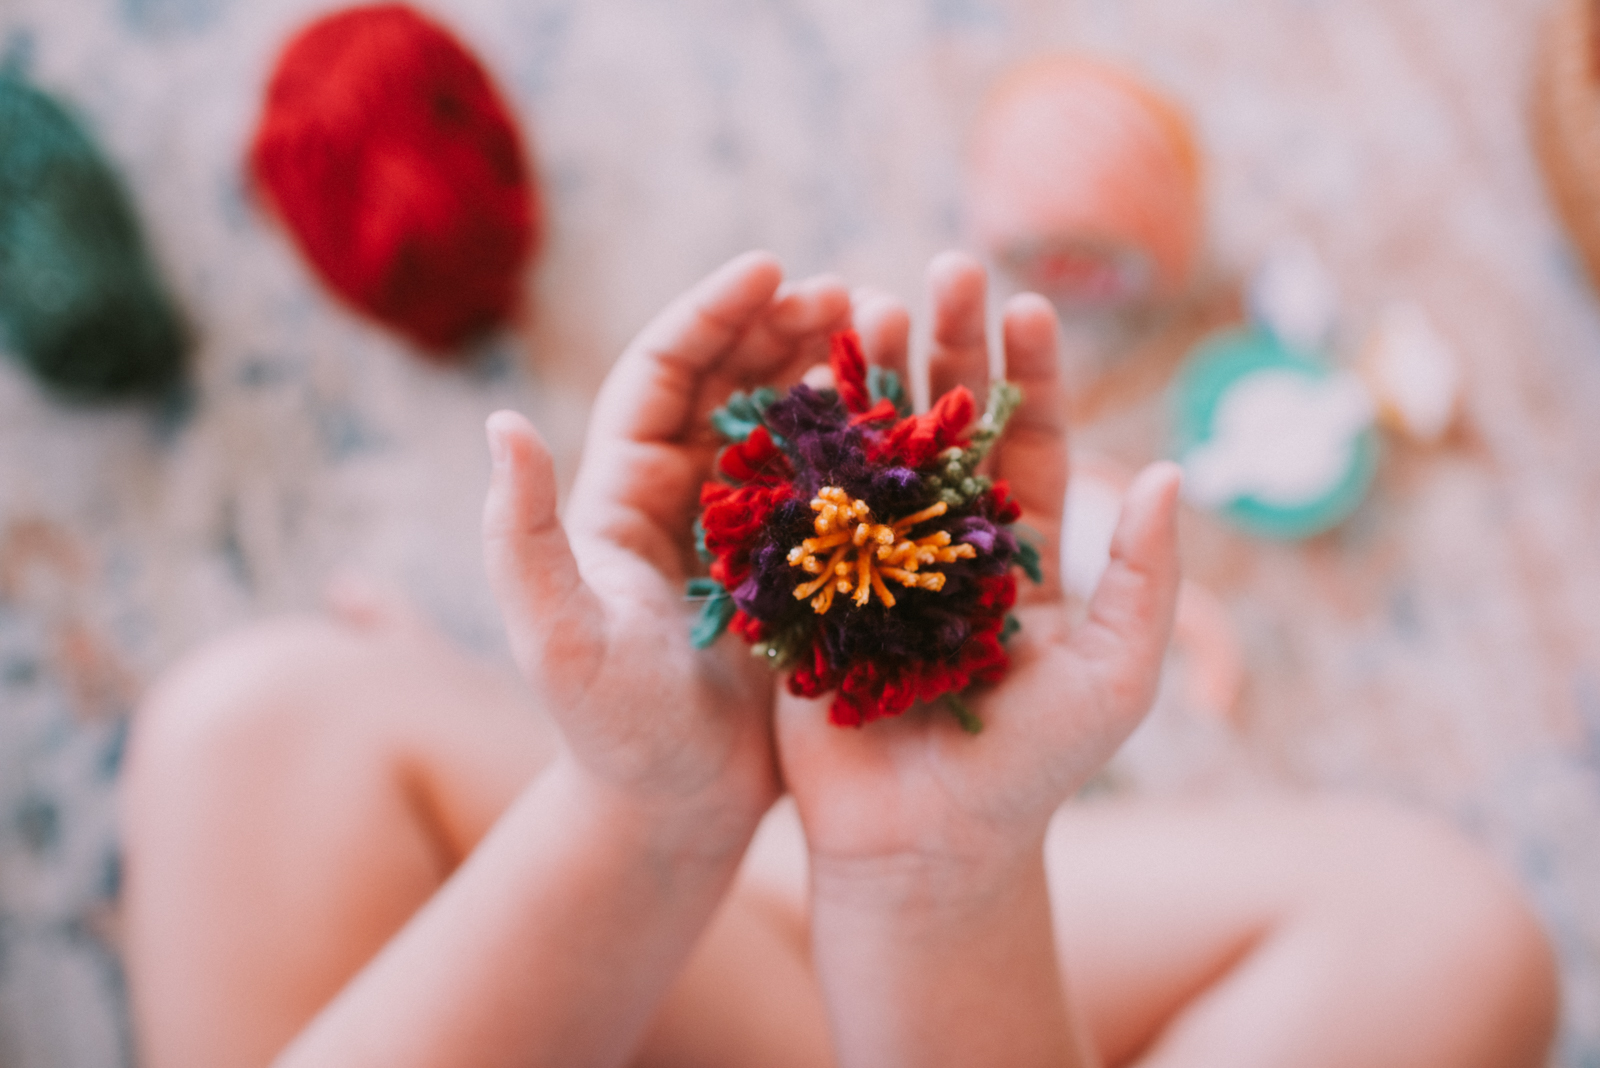
You may to trim it up to tame any loose or long yarn pieces, but other than that your pompom is done! SO EASY!!
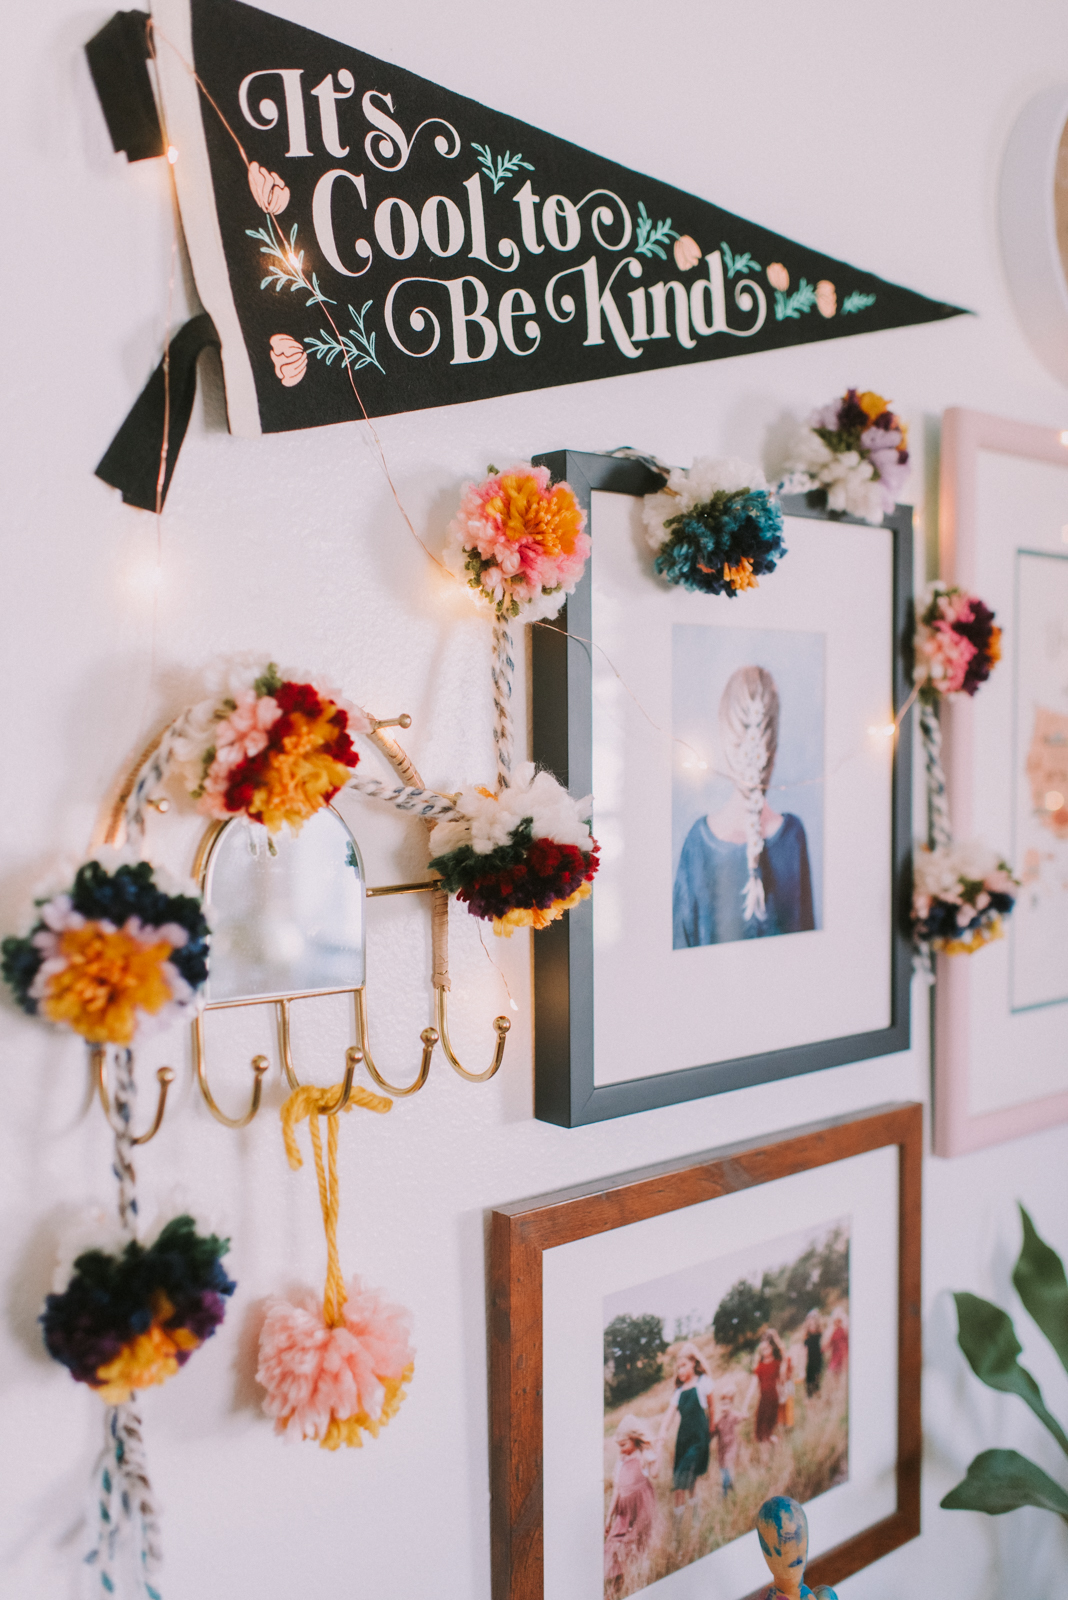
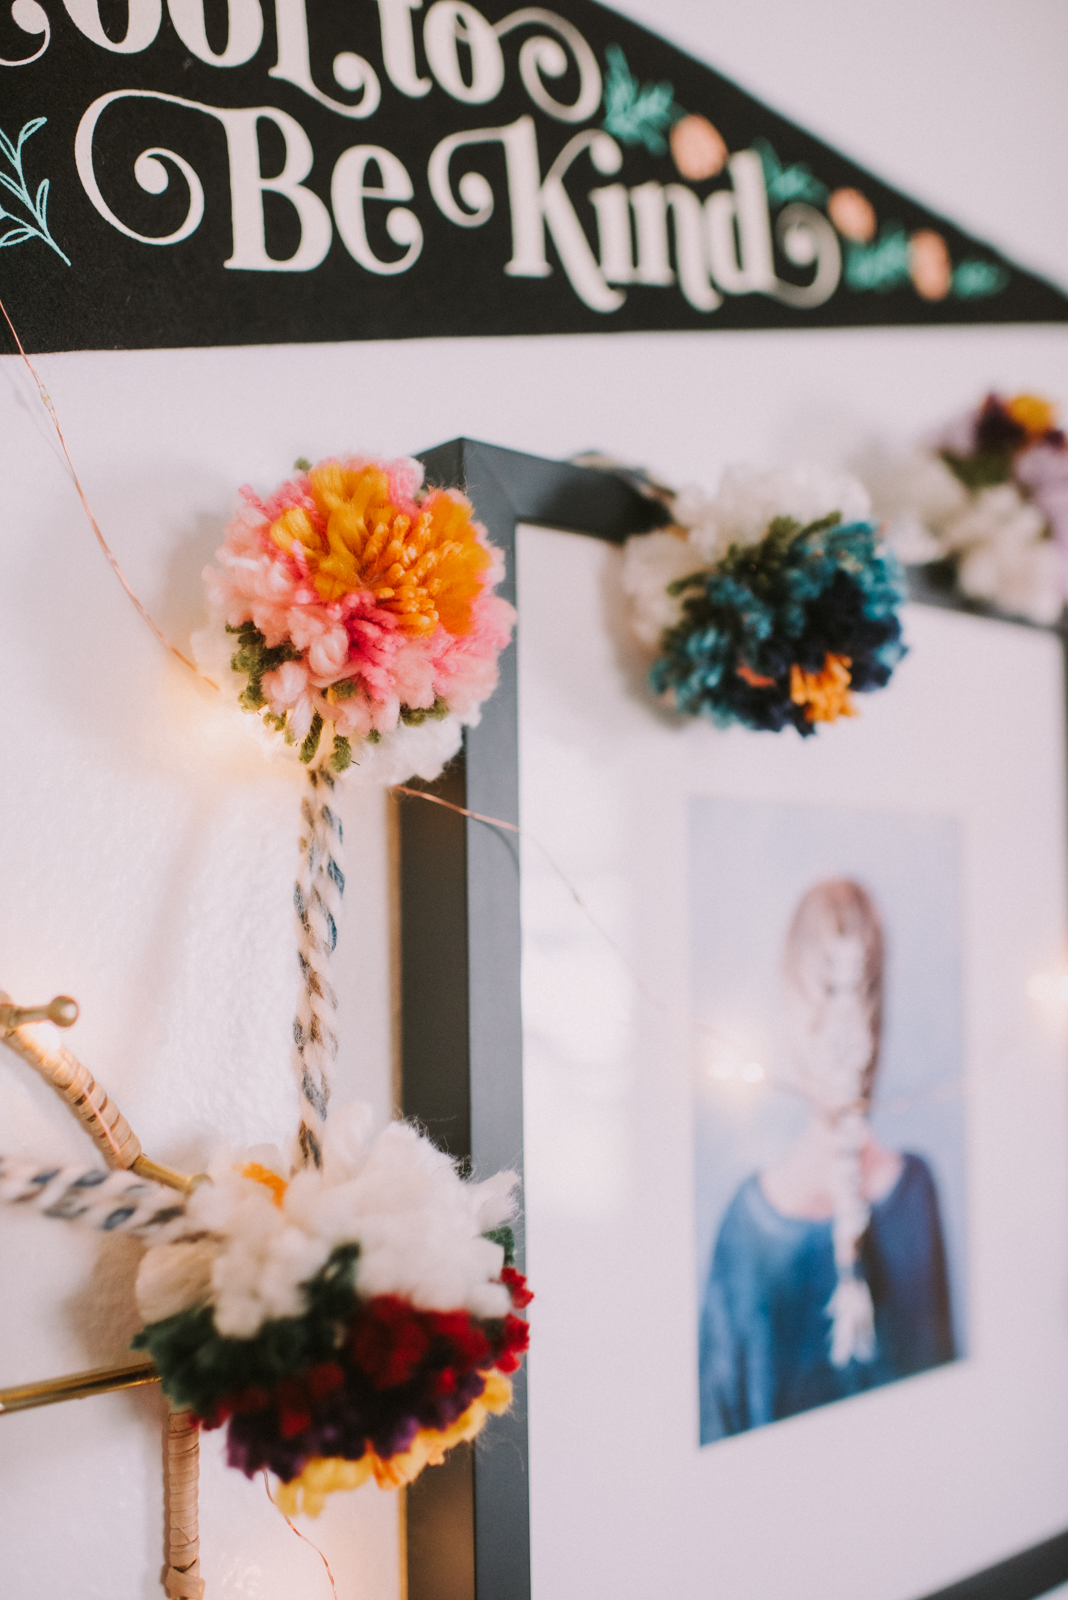
Once we got the hang of this we couldn’t stop making more! I made a bunch of ‘flowers’ and then strung them to a longer string to hang. So easy and such a sweet decoration or gift!
You can also just tie these to a bag or backpack, decorate a gift bag, or just hang in your car or around the house. It’s the little things!
July 8, 2020


")
freebies
We've created free resources and downloads just for you!! Be sure to check them out!
take me to the freebies!
Leave a Reply


View Comments +
+ Add A Comment