
a lifestyle blog about motherhood, intention, whimsical moments, and wellness
Hanging Hearts Window Art
")
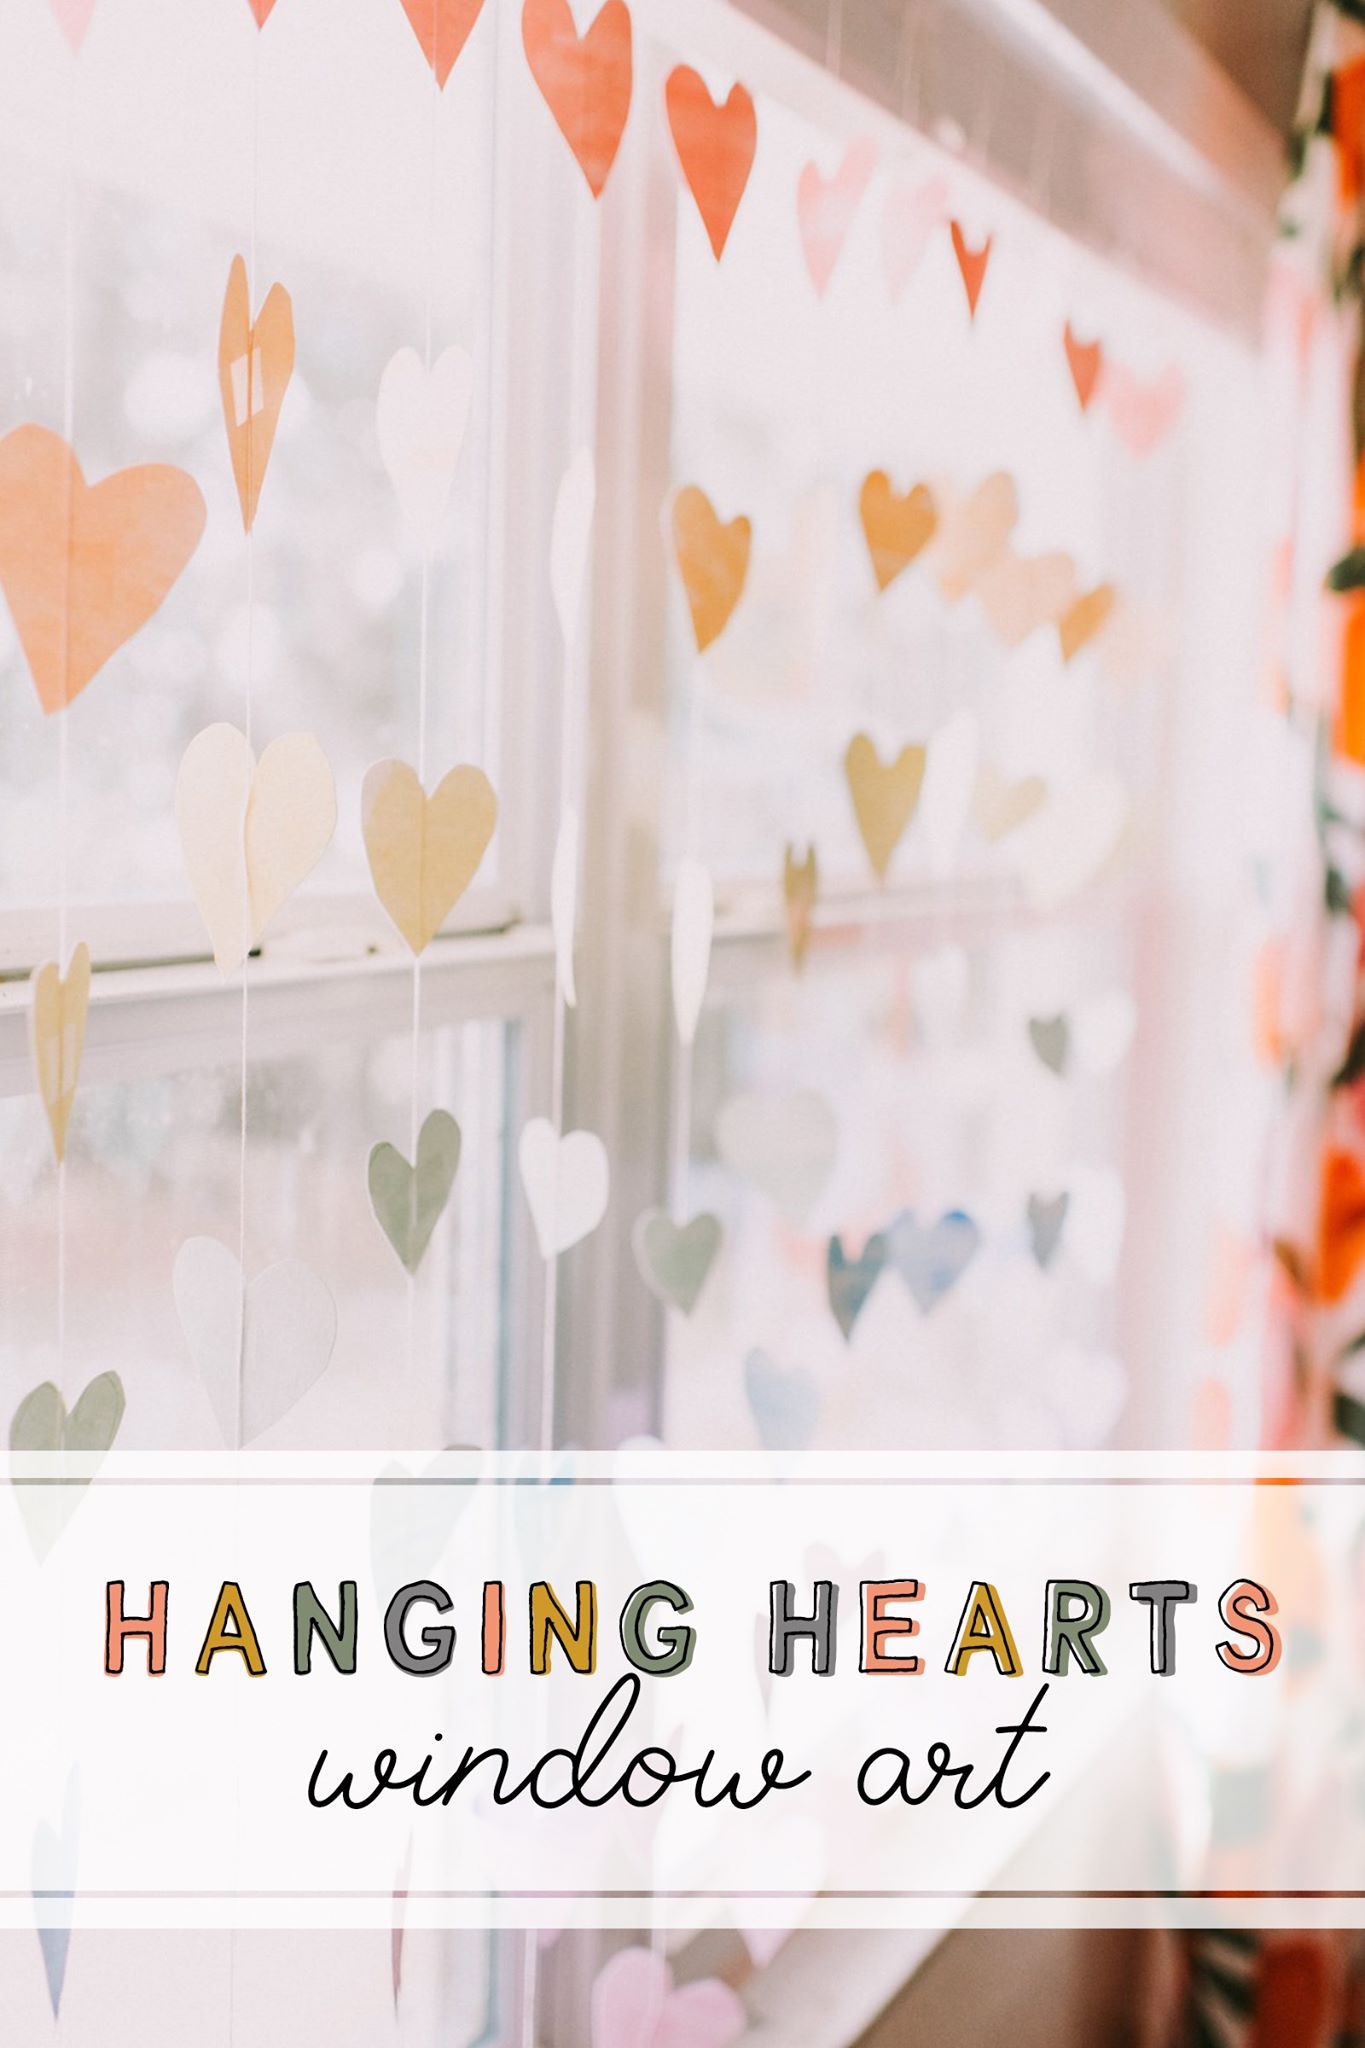
Hanging Hearts Window Art

Lexi Wharem is a mother and photographer based in Lake Wales, Florida. She can be found on instagram sharing pieces of her life and work as she chases her dreams of being an visual storyteller.
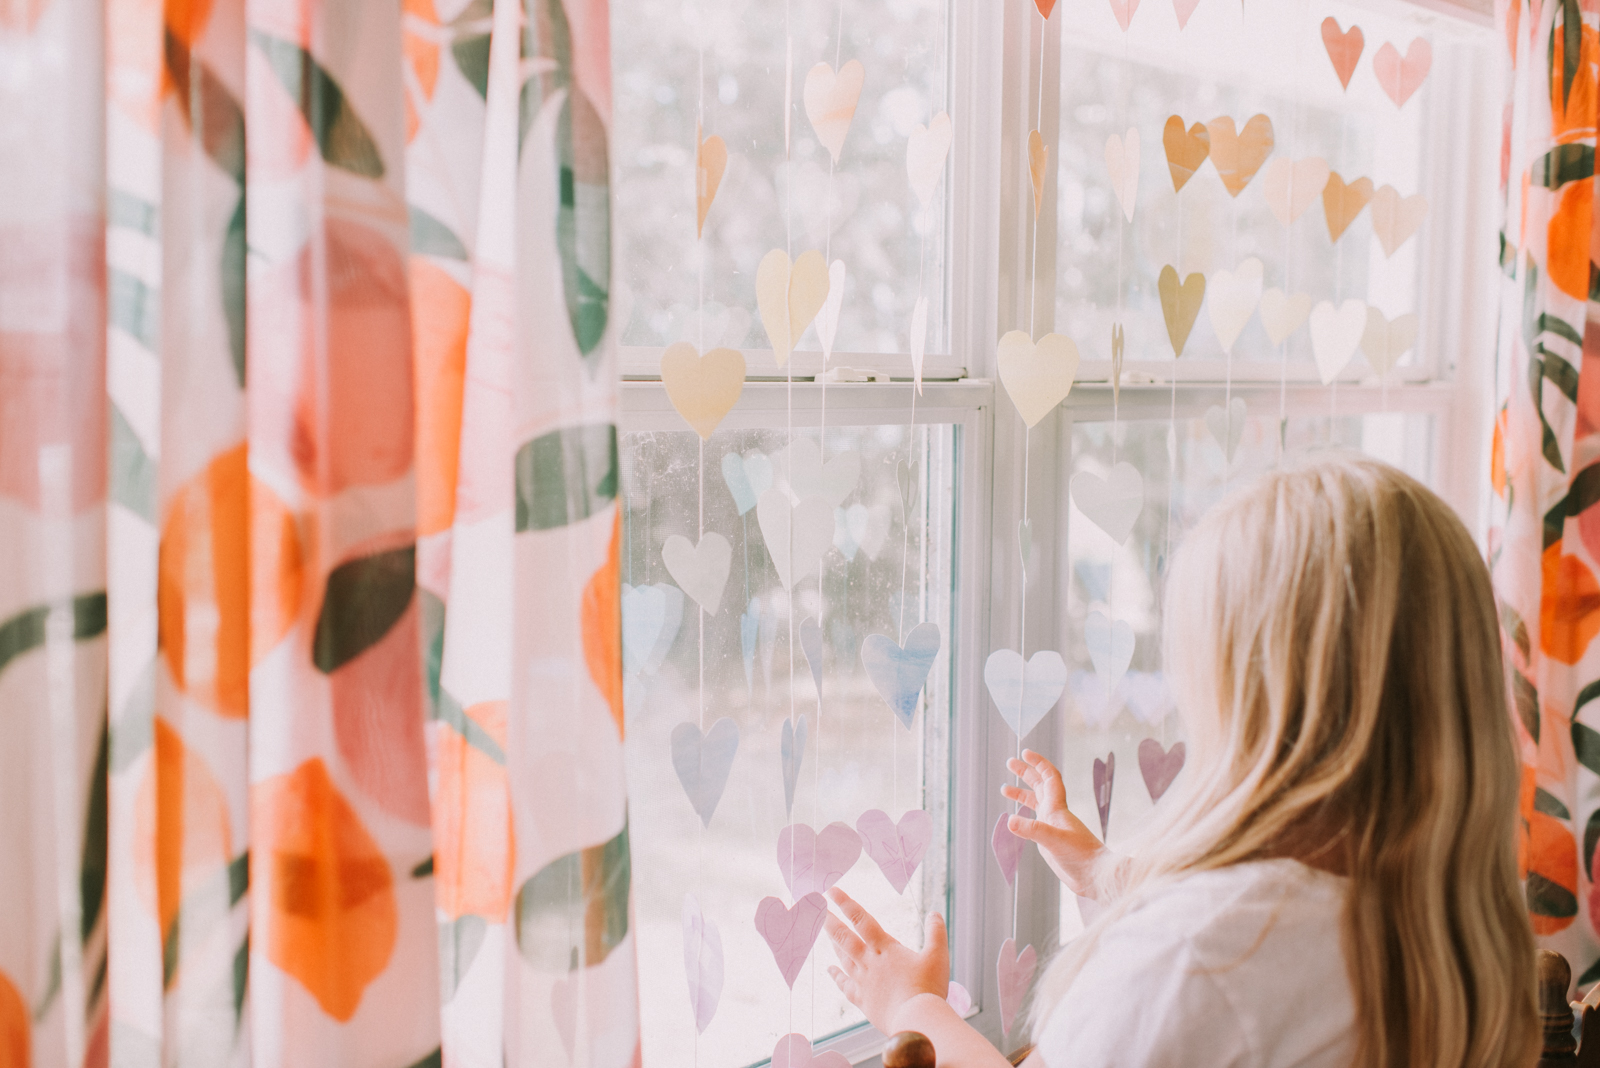
One of the sweetest things that has come out of quarantine life has been all the beautiful and inspiring window art! I have seen some really creative ideas, but I’m always thinking about how I can create something in a way that I can reuse it again elsewhere in my home. I have been wanting to create a little something with my girls in mind, so hearts and rainbows were right on theme!
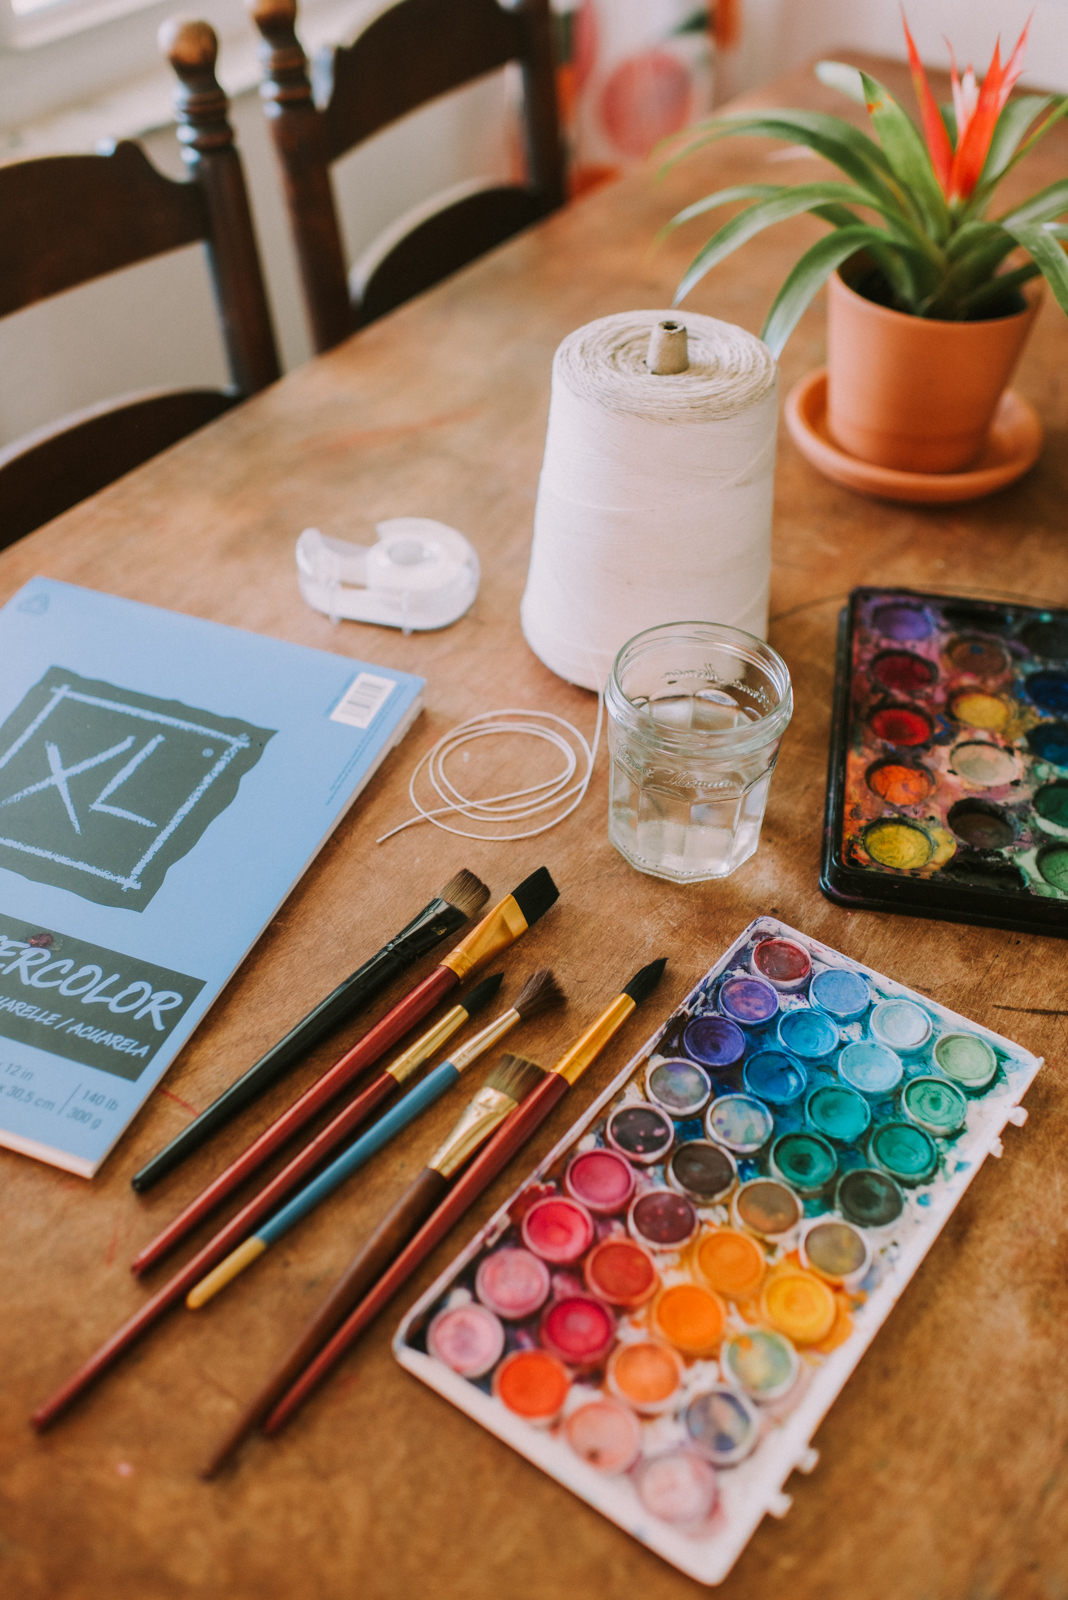
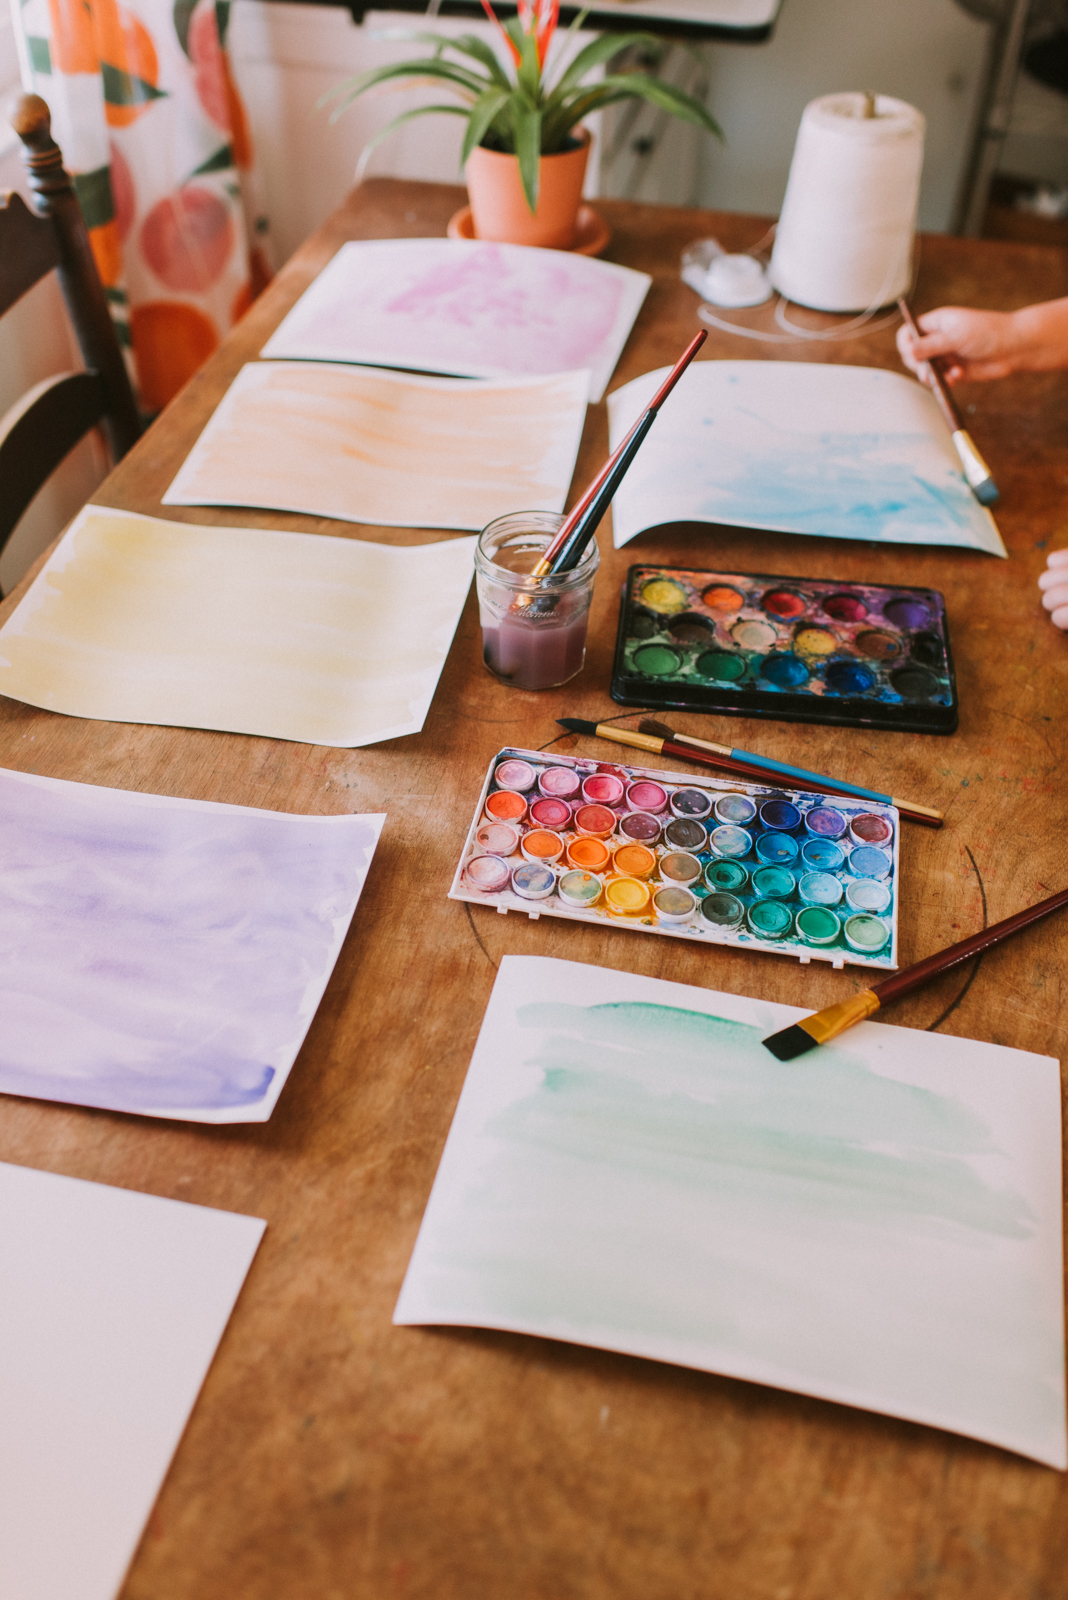
Once I decided I wanted to make hanging garland with rainbow hearts, I knew watercolors would be a quick and easy way to lay down some color. Plus, I love the texture that watercolor paper and splotchy paints make… I really wanted my garland to look handmade and imperfect! So I grabbed our watercolors and brushes, watercolor paper (the real stuff is nice and thick and works best!), and some twine and tape for later!
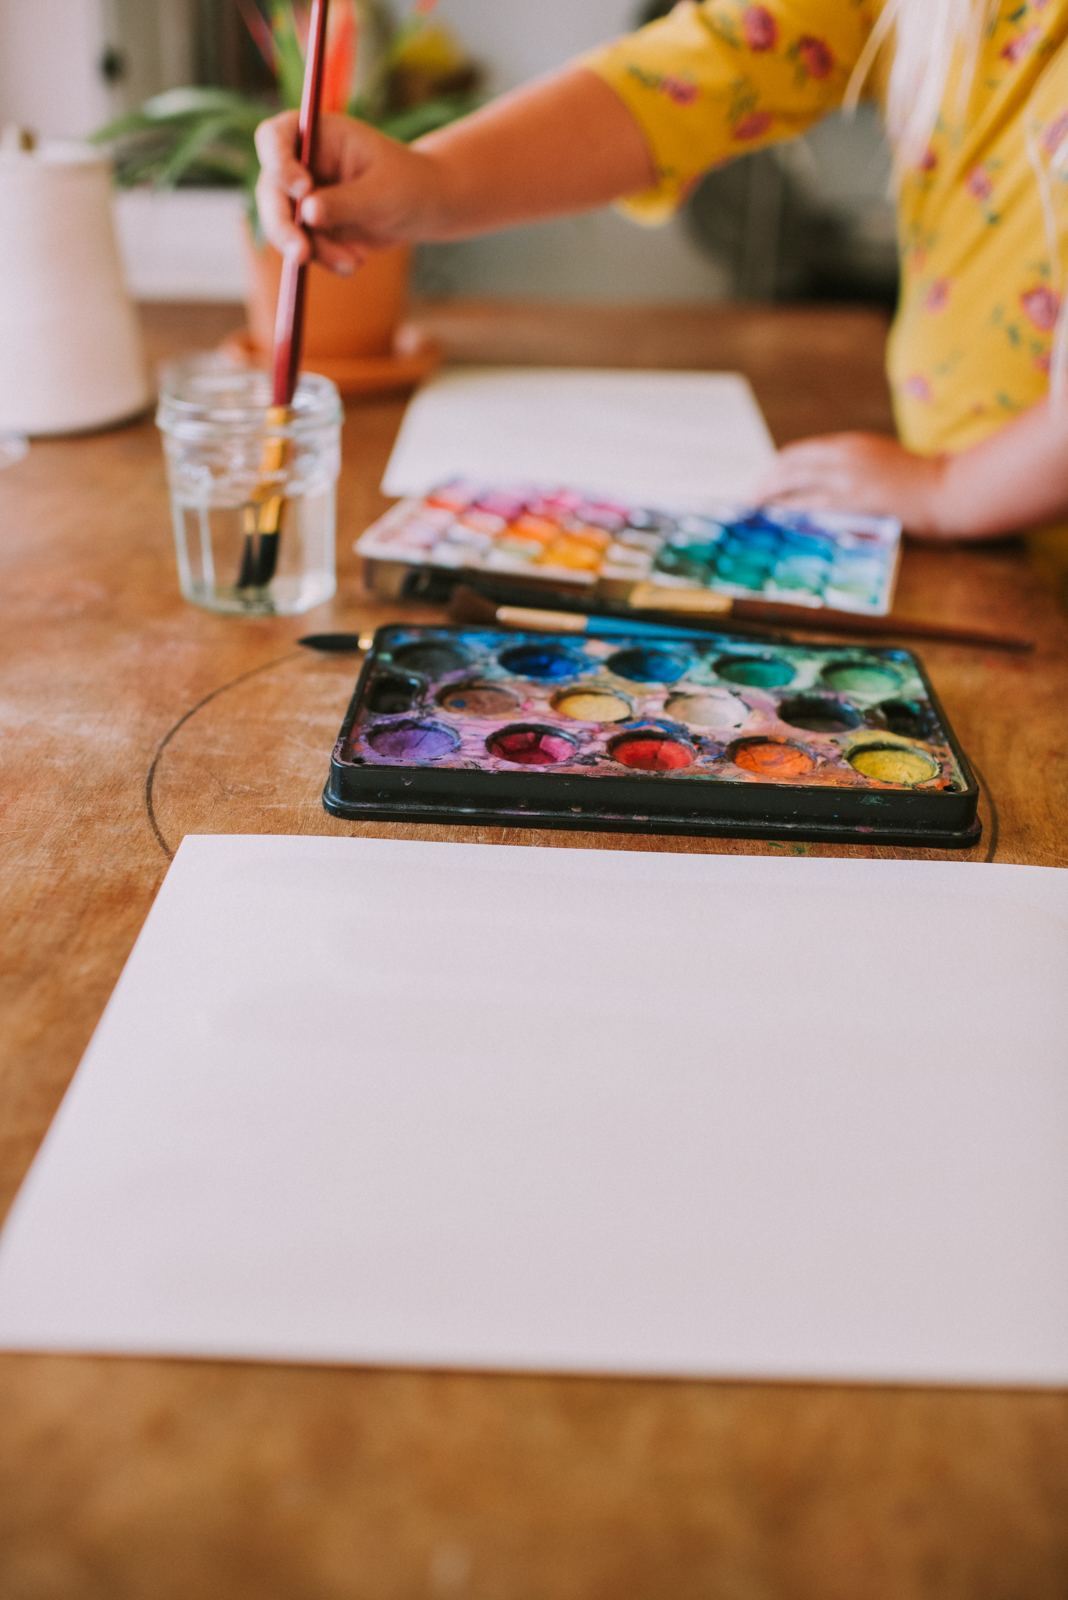
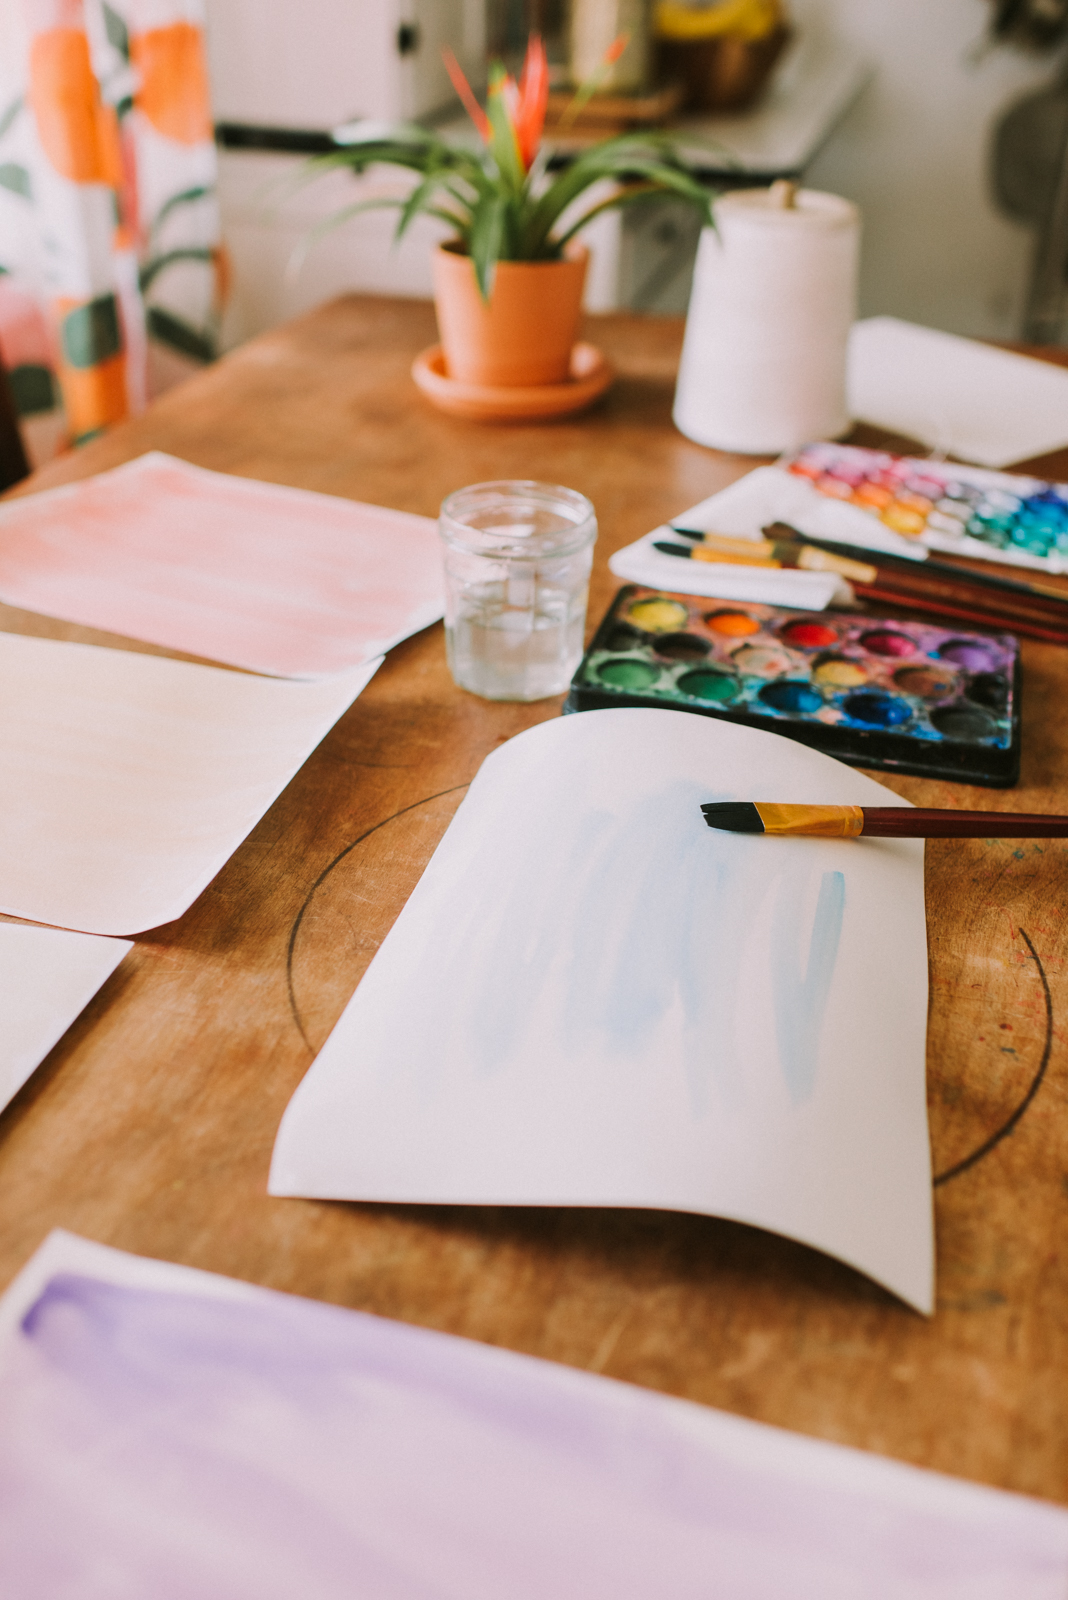
To speed up the painting process I suggest brushing your paper with plain water first, then dip your wet brush in the watercolor of choice, saturate it, then brush over your paper. The wet surface should soak up the paint and help it spread easily.
This is a great step to involve the kids! Ask them to help you with a project and encourage them to paint their favorite color, and don’t worry too much if they veer off course a bit. Remember that we are going for the homemade look and nothing needs to be perfect!
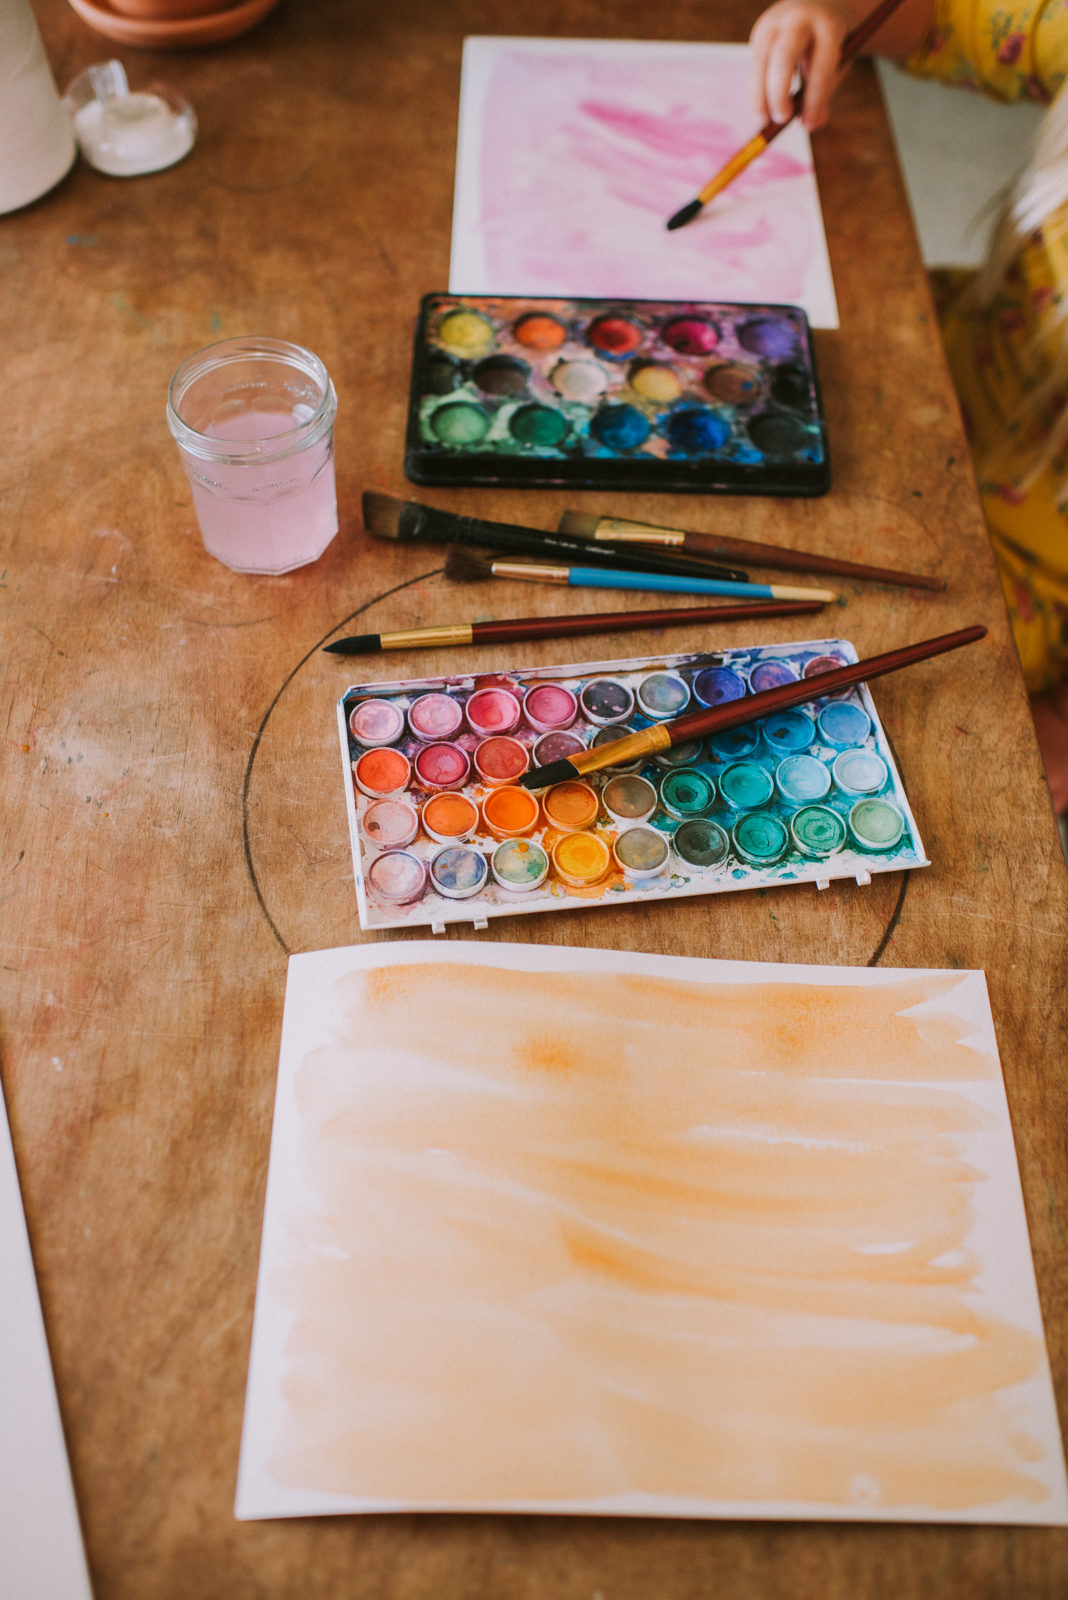
Paint a sheet for each color that you want to include in your set. Lay your papers out to dry, and as they do you may want to gently curl any edges that have curled up a lot. Don’t worry too much about this, since we will be repeating these steps on the other side of the paper and it should correct itself.
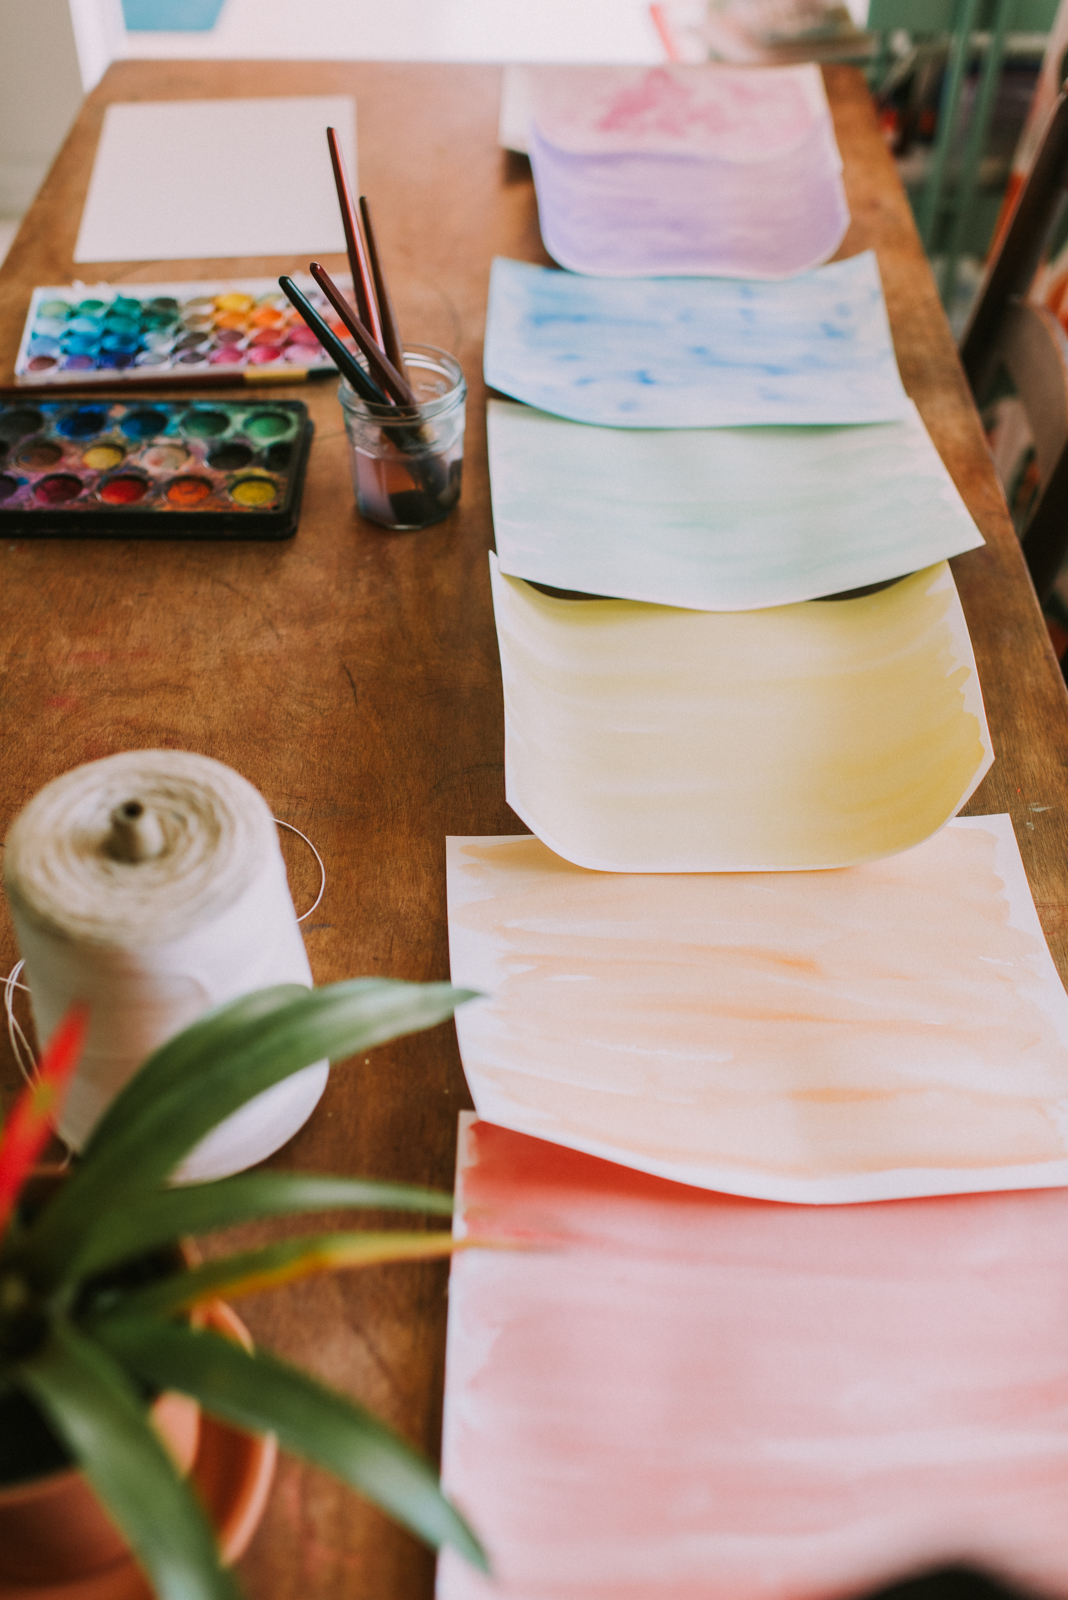
Once all your papers have dried you will want to repeat the painting process on the opposite side of the paper. Be sure to paint the matching color, so that when we cut out our shapes they will be double sided with the same color.
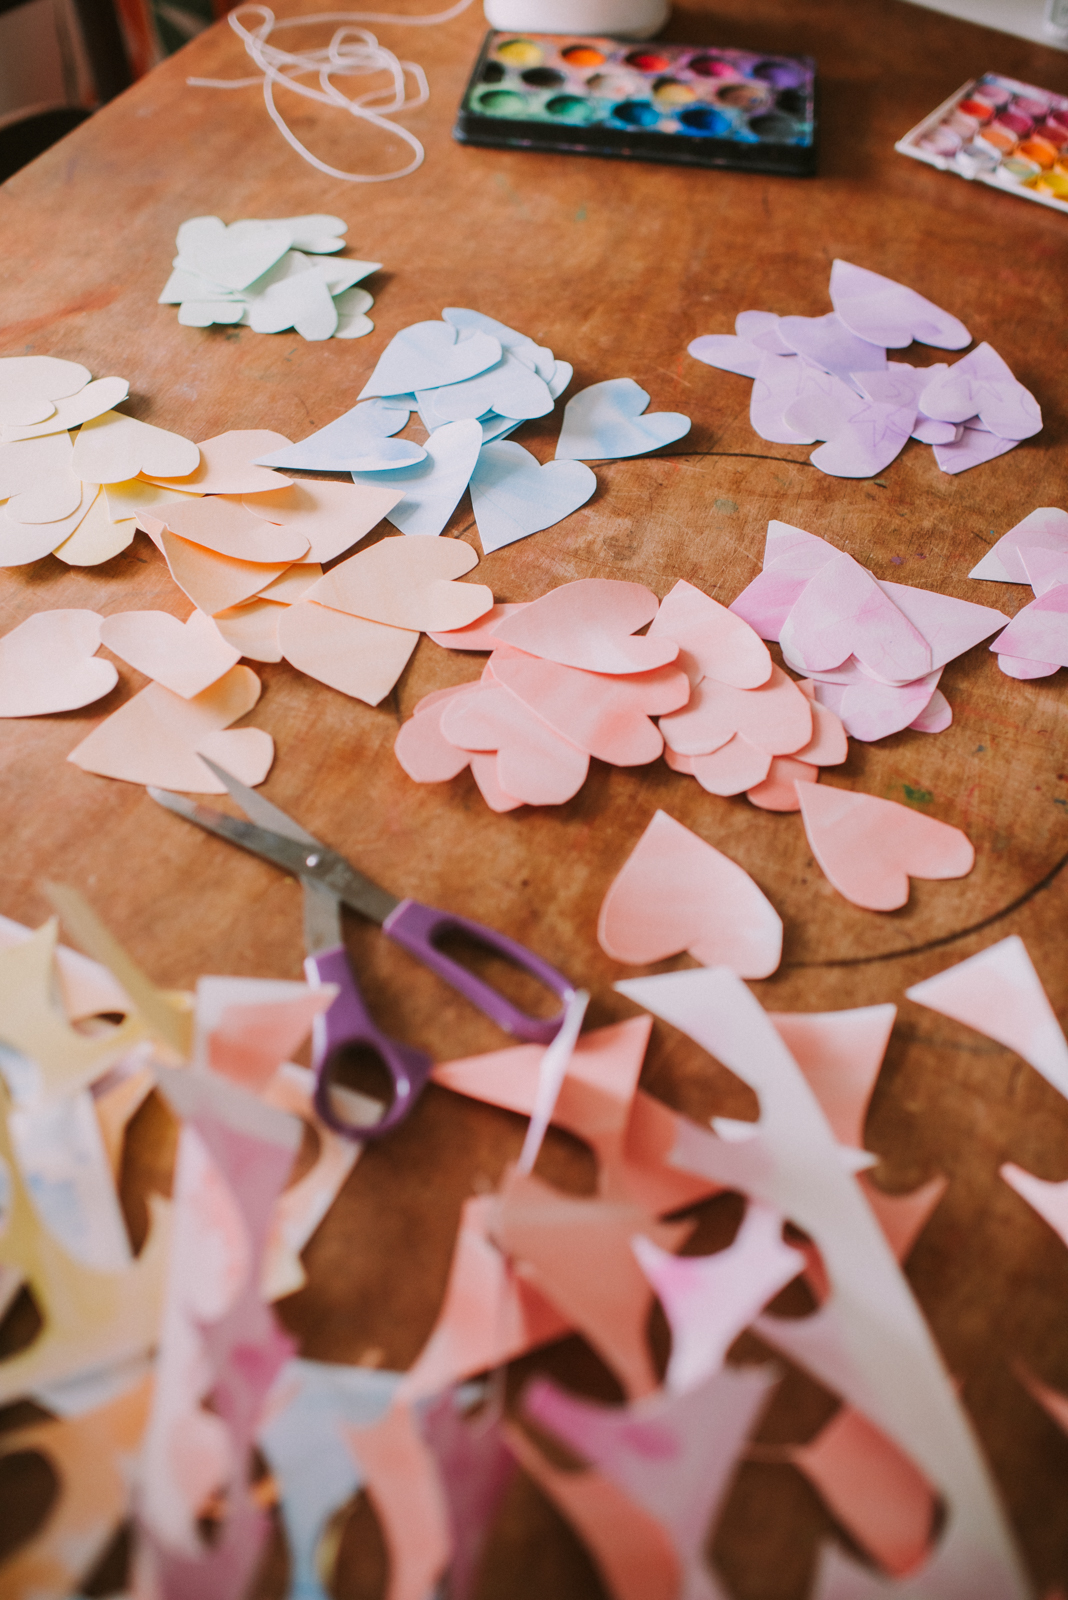
Once you’ve painted both sides of your papers and they have dried out thoroughly, you will want to roughly sketch your shape onto your paper. You can freehand this, use a stencil if you have one, or just ask your child to draw them to ensure you keep embracing imperfection!
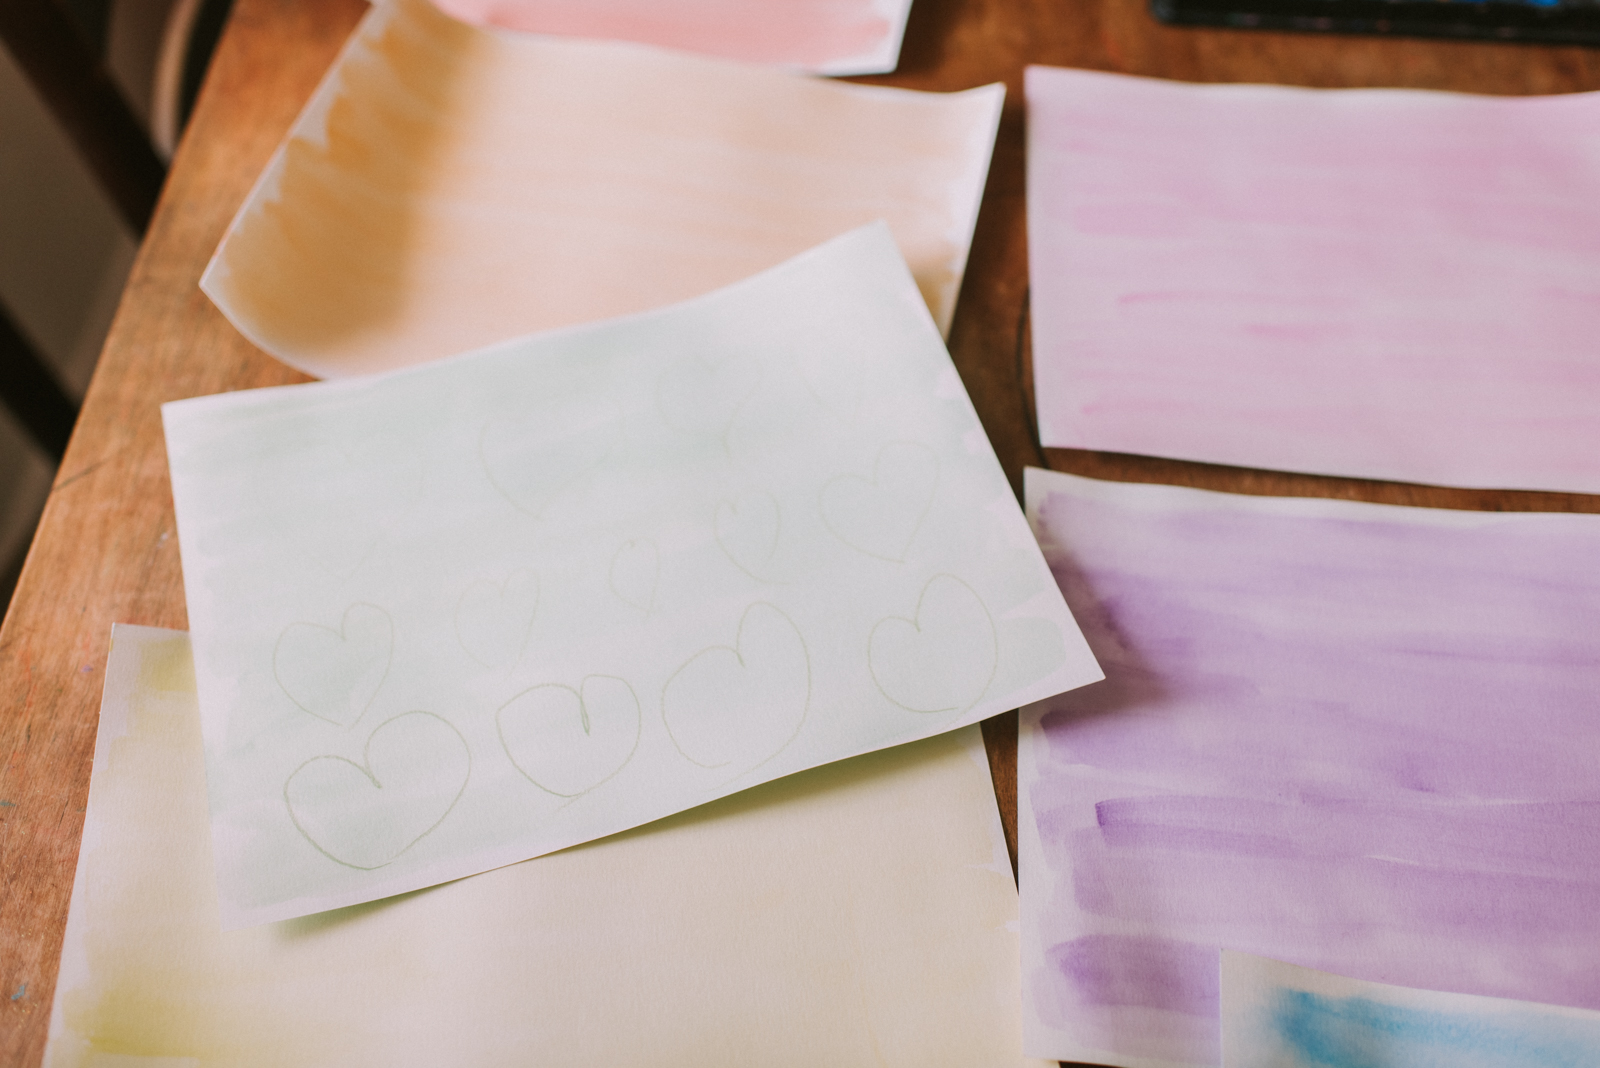
You can ask your child to help you cut out the shapes, or just roughly cut them out while they continue drawing. To speed up this process you can also fold the paper and cut one side of your shape out along the fold, thus cutting out a symmetrical shape (this works for hearts, starts and rainbows!) I just did it the old fashioned way and it was positively therapeutic!
Next you’ll want to cut out your twine a little longer than the height of the window it will be hanging in. I cut a few at a time and then laid them out with my hearts so I could roughly match the spacing from strand to strand. I left extra string at the top (where I will tape it to secure it in the window), and at the bottom I taped the last heart to the end of the string, so there was no ‘tail’ hanging out.
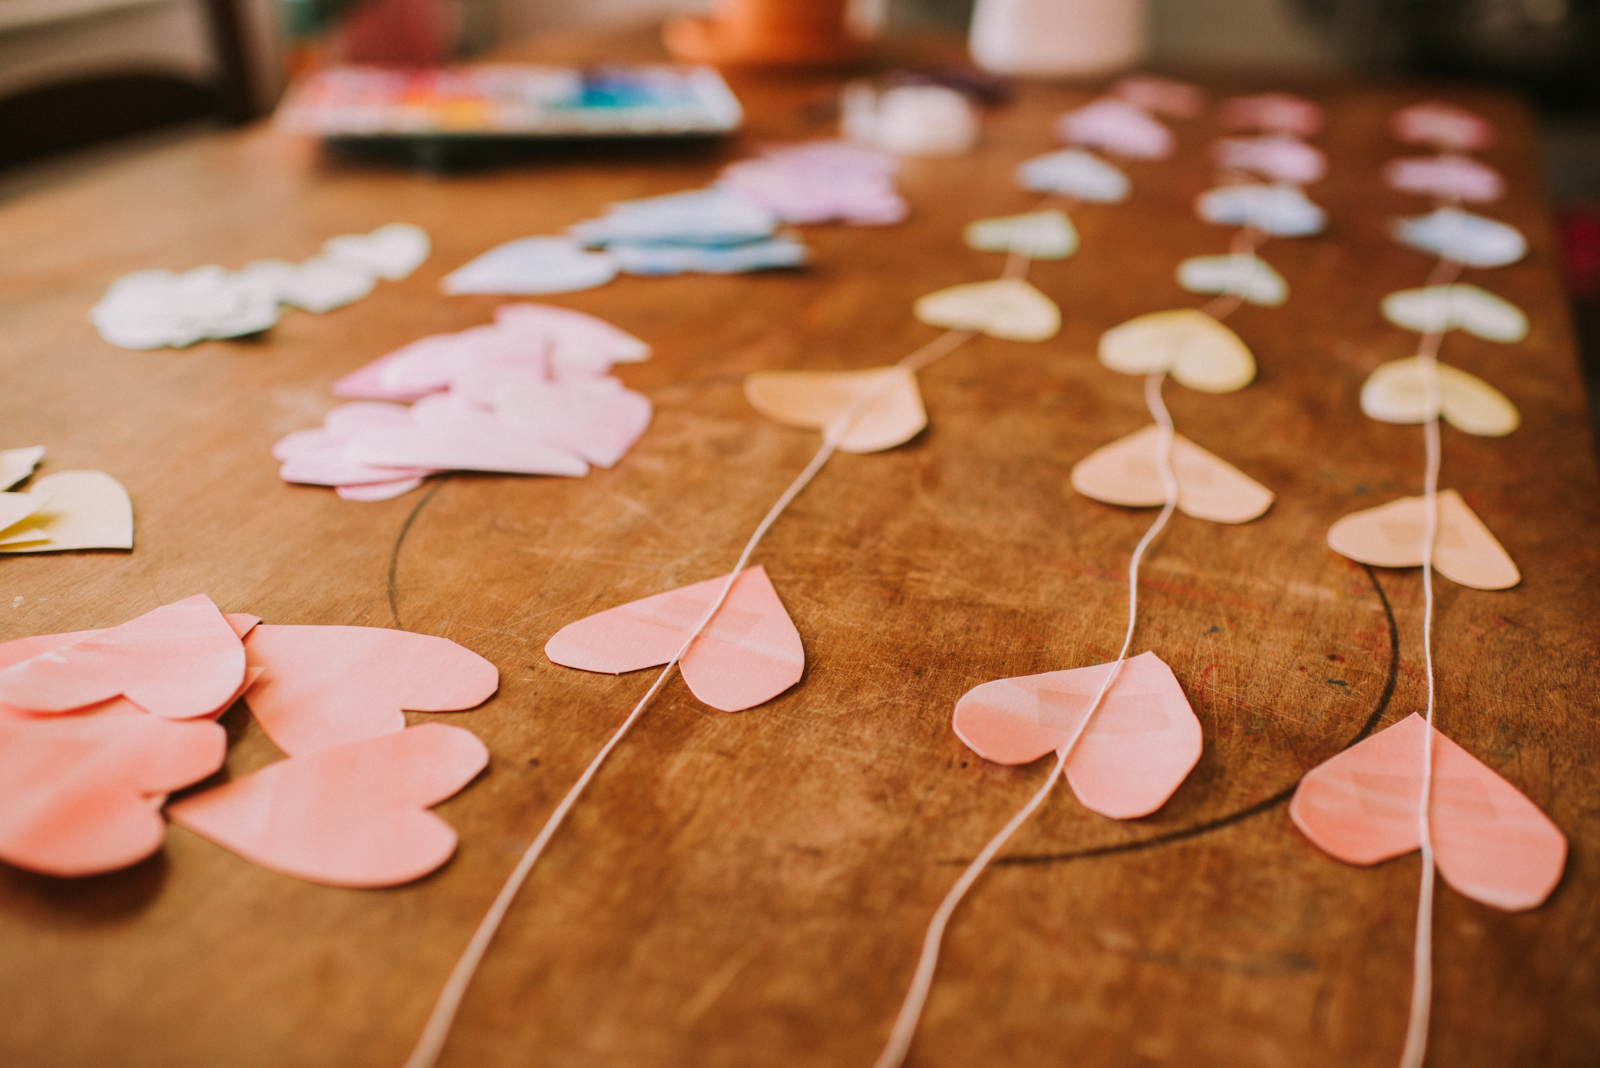
Using invisible tape (or whatever tape you have), secure each heart to the string. I used the old ‘ROY G BIV’ trick to make sure my colors were in order, but there are truly no rules here. Repeat this process, creating matching garlands, until you run out of hearts. I cut out 12 hearts per page/color, so I knew I could make at least 12 garland strands. Using one as a guide, I repeated making more sets until all my garlands were complete.
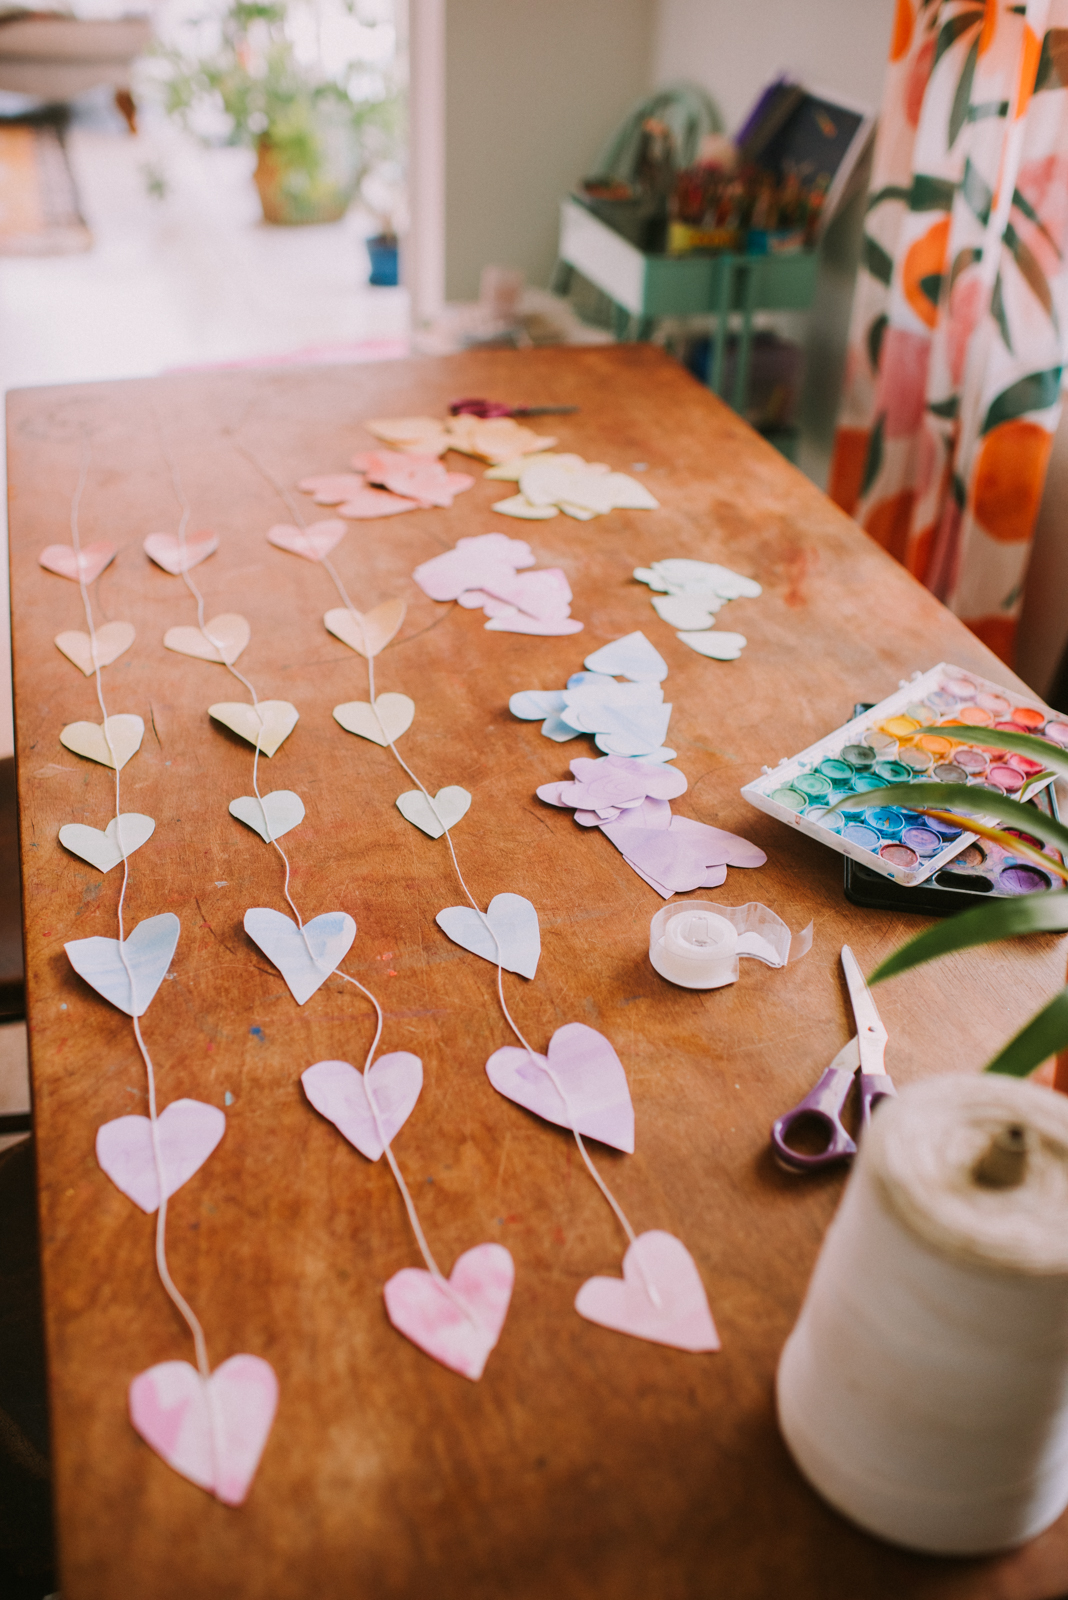
Finally, once all your hearts are taped to their garland strands, you’ll want to secure them to your window by taping the excess string at the top of the garland to the top of the window frame. I hung mine so that the last heart was just a little higher than the window sill and all the hearts would be visible from the outside looking in.
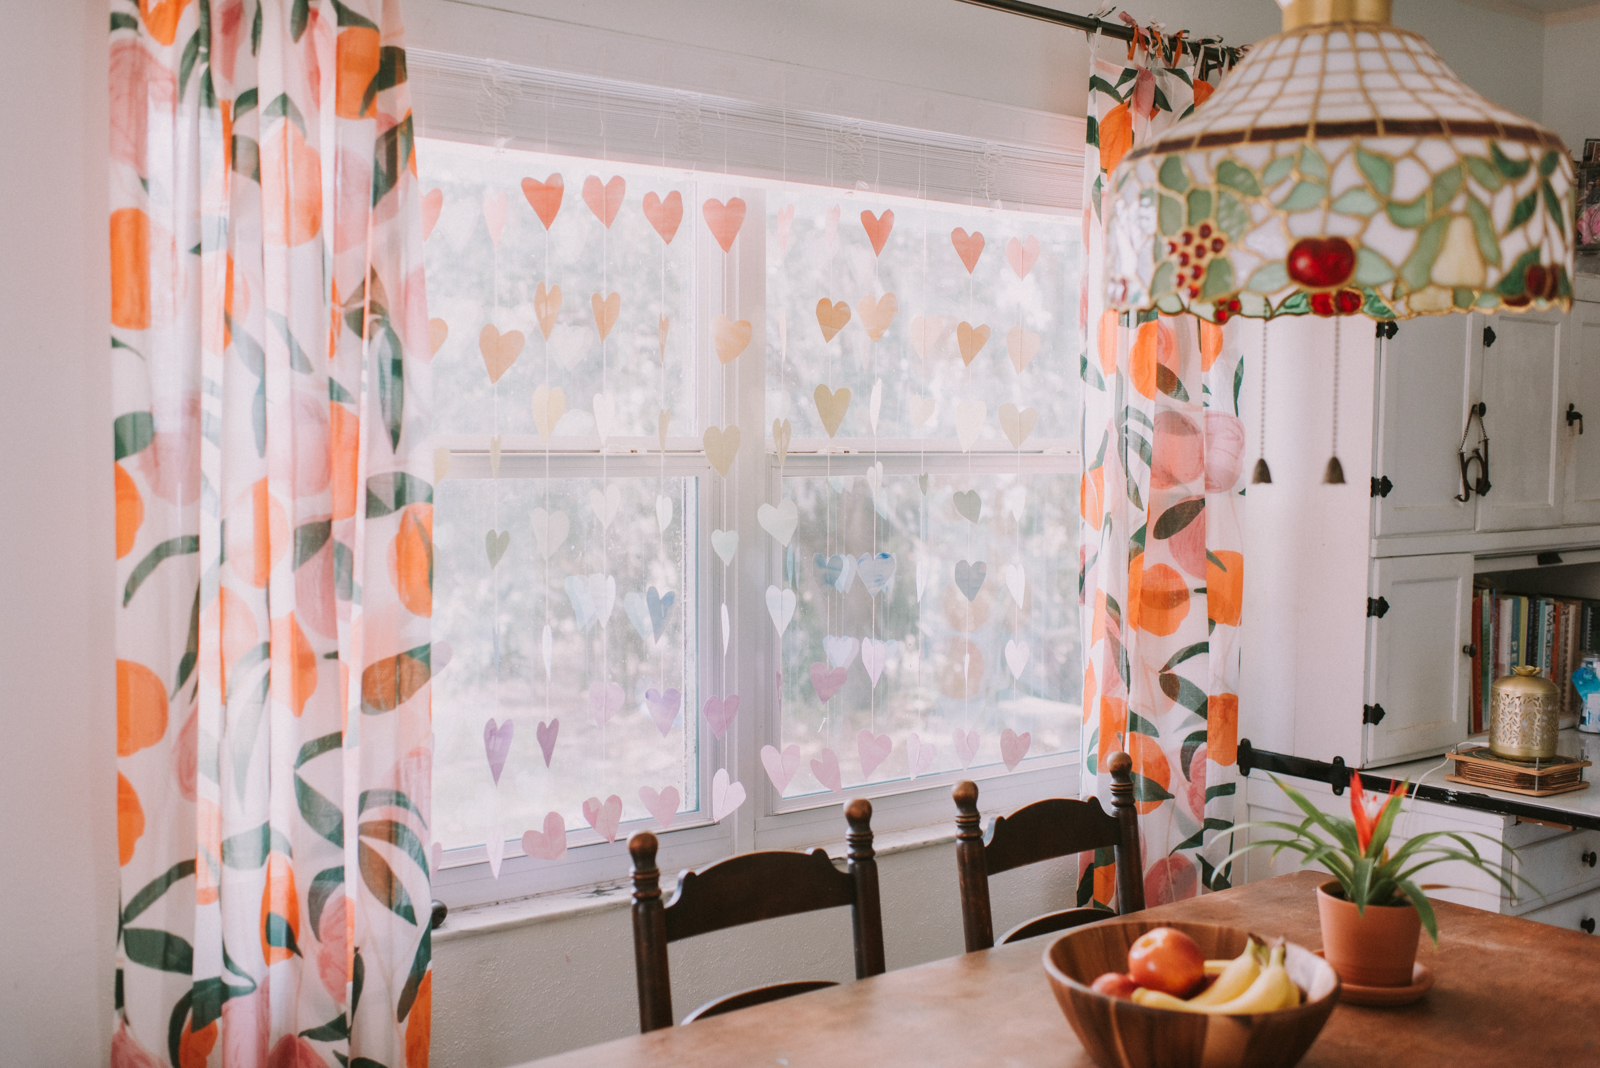
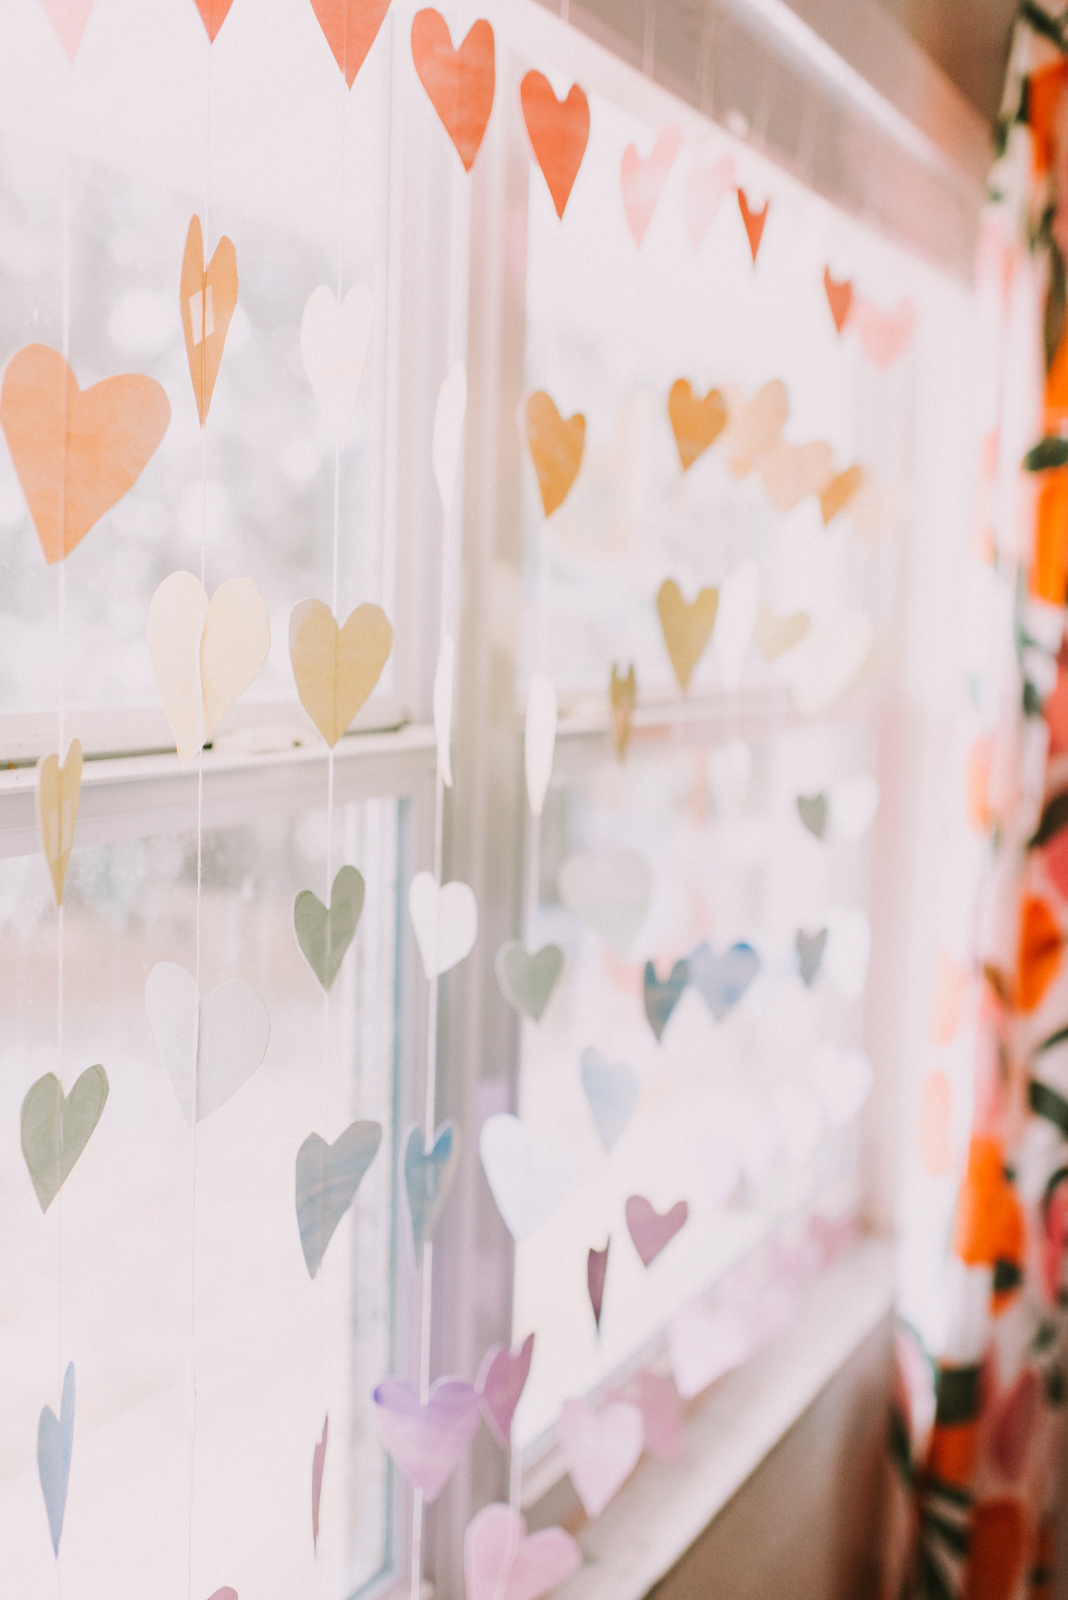
What I love about hanging them on twine, as opposed to just taping them in the window, is that they are constantly moving, ever so gently, and they just beg for little hands to come to the window to touch them and make them dance. Way more magical, in my opinion, when you make it interactive!
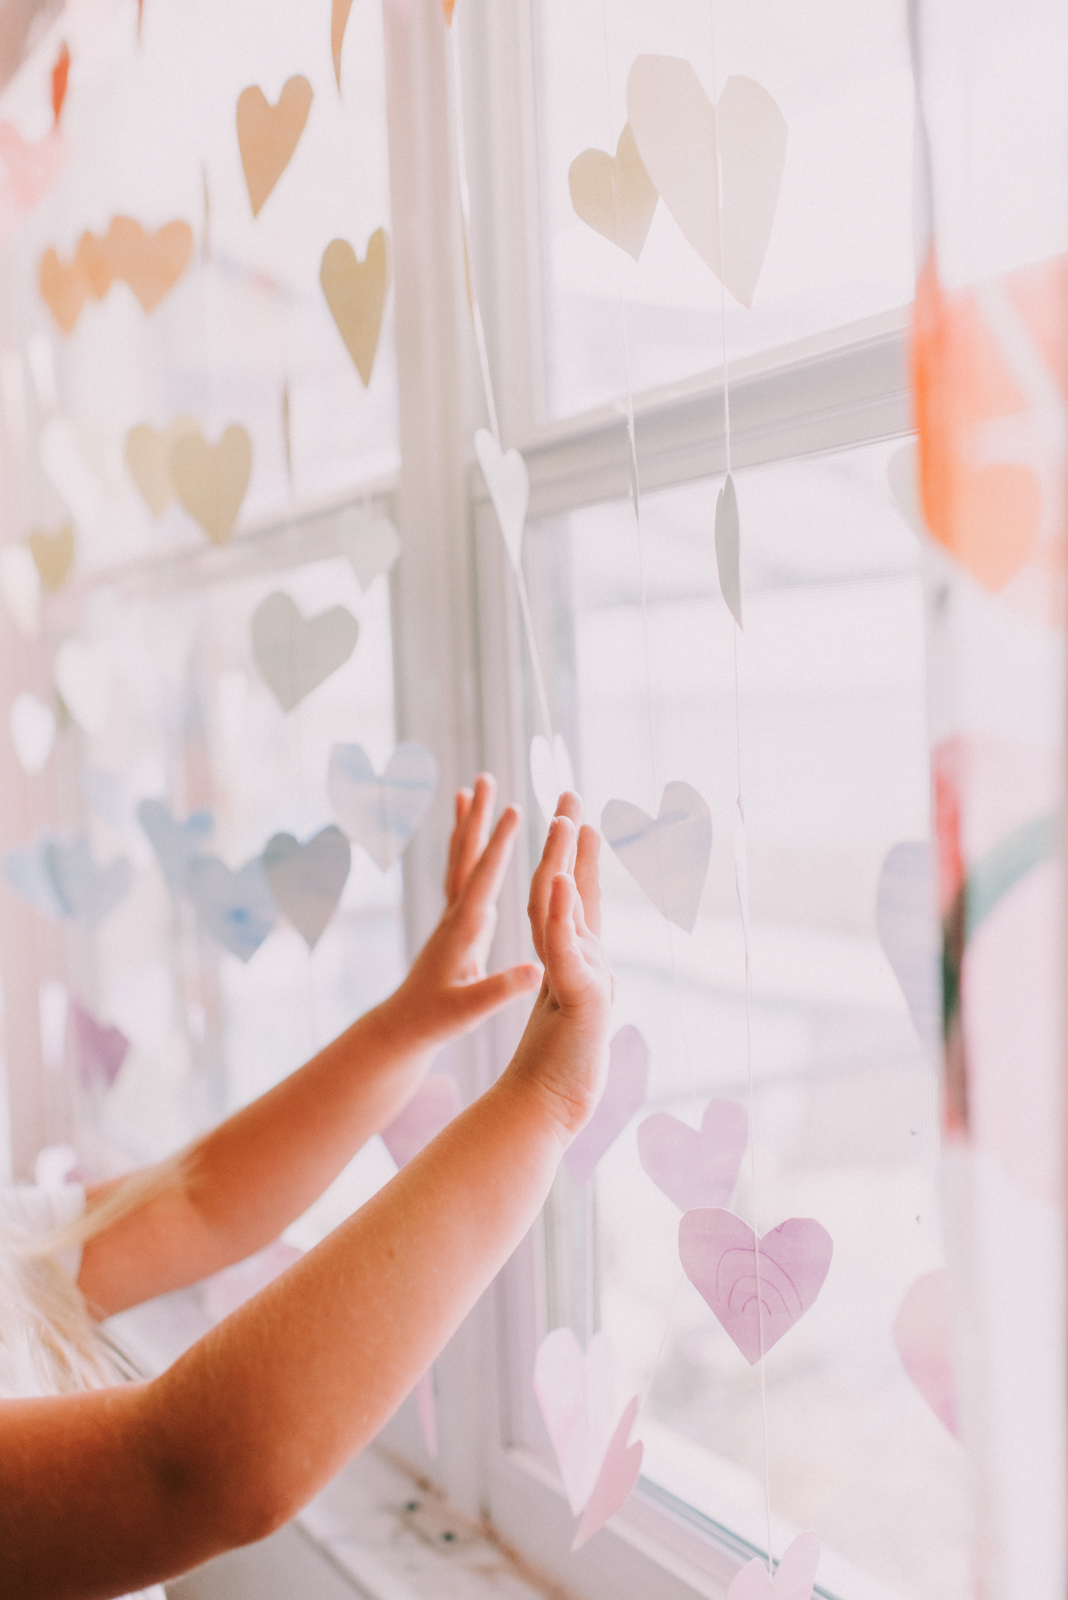
Also, the best thing about this kind of window art is that once you tire of it in your window, you can take them down easily and then tape them end to end to create one long rainbow heart garland. My youngest has already claimed it for her room and I love that we will remember it as our quarantine garland, made with LOVE!
Watch VIDEO HERE
May 18, 2020


")
freebies
We've created free resources and downloads just for you!! Be sure to check them out!
take me to the freebies!
Leave a Reply


View Comments +
+ Add A Comment