
a lifestyle blog about motherhood, intention, whimsical moments, and wellness
DIY Modern Floral Hoop Wreath
")
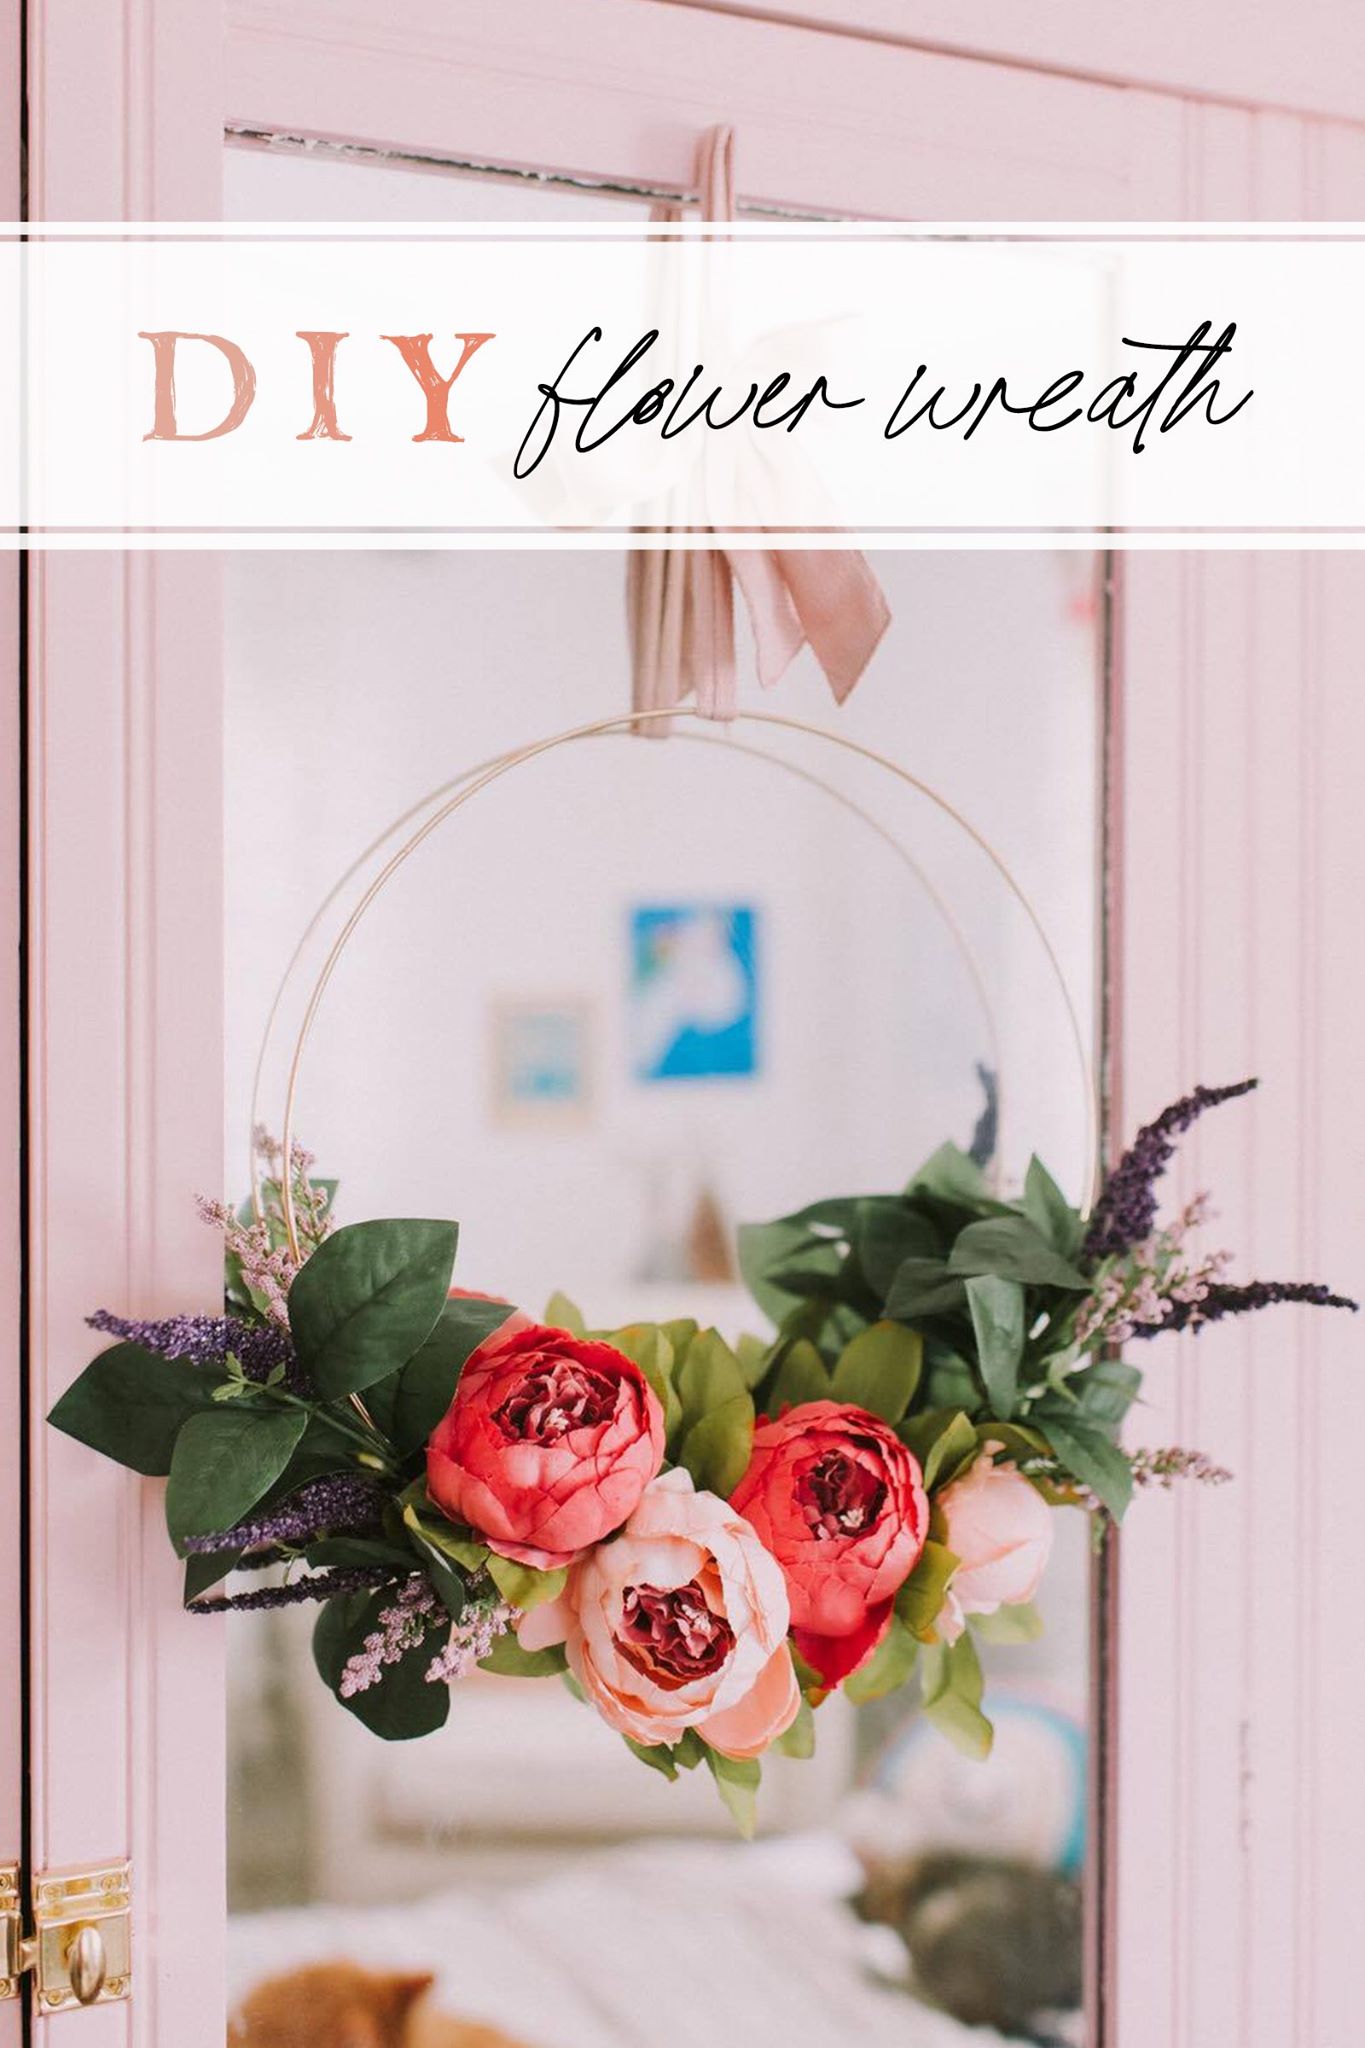
DIY FLOWER WREATH
Lexi Wharem is a mother and photographer based in Lake Wales, Florida. She can be found on instagram sharing pieces of her life and work as she chases her dreams of being an visual storyteller.
How many times have you seen something on Etsy or Pinterest and thought to yourself, ‘I want to try and make that!’? Please tell me I’m not the only one! I’ve had heart eyes for these beautiful modern/minimalist floral hoop wreaths for the longest time, so I finally decided to give it a try!
When I was growing up my stay-at-home mom had a side business making and selling wreaths out of our home, so I really felt like I was channeling all those memories of watching my mama creating away in our garage years ago! Also, her business name: Heart to Heart.
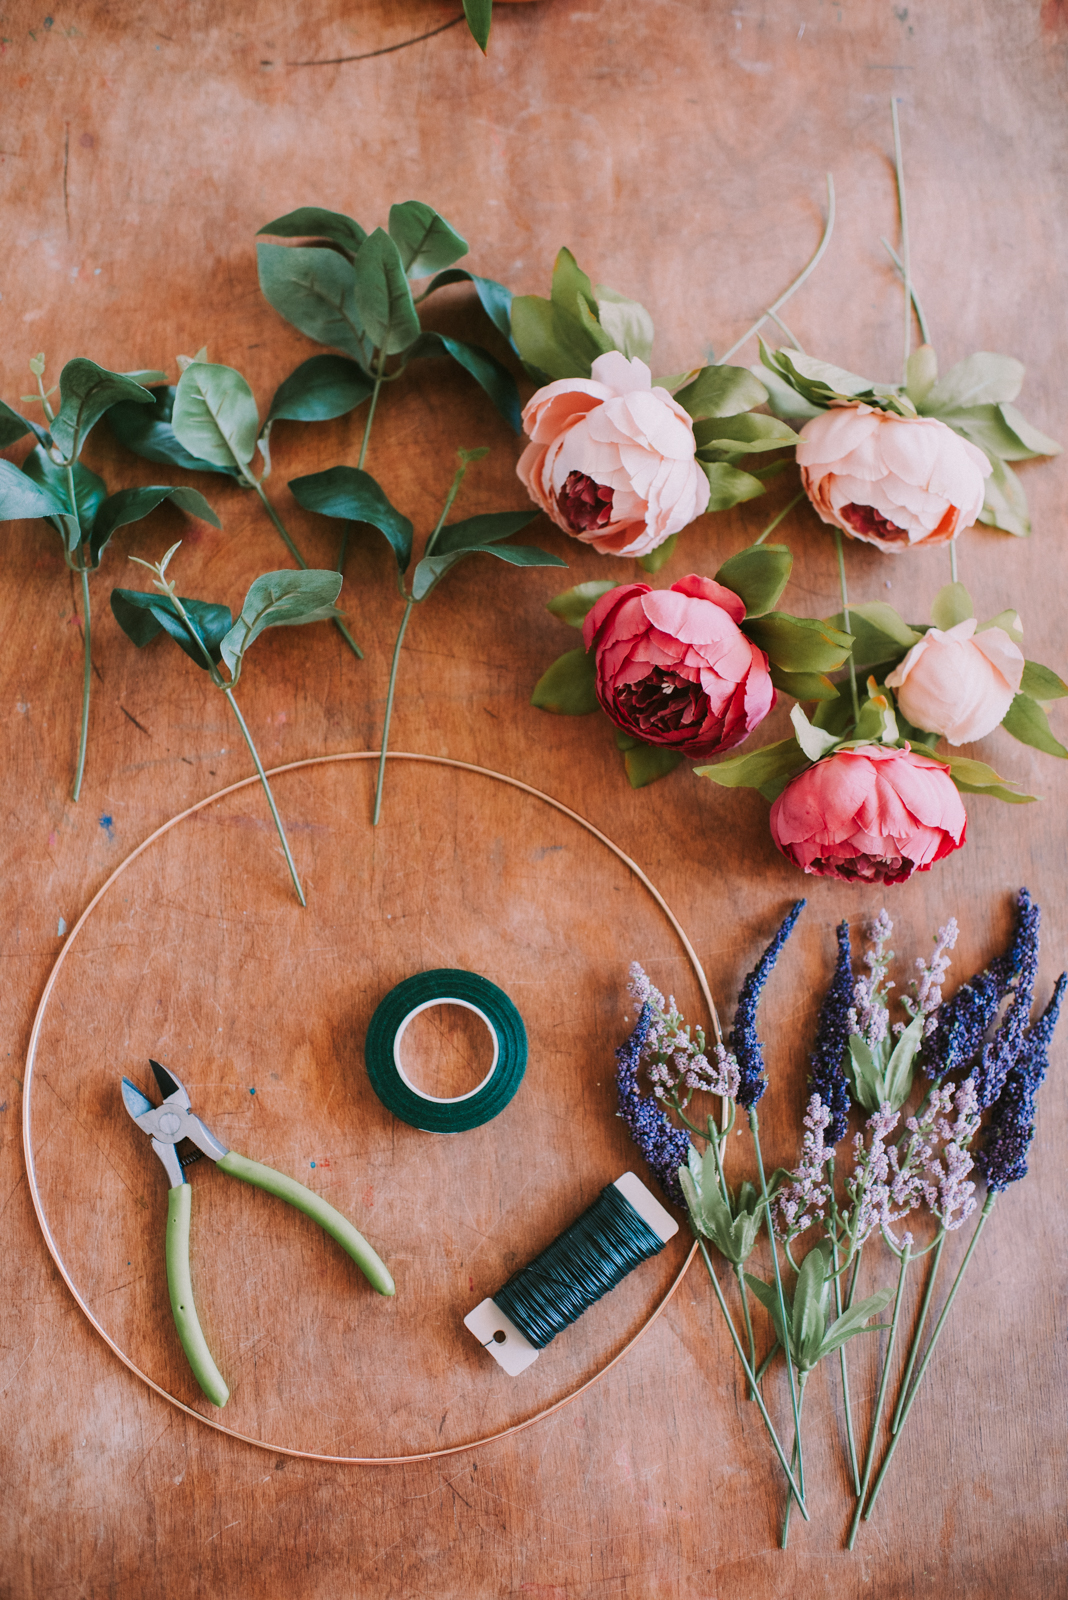
Materials needed:
+ Fake peonies – I ended up using three large blooms and one small bud
+ Fake lavender and/or other fill-in flowers – I purchased mine from Walmart
+ Fake greenery – I also found this at Walmart
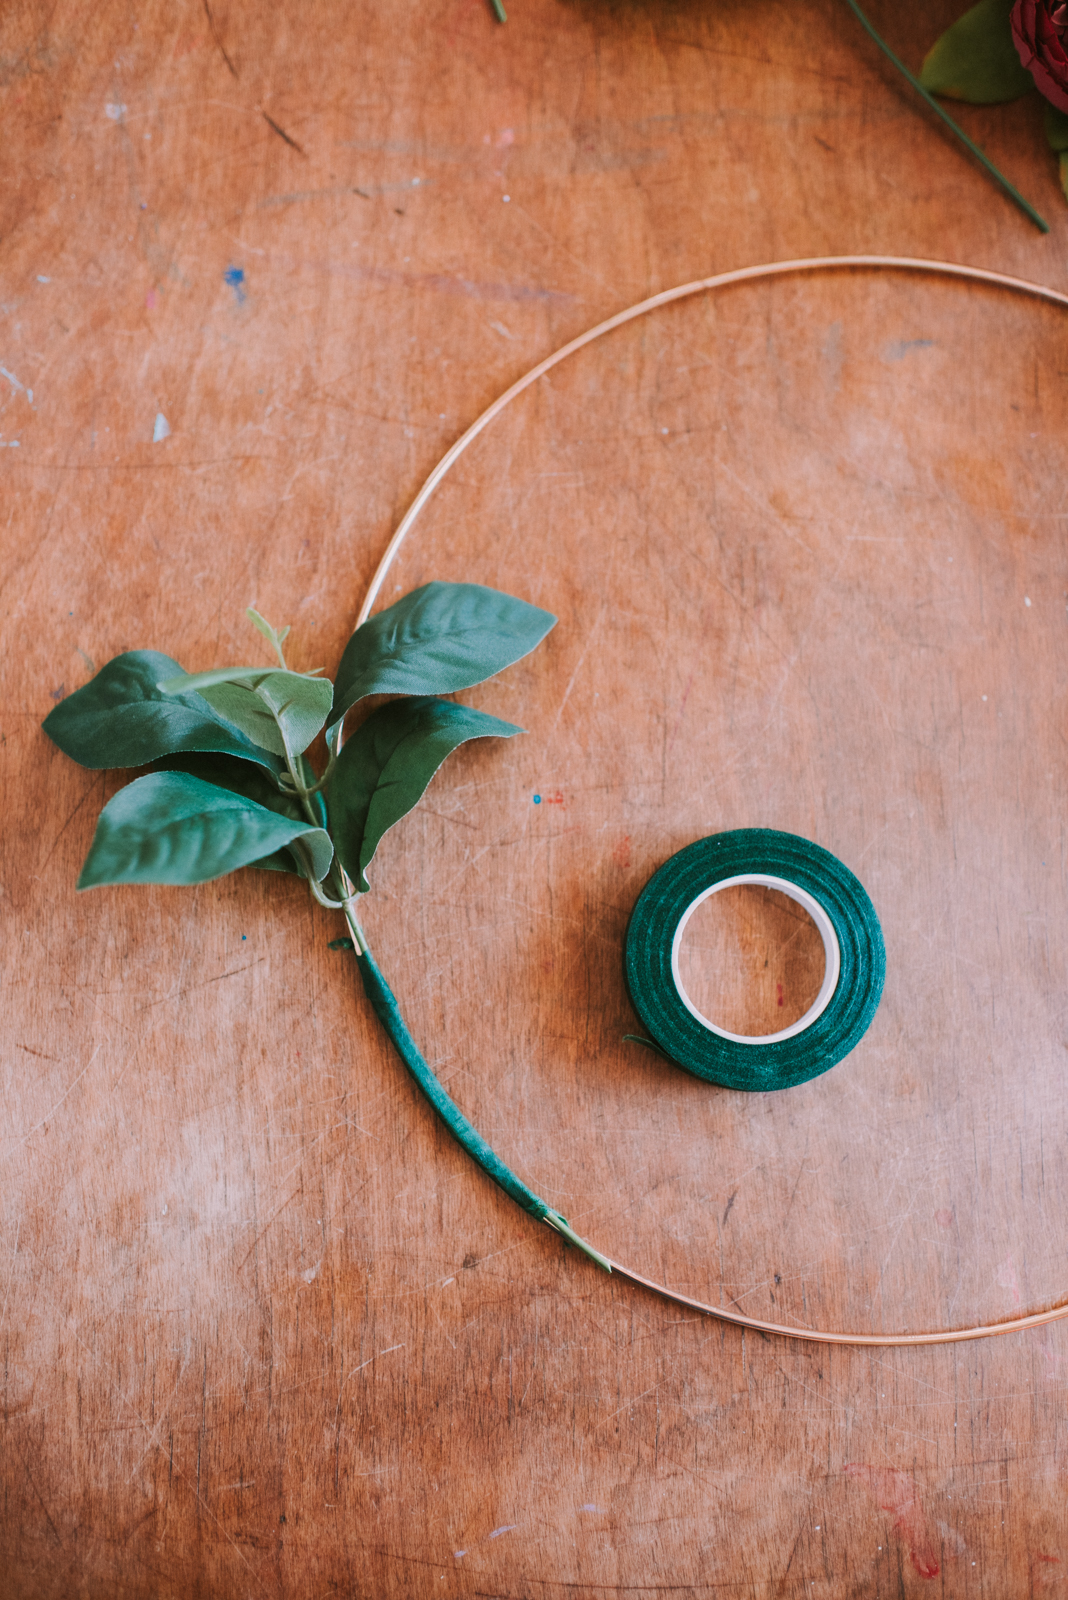
STEP ONE: SECURE GREENERY TO ONE SIDE
I started by taping half of my greenery to one side of the hoop. I used floral tape to wrap the stems to the hoop, but floral wire would also work. Don’t worry too much about making it look pretty, just make sure it’s secure.
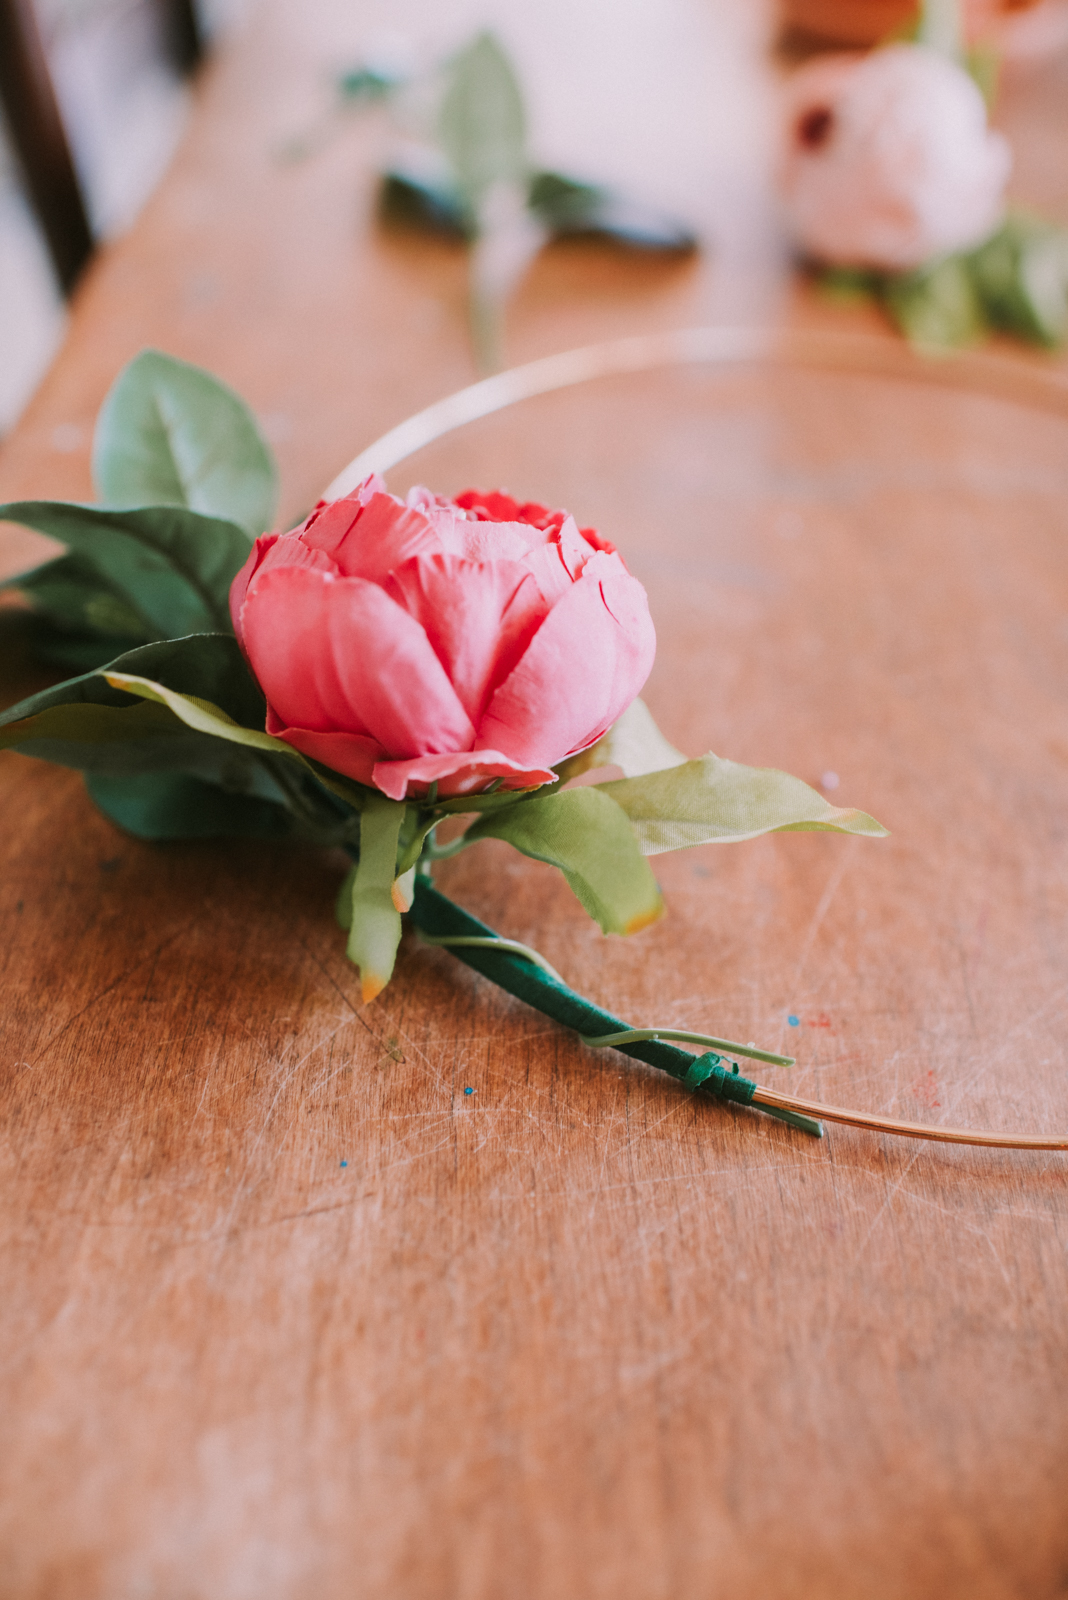
STEP TWO: SECURE YOUR PEONIES TO THE HOOP
Once my greenery was set I started to secure my peonies to the hoop. Since the stems of the flower are make of wire, I was able to just twist it around the hoop, allowing me some flexibility to adjust the flowers a bit as I kept moving and adding more.
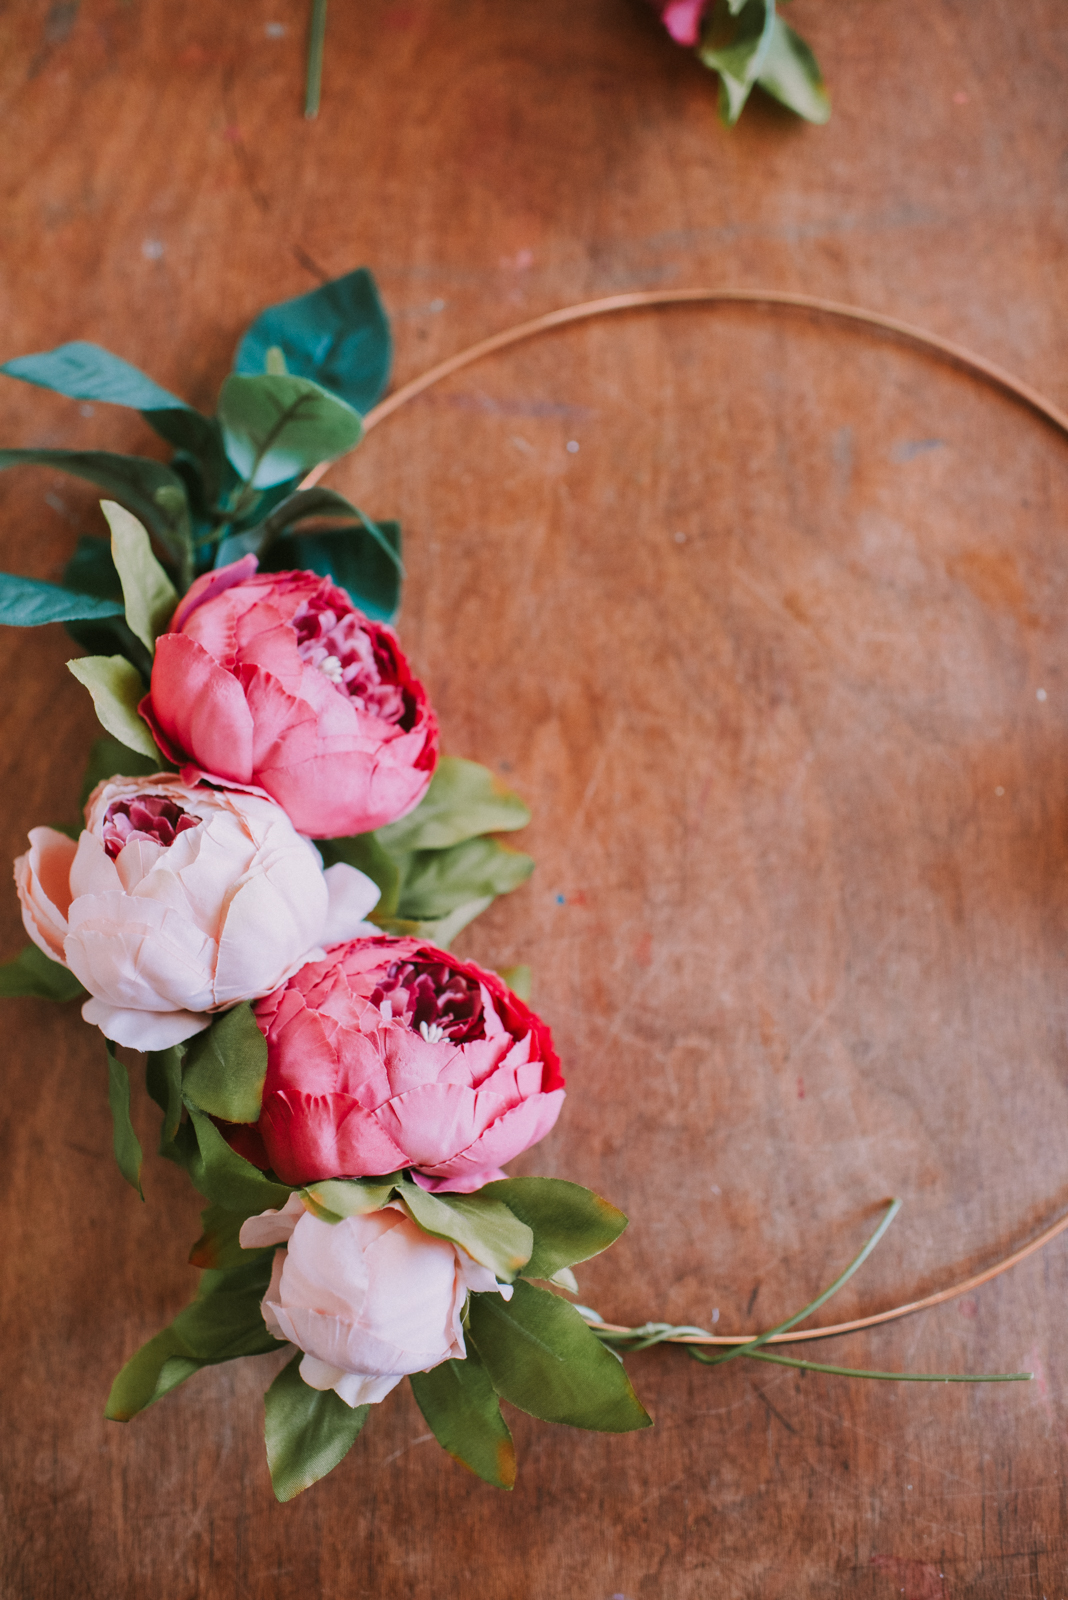
I secured three large peony blooms and one small peony bud on my hoop, but you can do more or less depending on how minimal you want to go.
STEP THREE: SECURE GREENERY TO THE OTHER SIDE
Once your blooms are in place you will want to add the rest of your greenery to the other side to balance out your arrangement. I used tape and wire to secure it to the hoop, which gets a little more tricky as you add more of your pieces.
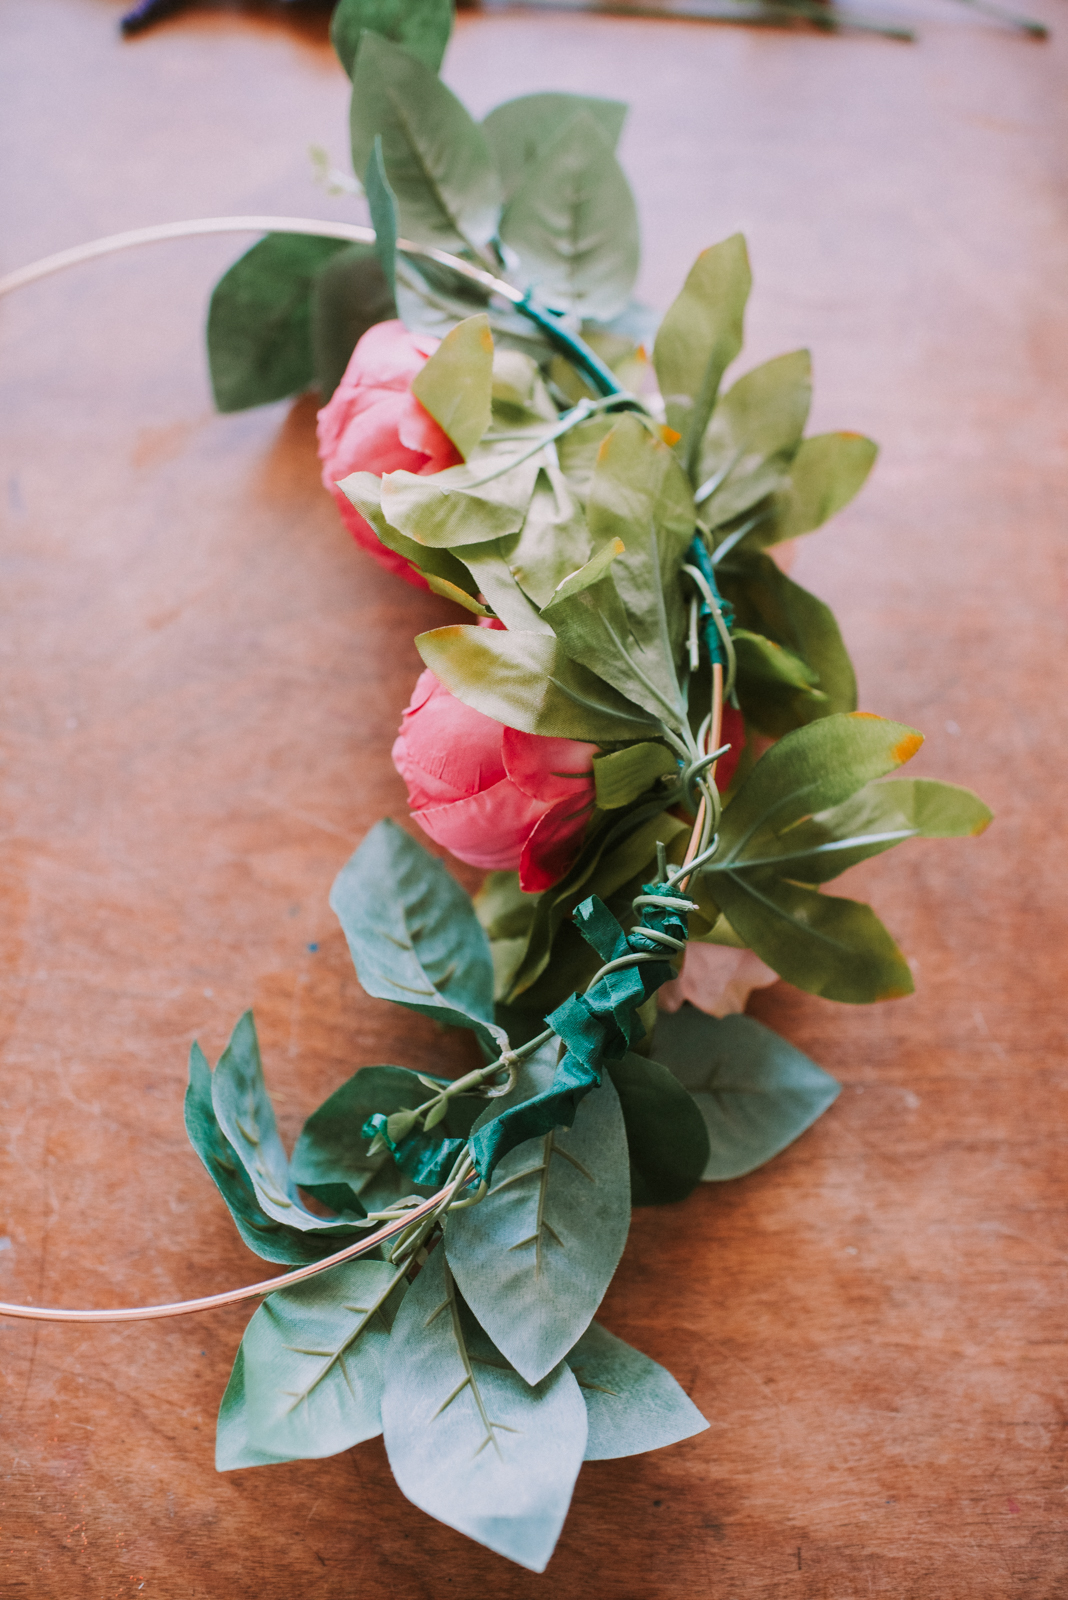
I share this photo of the back side of the hoop only to reassure you that the beauty of wreath-making is that the final product will only ever show one side! It doesn’t have to look ‘pretty’ back there, it just needs to be secure.

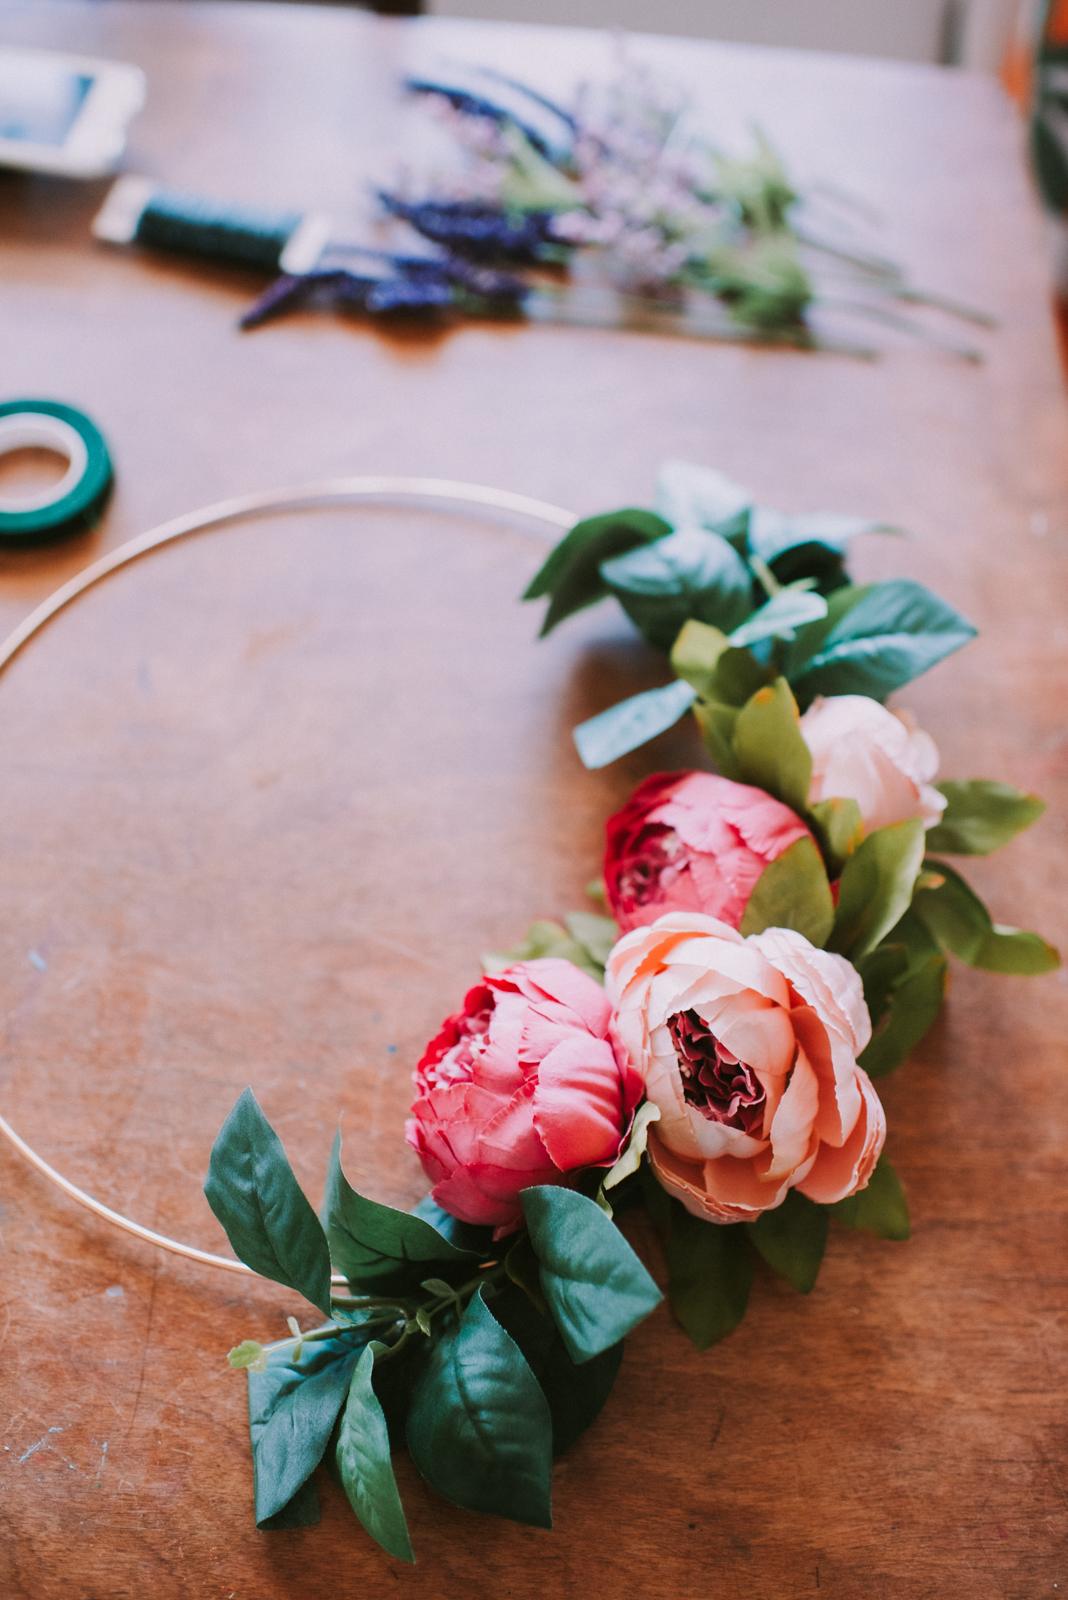
STEP FOUR: SECURE YOUR SMALL FILL-IN FLOWERS
To finish off the arrangement I added some fake lavender and a couple of lighter pink flower stems for extra color and dimension. I slid the leaves off of the stems (it felt too busy with them on) and then bundled them together before securing them to the hoop with more wire and tape.
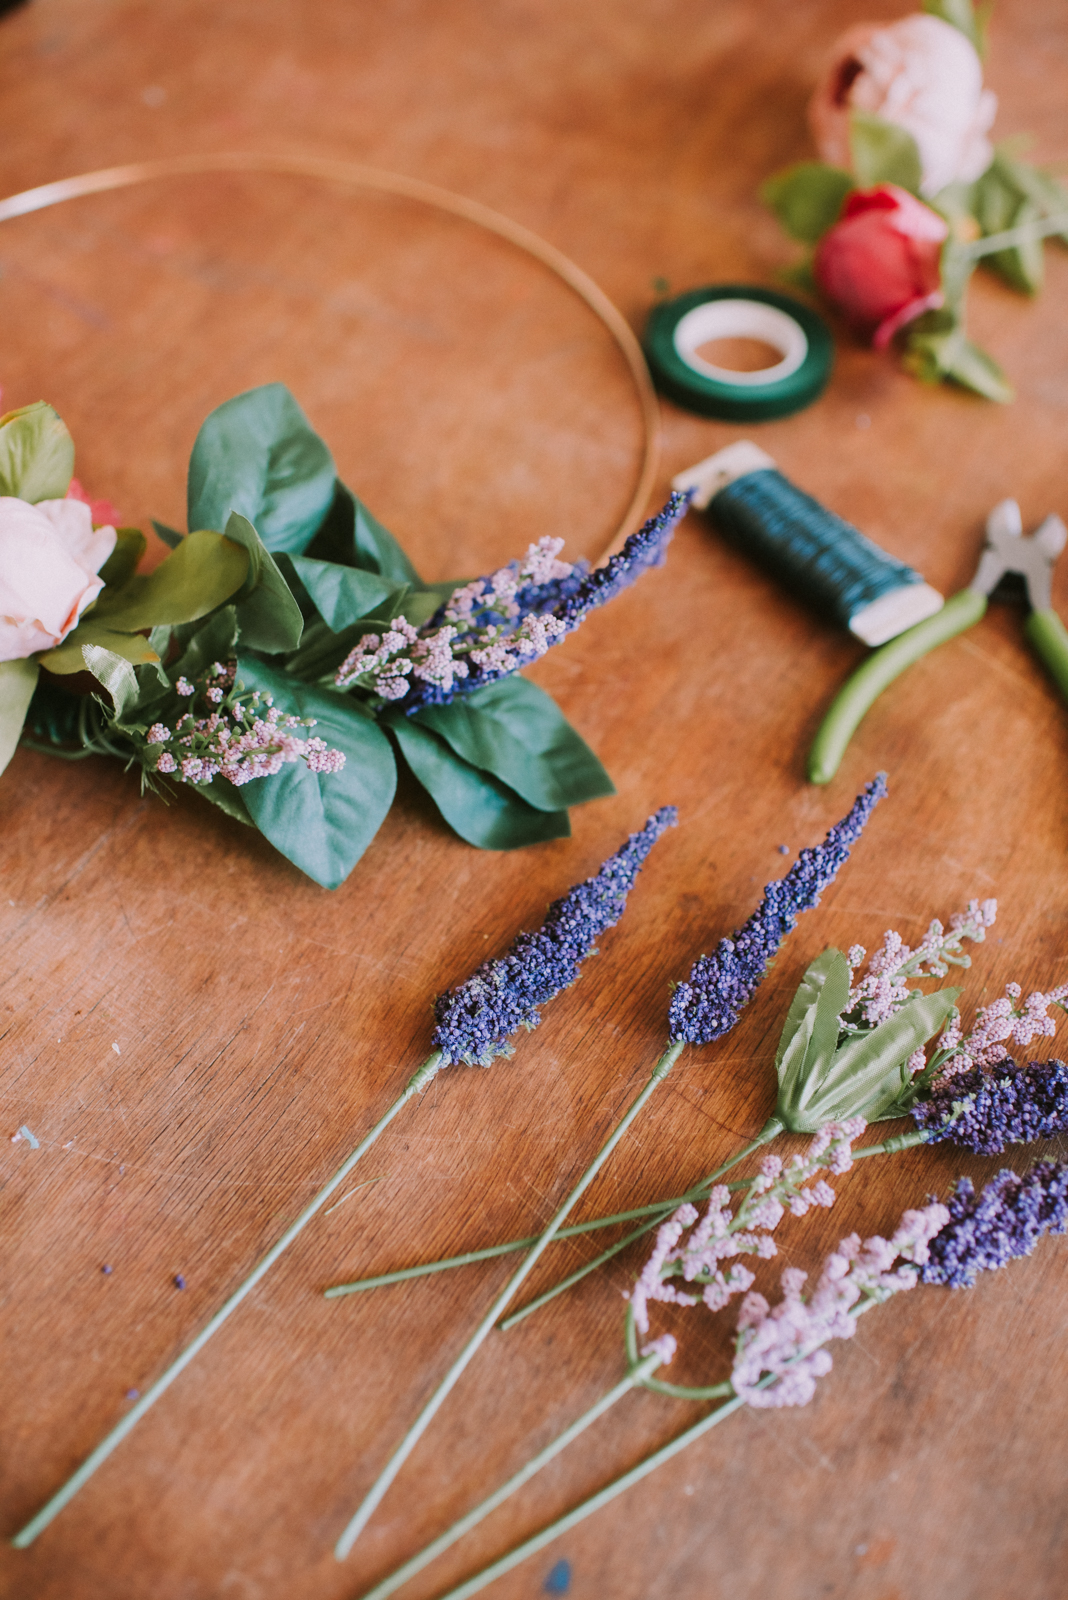
You can use the smaller bundled flowers to fill in spaces and/or cover the hoop where wire and tape are visible.
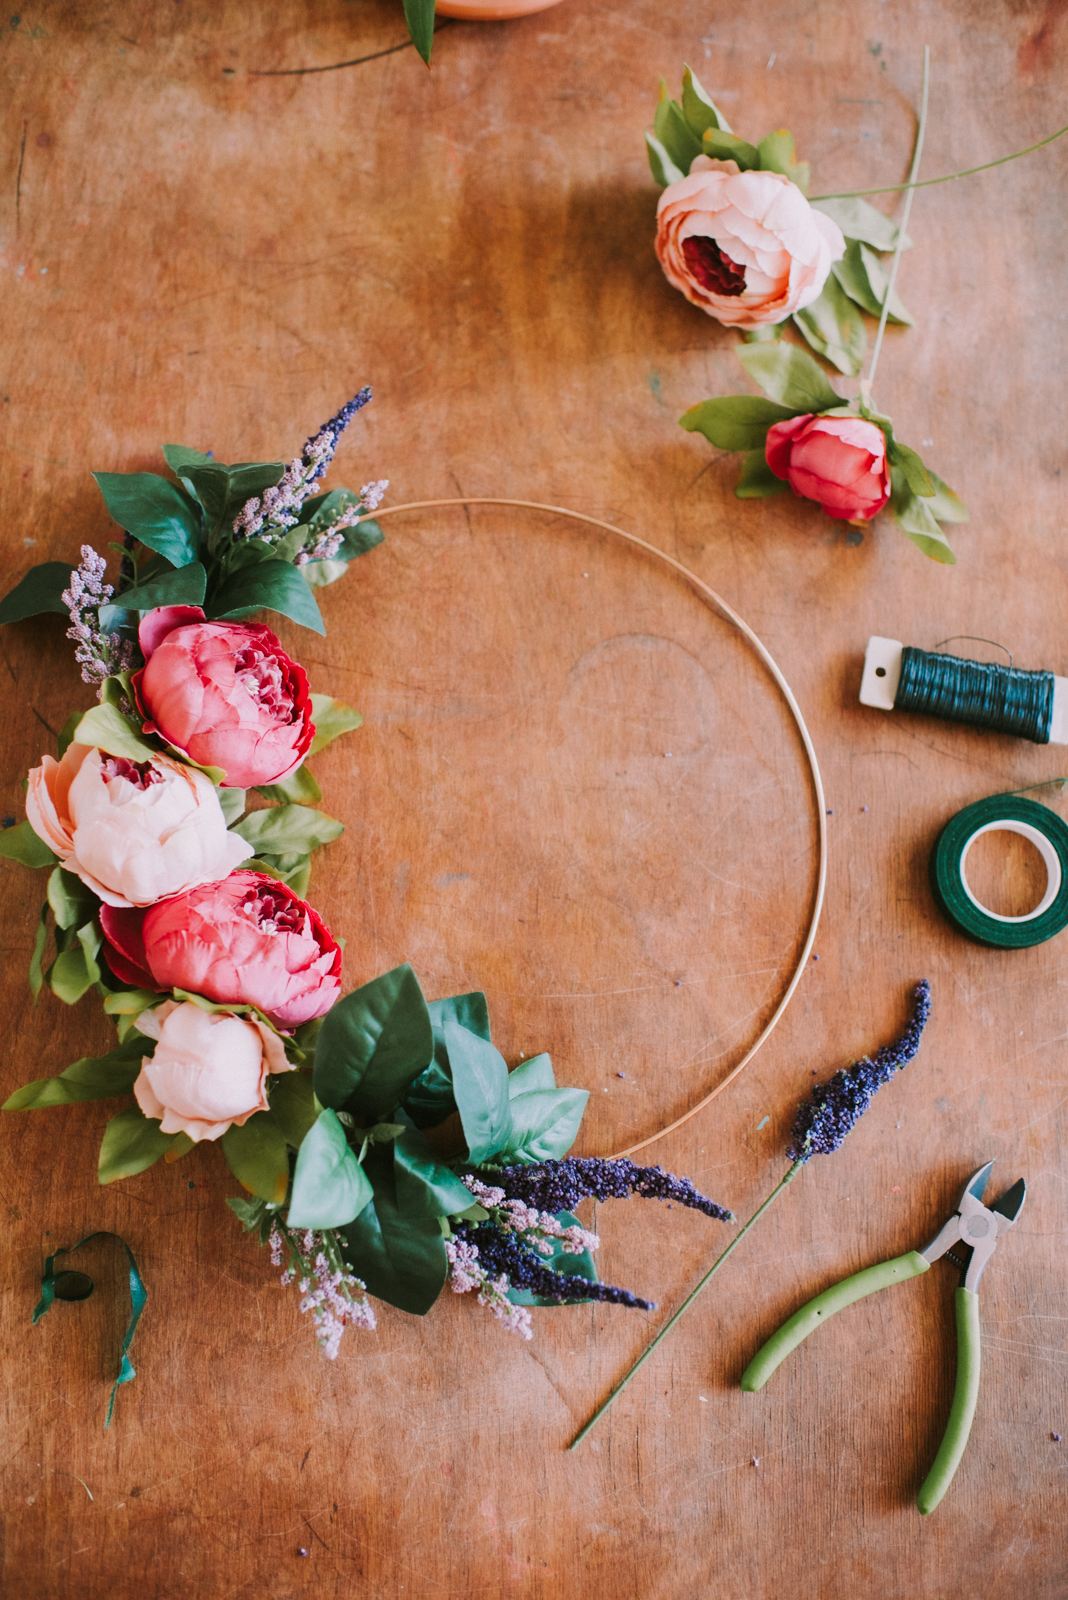
STEP FIVE: FINISH YOUR WREATH
After adding my fill-in flower stems, I held up my hoop, readjusted my flowers and greenery a bit, then added some extra wire and tape to the back to make sure all my pieces stayed in place.
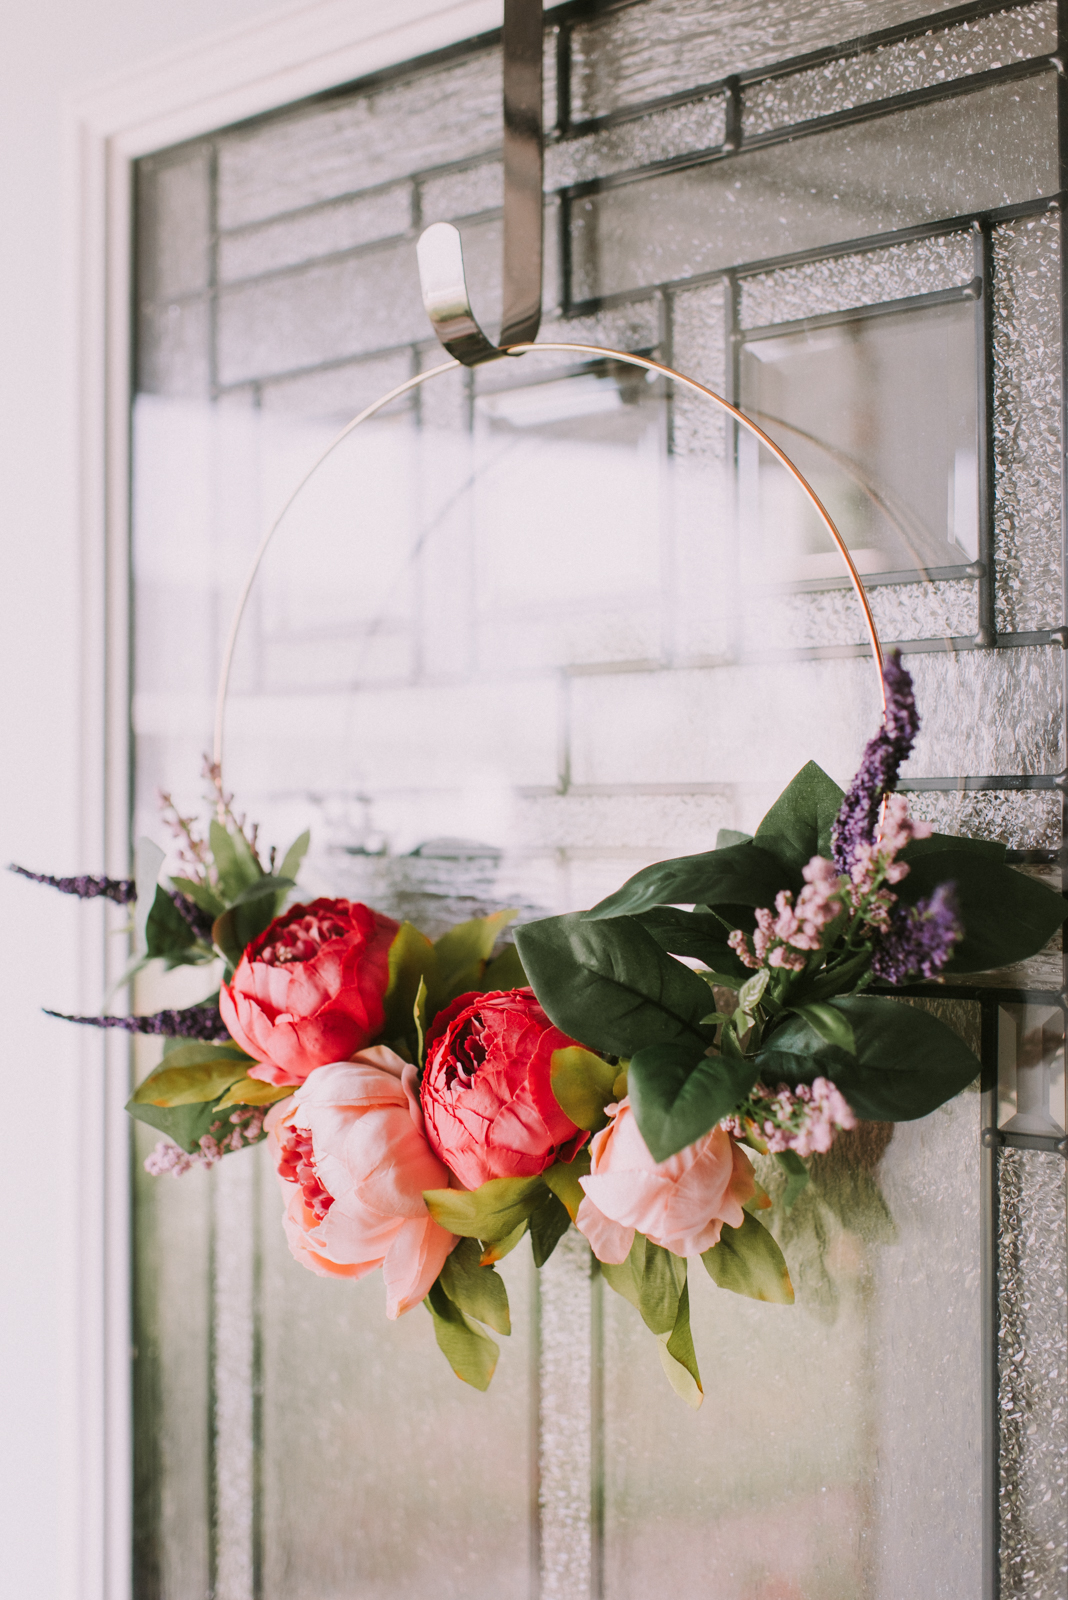
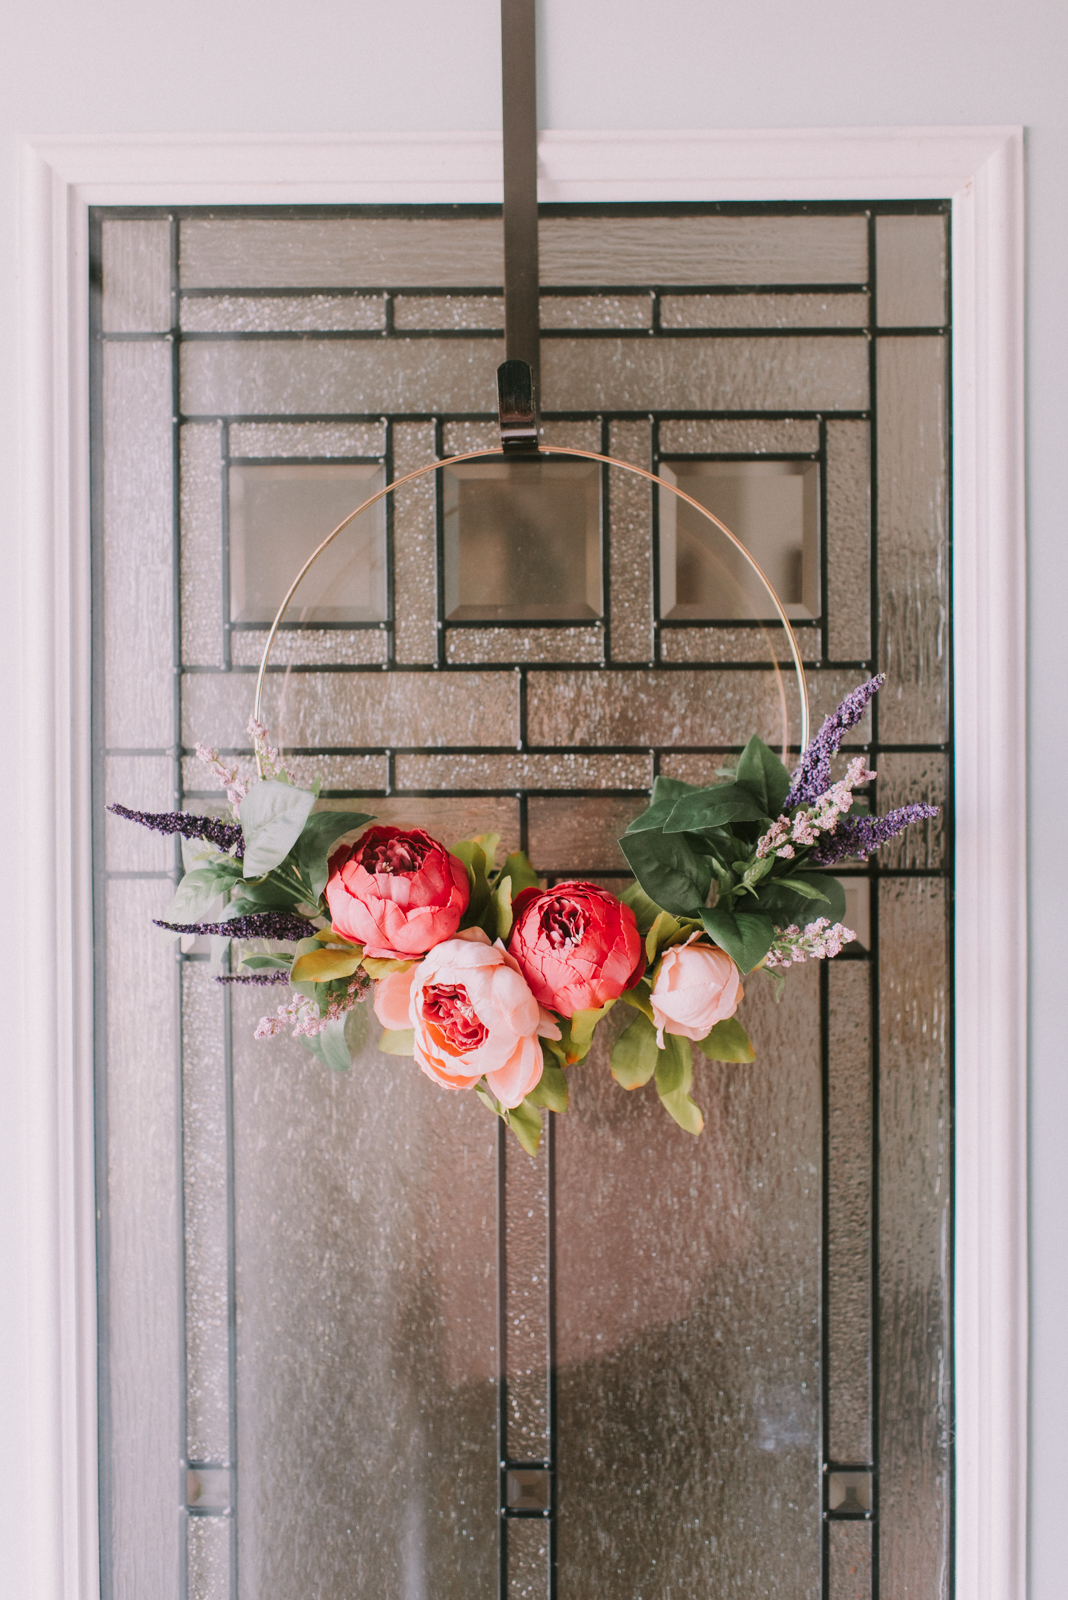
STEP SIX: HANG YOUR WREATH
I had an over the door wreath holder for my front door, so it was super easy to hang up and admire right away! The pink peonies are such a showstopper and my front door has never looked so good!
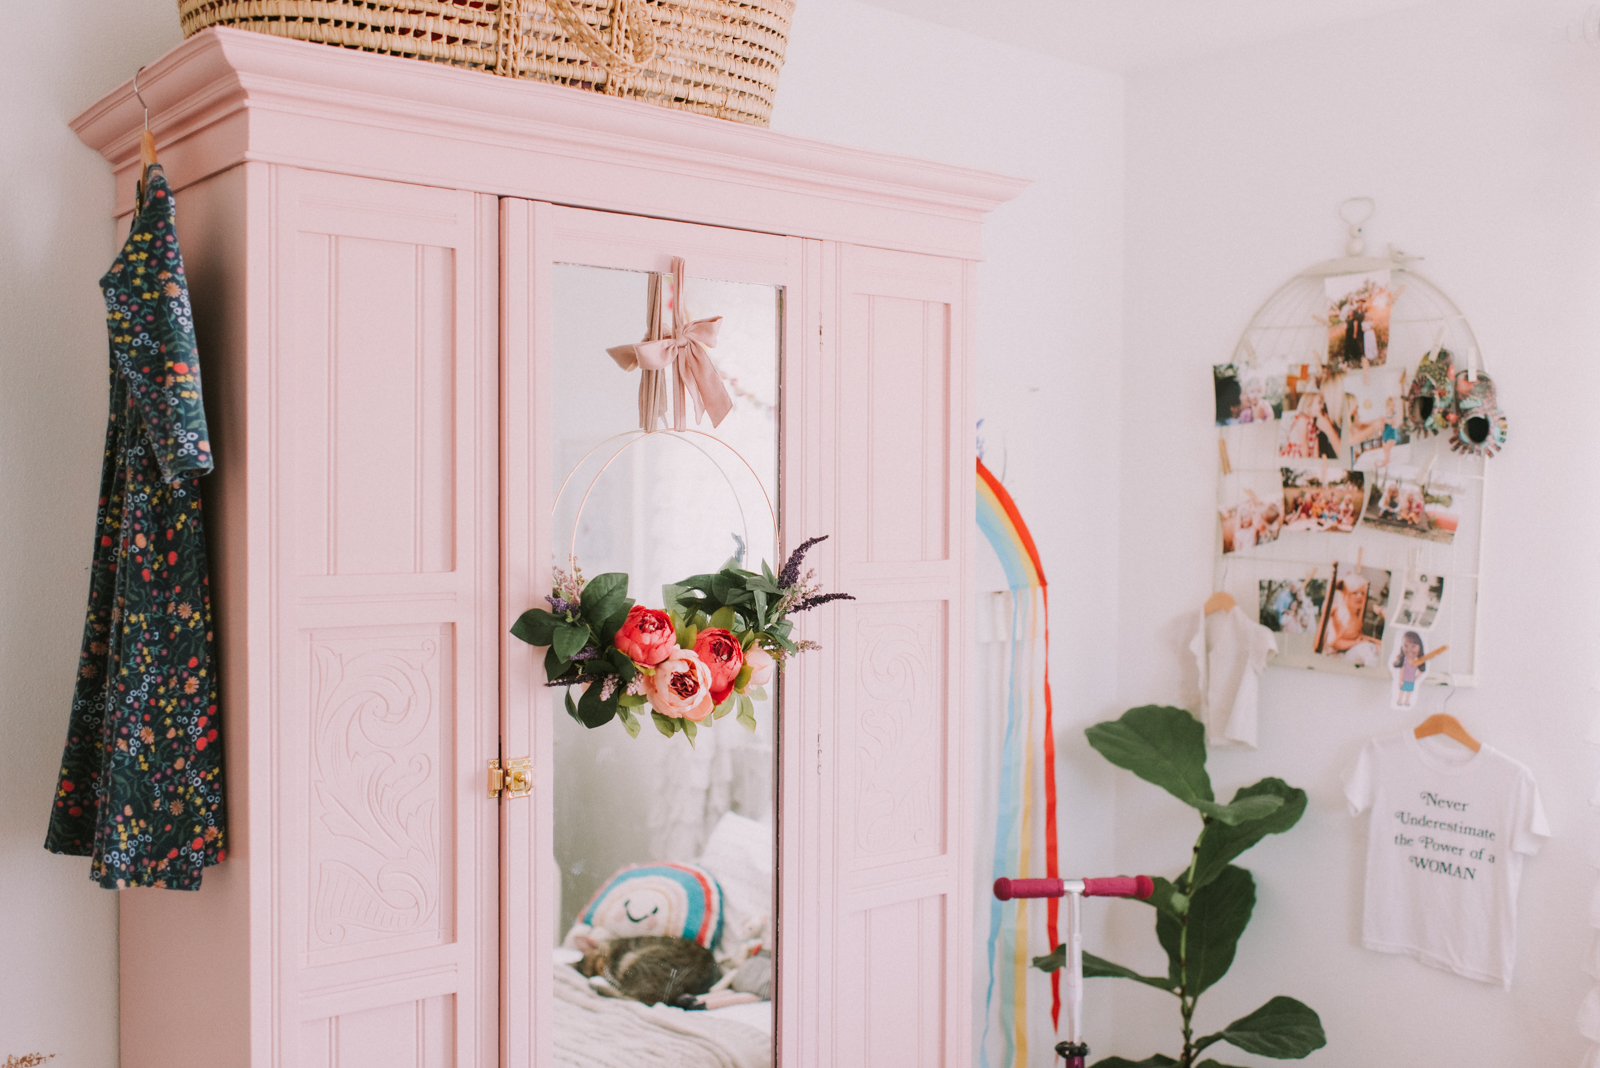
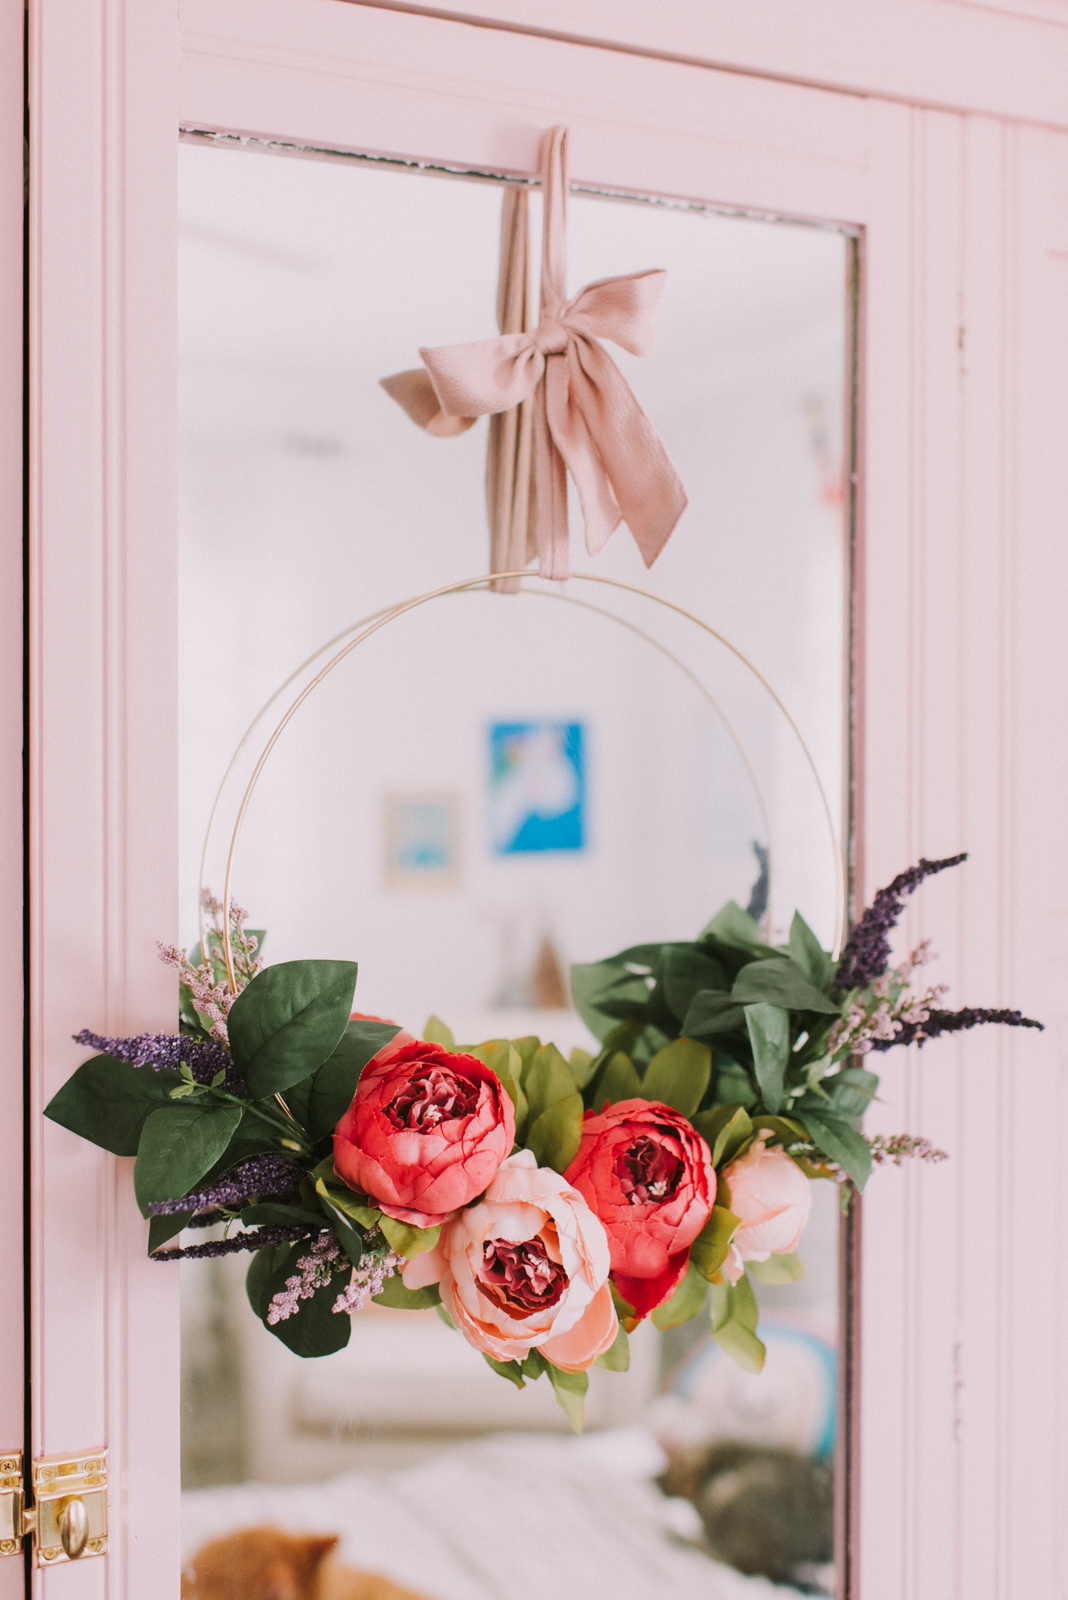
Another option is to use a ribbon and hang your gorgeous creation indoors! On the wall, on a door, or even hanging from a pretty piece of furniture, like I did here with my childhood armoire! Perfection, am I right?!!
May 26, 2020


")
freebies
We've created free resources and downloads just for you!! Be sure to check them out!
take me to the freebies!
Leave a Reply


I have admired the wreath in your kitchen window so I am thrilled you showed us the “how to”. I will definitely be making some of these. Thank you!
aw this is the sweetest!!!!