Valentine’s Day Kids Embroidery Cookies
 Mary Beth Johnson is a writer based in Atlanta, GA. She is currently writing her first book in between school drop off and laundry piles.
She can be found every day on Instagram and at the local coffee shop.
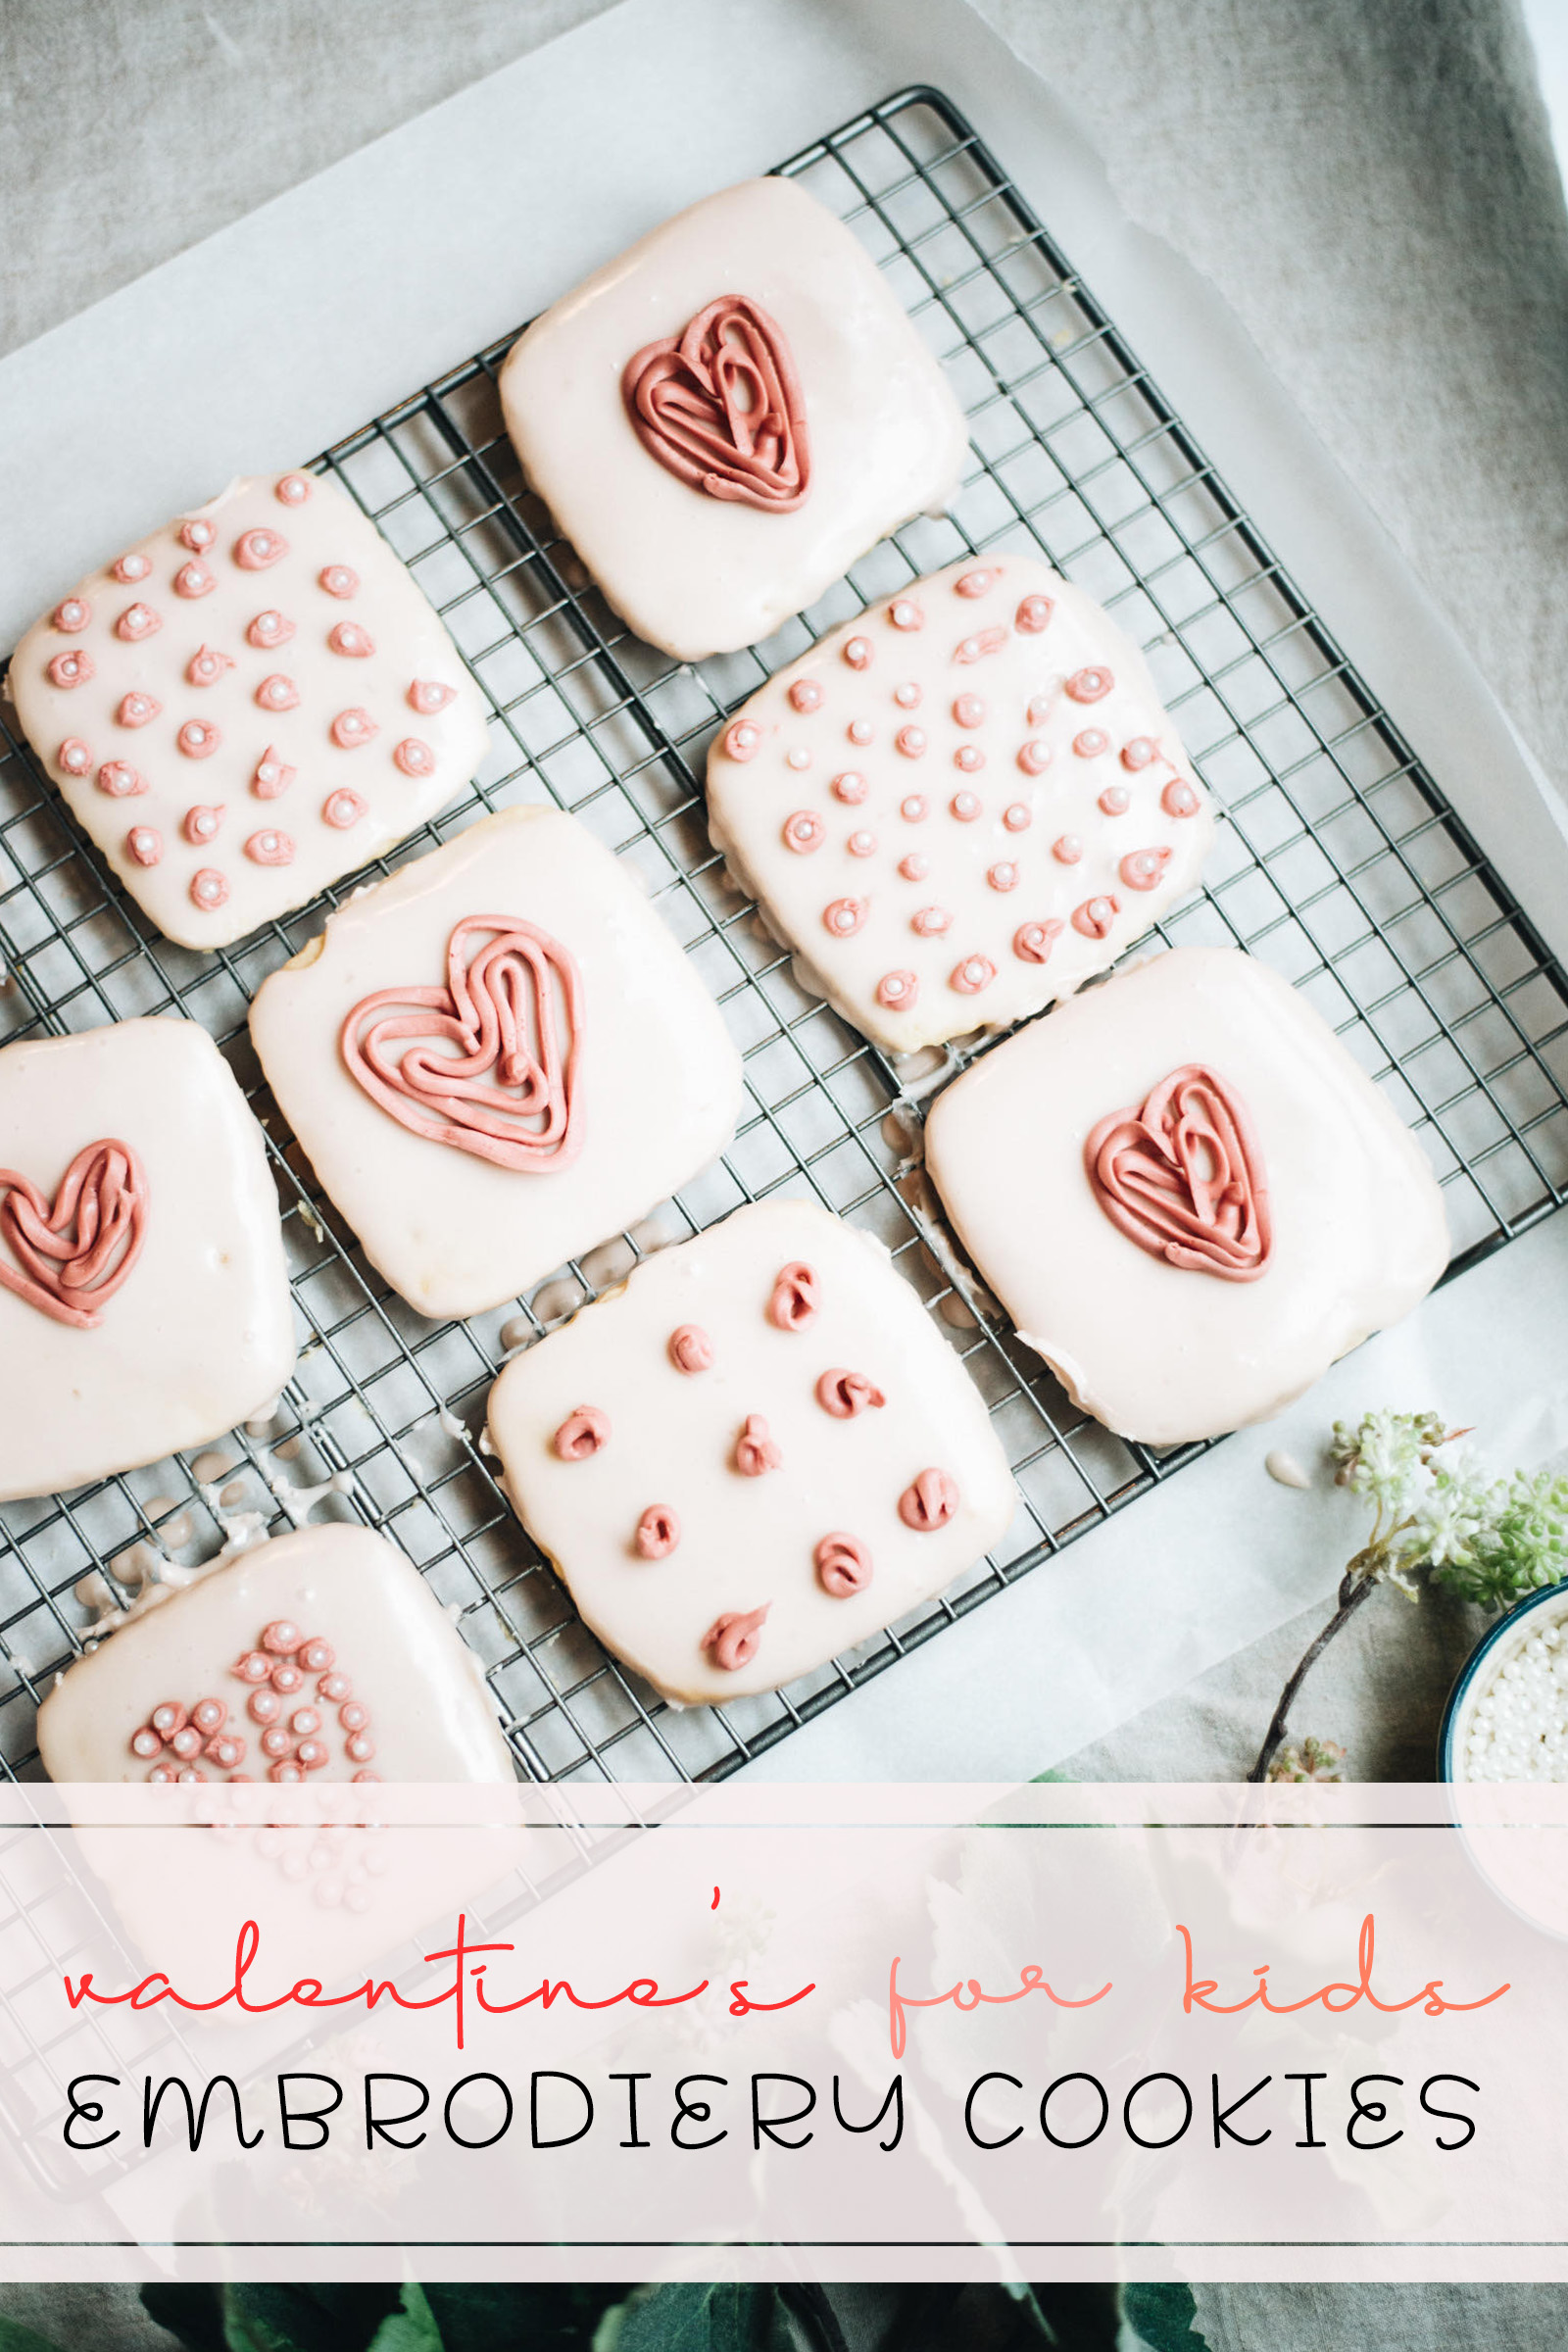
A cookie connoisseur I am not, but my kids are obsessed with baking shows so we gave Valentine’s Day Kids Embroidery Cookies a whirl. I have a favorite sugar cookie recipe that never fails me and natural dye that always yields the softest, prettiest colors, so one rainy day afternoon we tested this idea out.
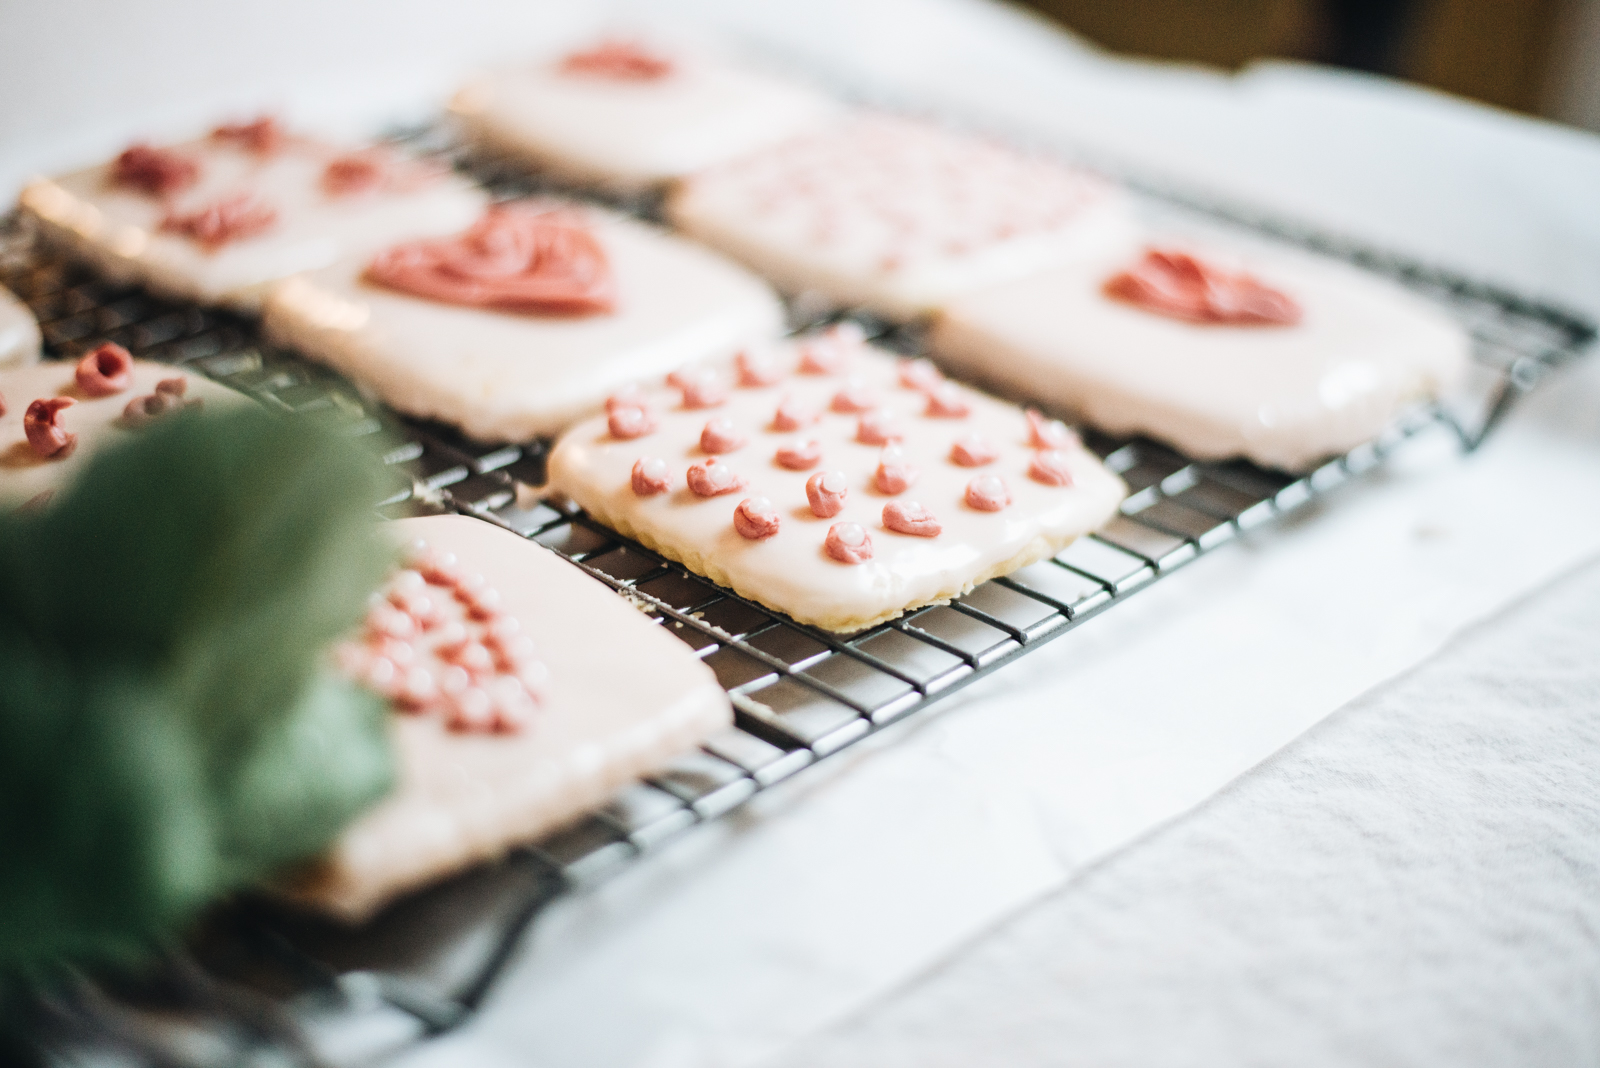
If you’ve ever read Molly Yeh’s blog or watched her Food Network show, Girl Meets Farm, you know that she is a masterful artist who really can’t be replicated, only admired. I saw these glazed sugar cookies with buttercream embroidery that she made around Christmas time and felt completely inspired. Hers were delicately touched with mini Christmas trees and dala horses made of dots and I envisioned converting these ideas into hearts and mini roses for a Valentine’s Day version. With her advice that “all you need to make them are some teeny tiny piping tips” I rounded up some ziplock bags, square cookie cutters, and edible pearls, and geared myself up for the decorating party.
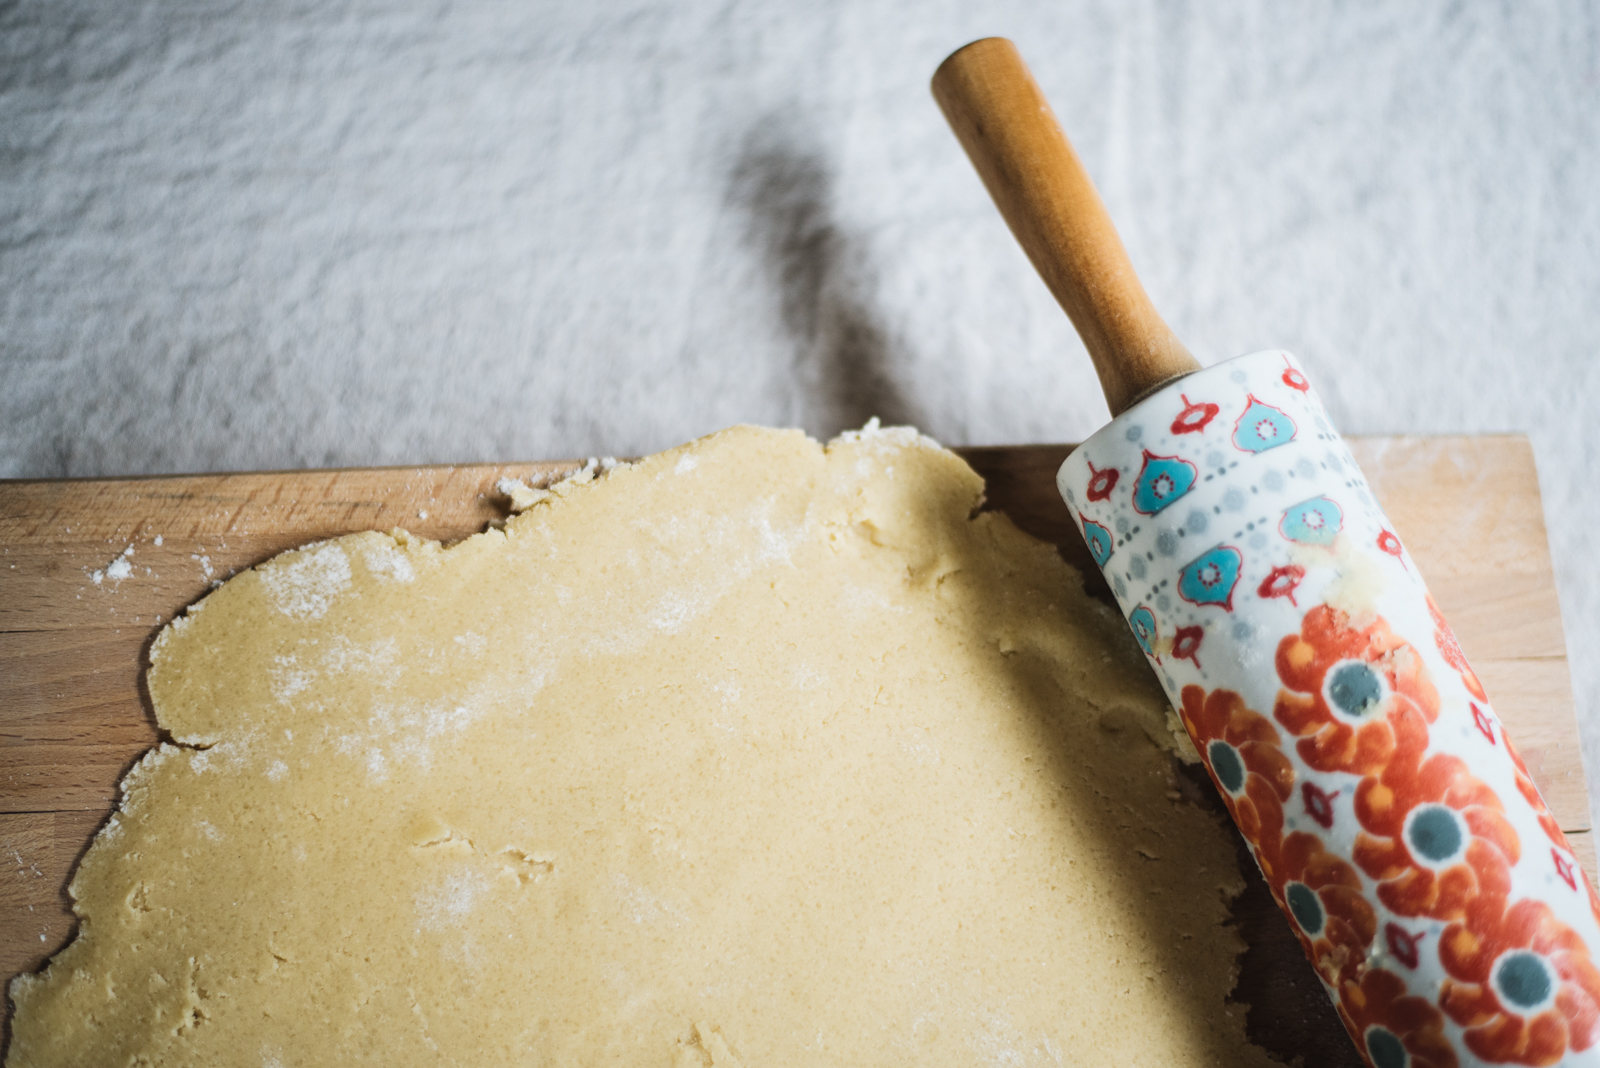
It was a journey of love. Anytime you do layers in baking, you’re adding on time while you wait for things to bake, settle, cool, and shift to where they’re supposed to be for the next step. But the great thing about sugar cookie dough is that you can prep ahead and leave it in the fridge to chill until you’re ready to pull it out and start your journey. Which, is exactly what I did. The kids could hardly wait, so when a rainy day hit, we made it happen.
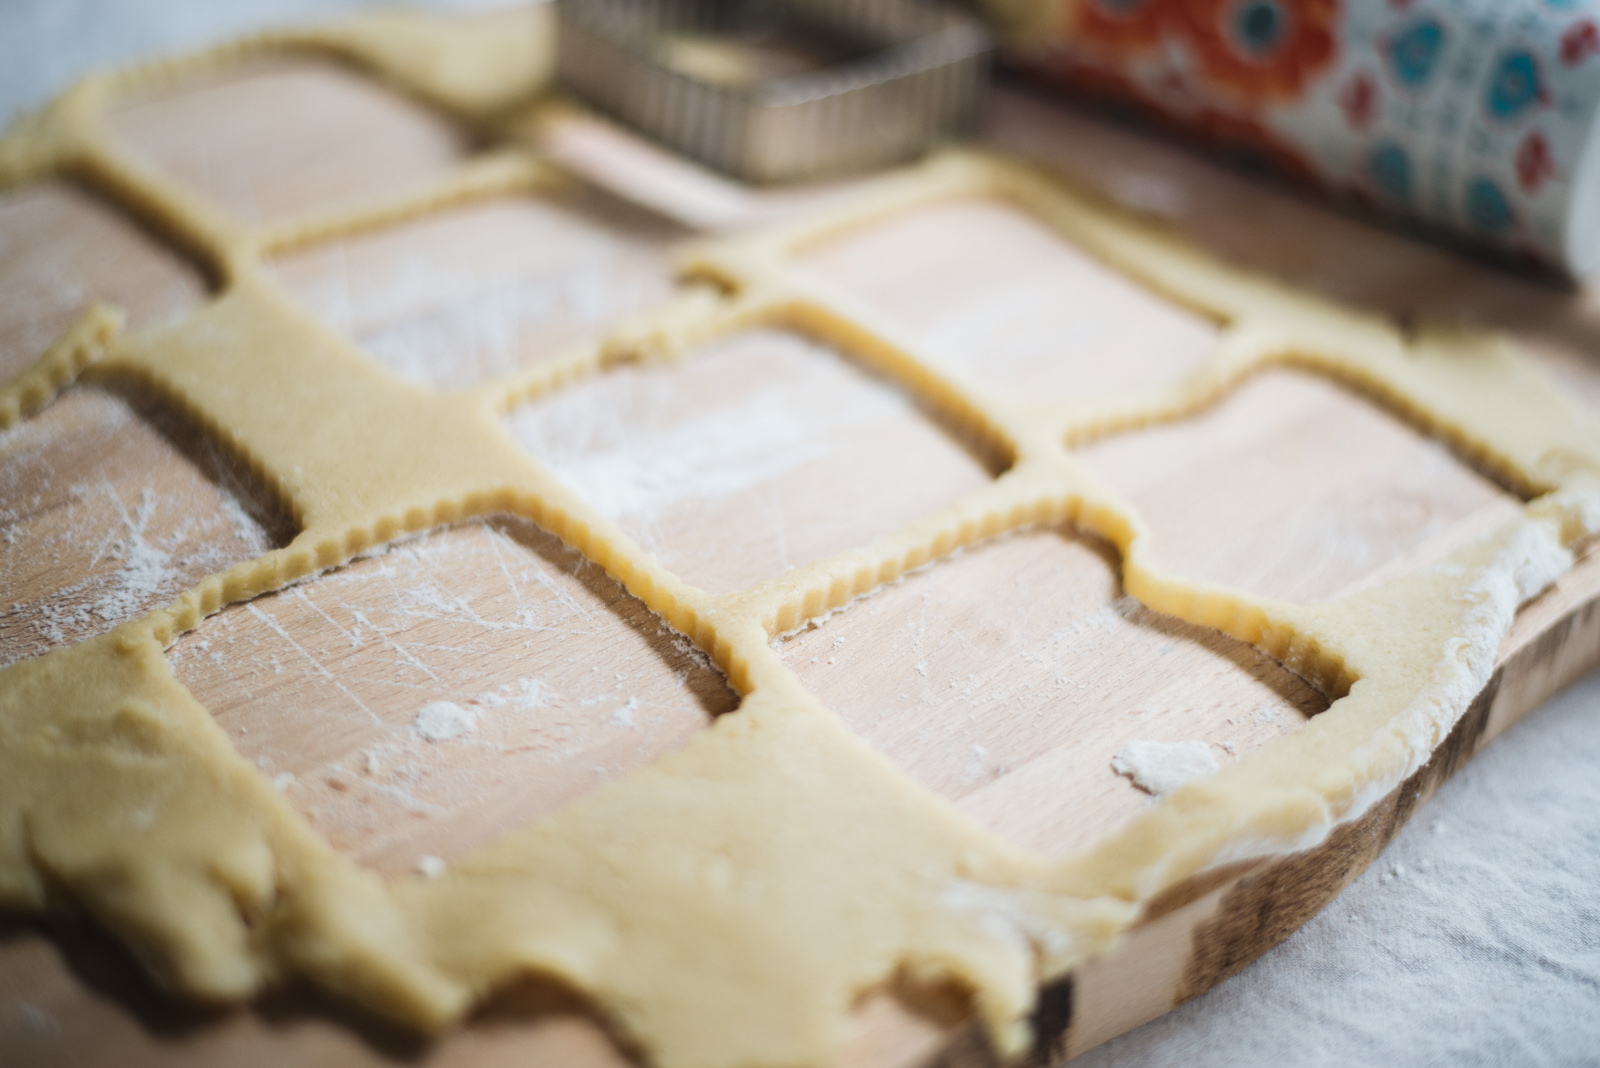
I liked the idea of sticking with squares, instead of hearts, so we could have little mini canvases to work with. These cookie cutters were about 4 x 4 inches. By the time they fluffed in the oven, they were quite large. (Larger than I would recommend if you’re going for the dainty feel of Molly Yeh’s cookies.) But, if you’re working with kids, then this size will be perfect for little hands and fine motor skills!
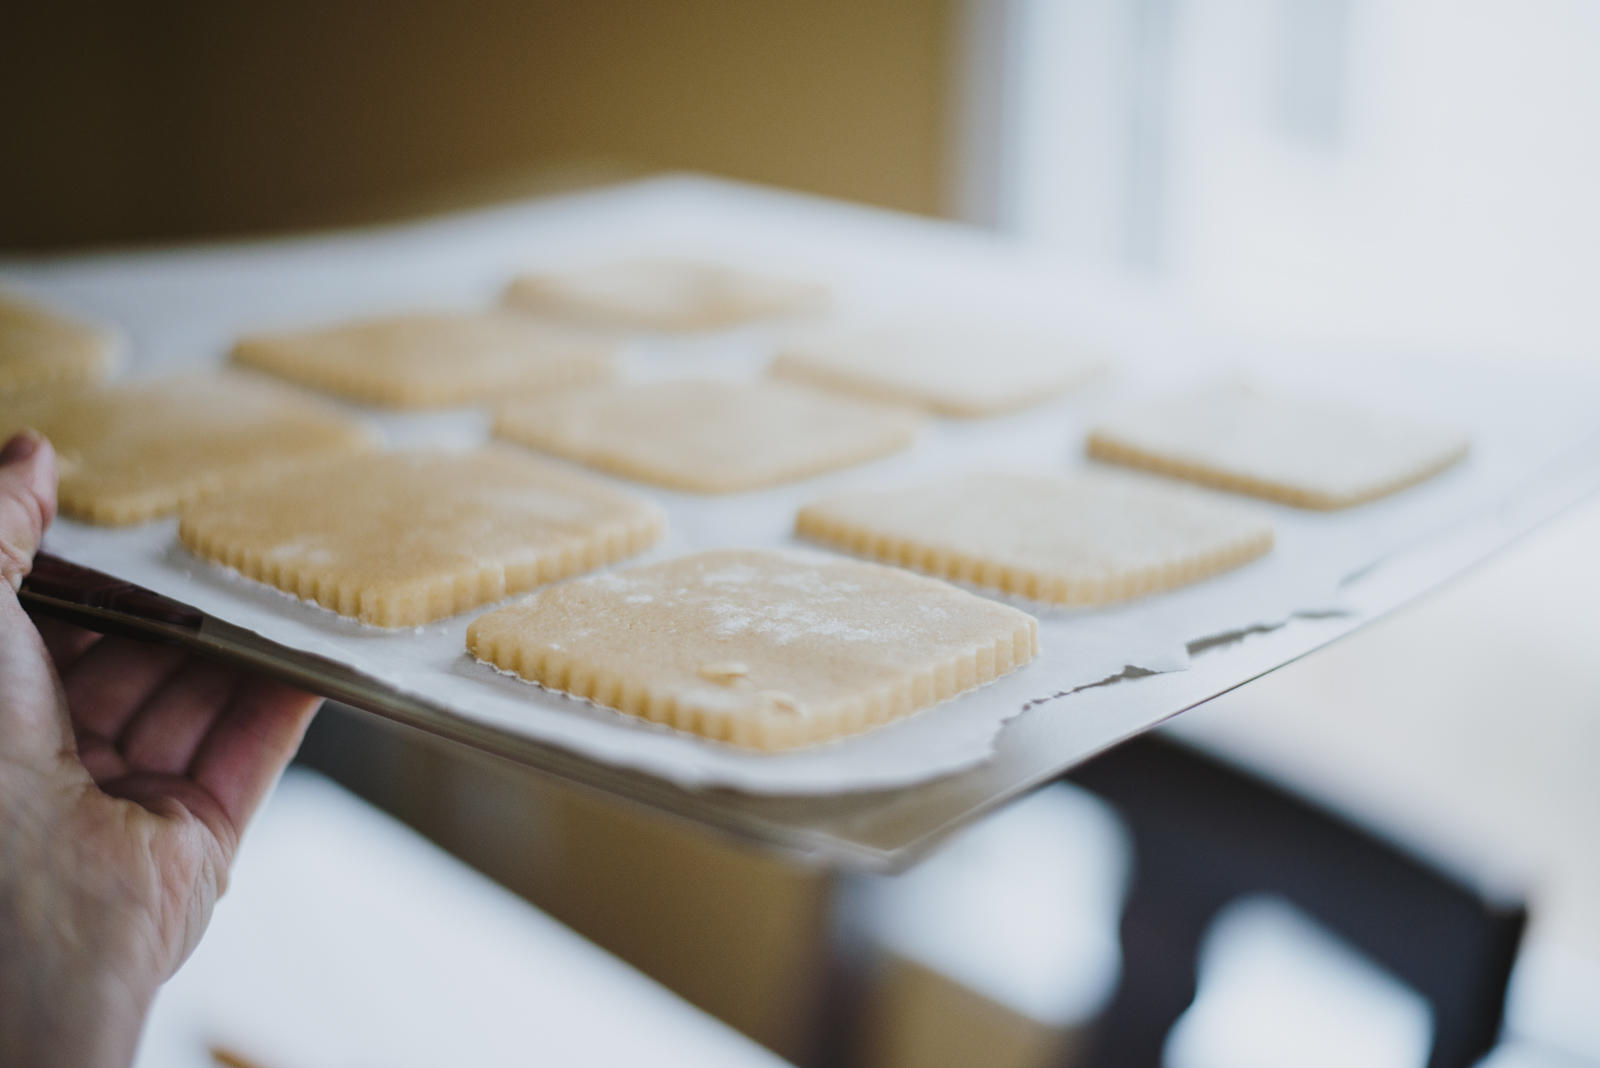
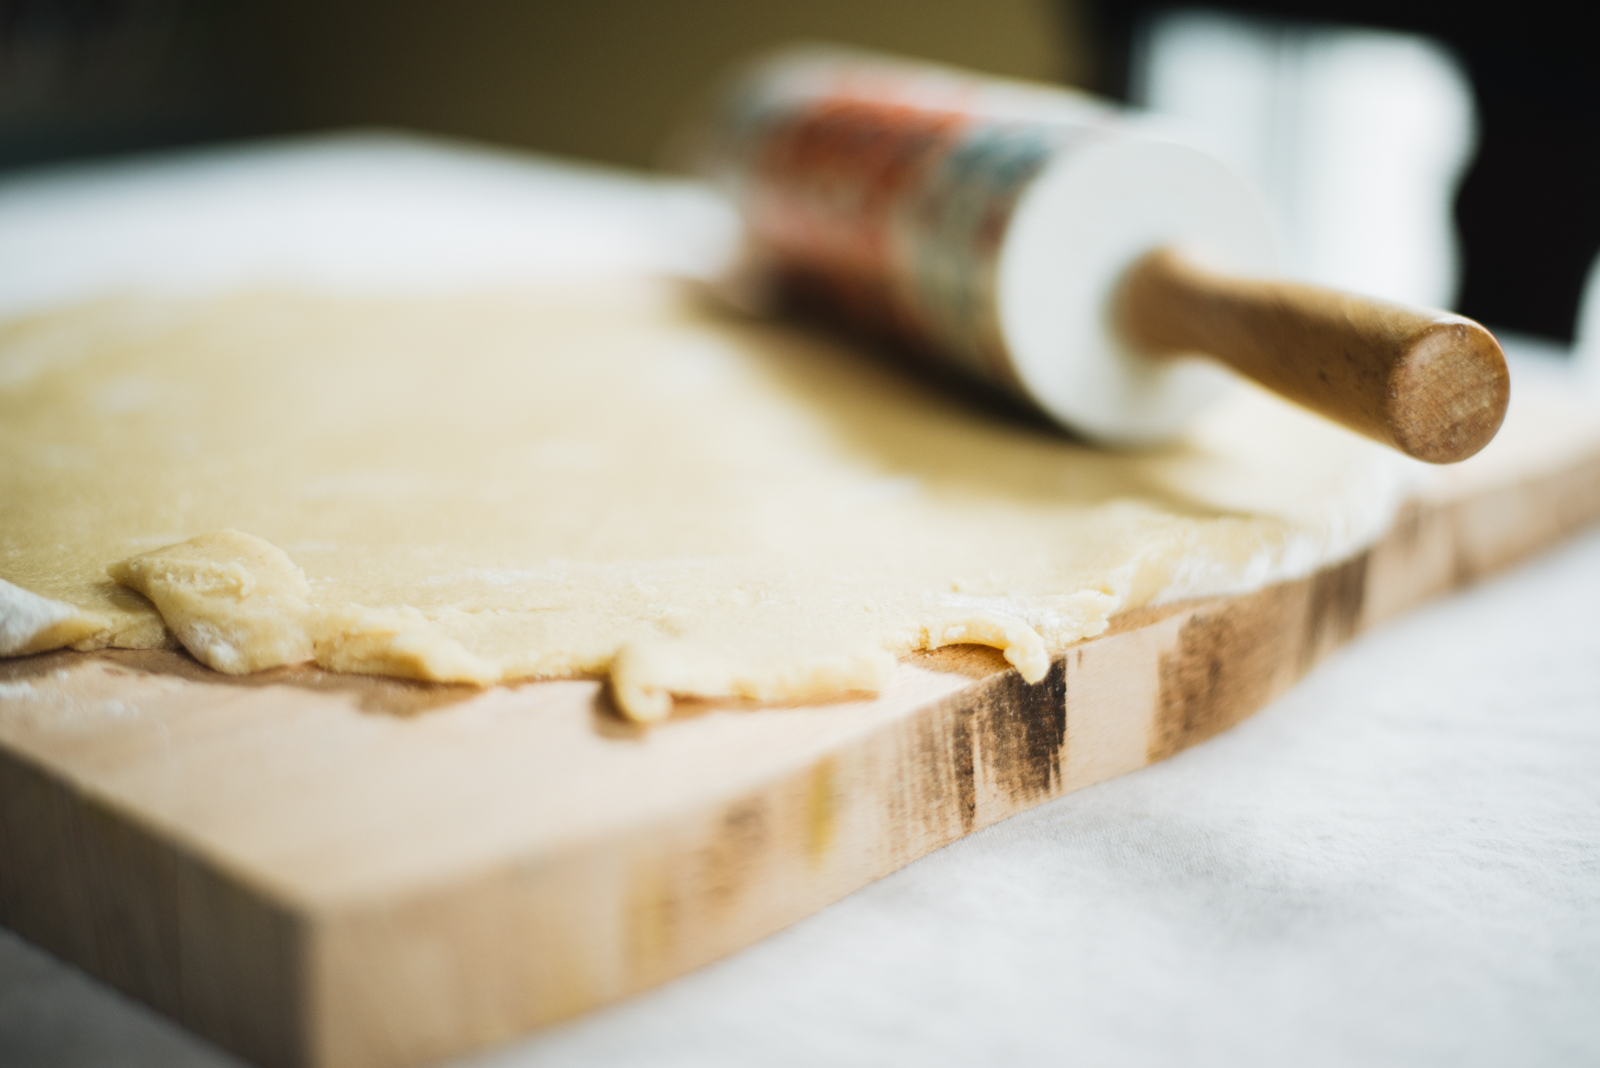
Roll the dough out to about 1/4 inch thick and set at least 1 inch apart. Use the scraps of dough to combine and roll out for more squares.
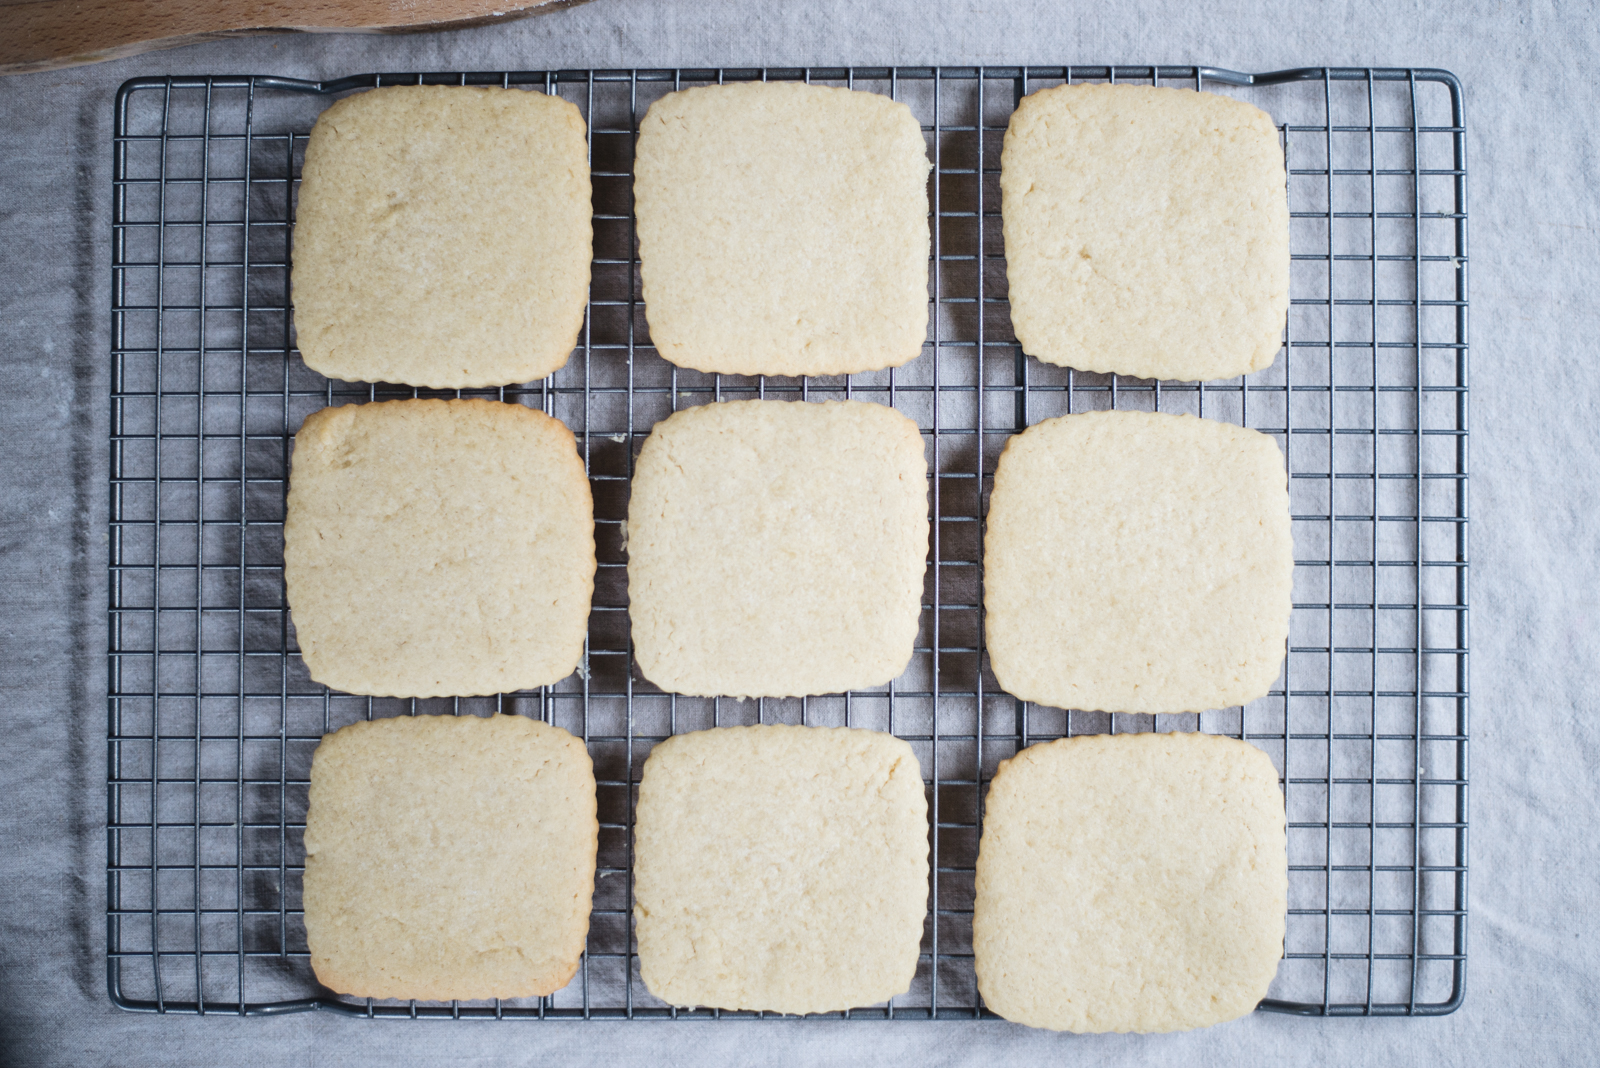
Let the cookies cool on a baking sheet while you prepare the glaze…
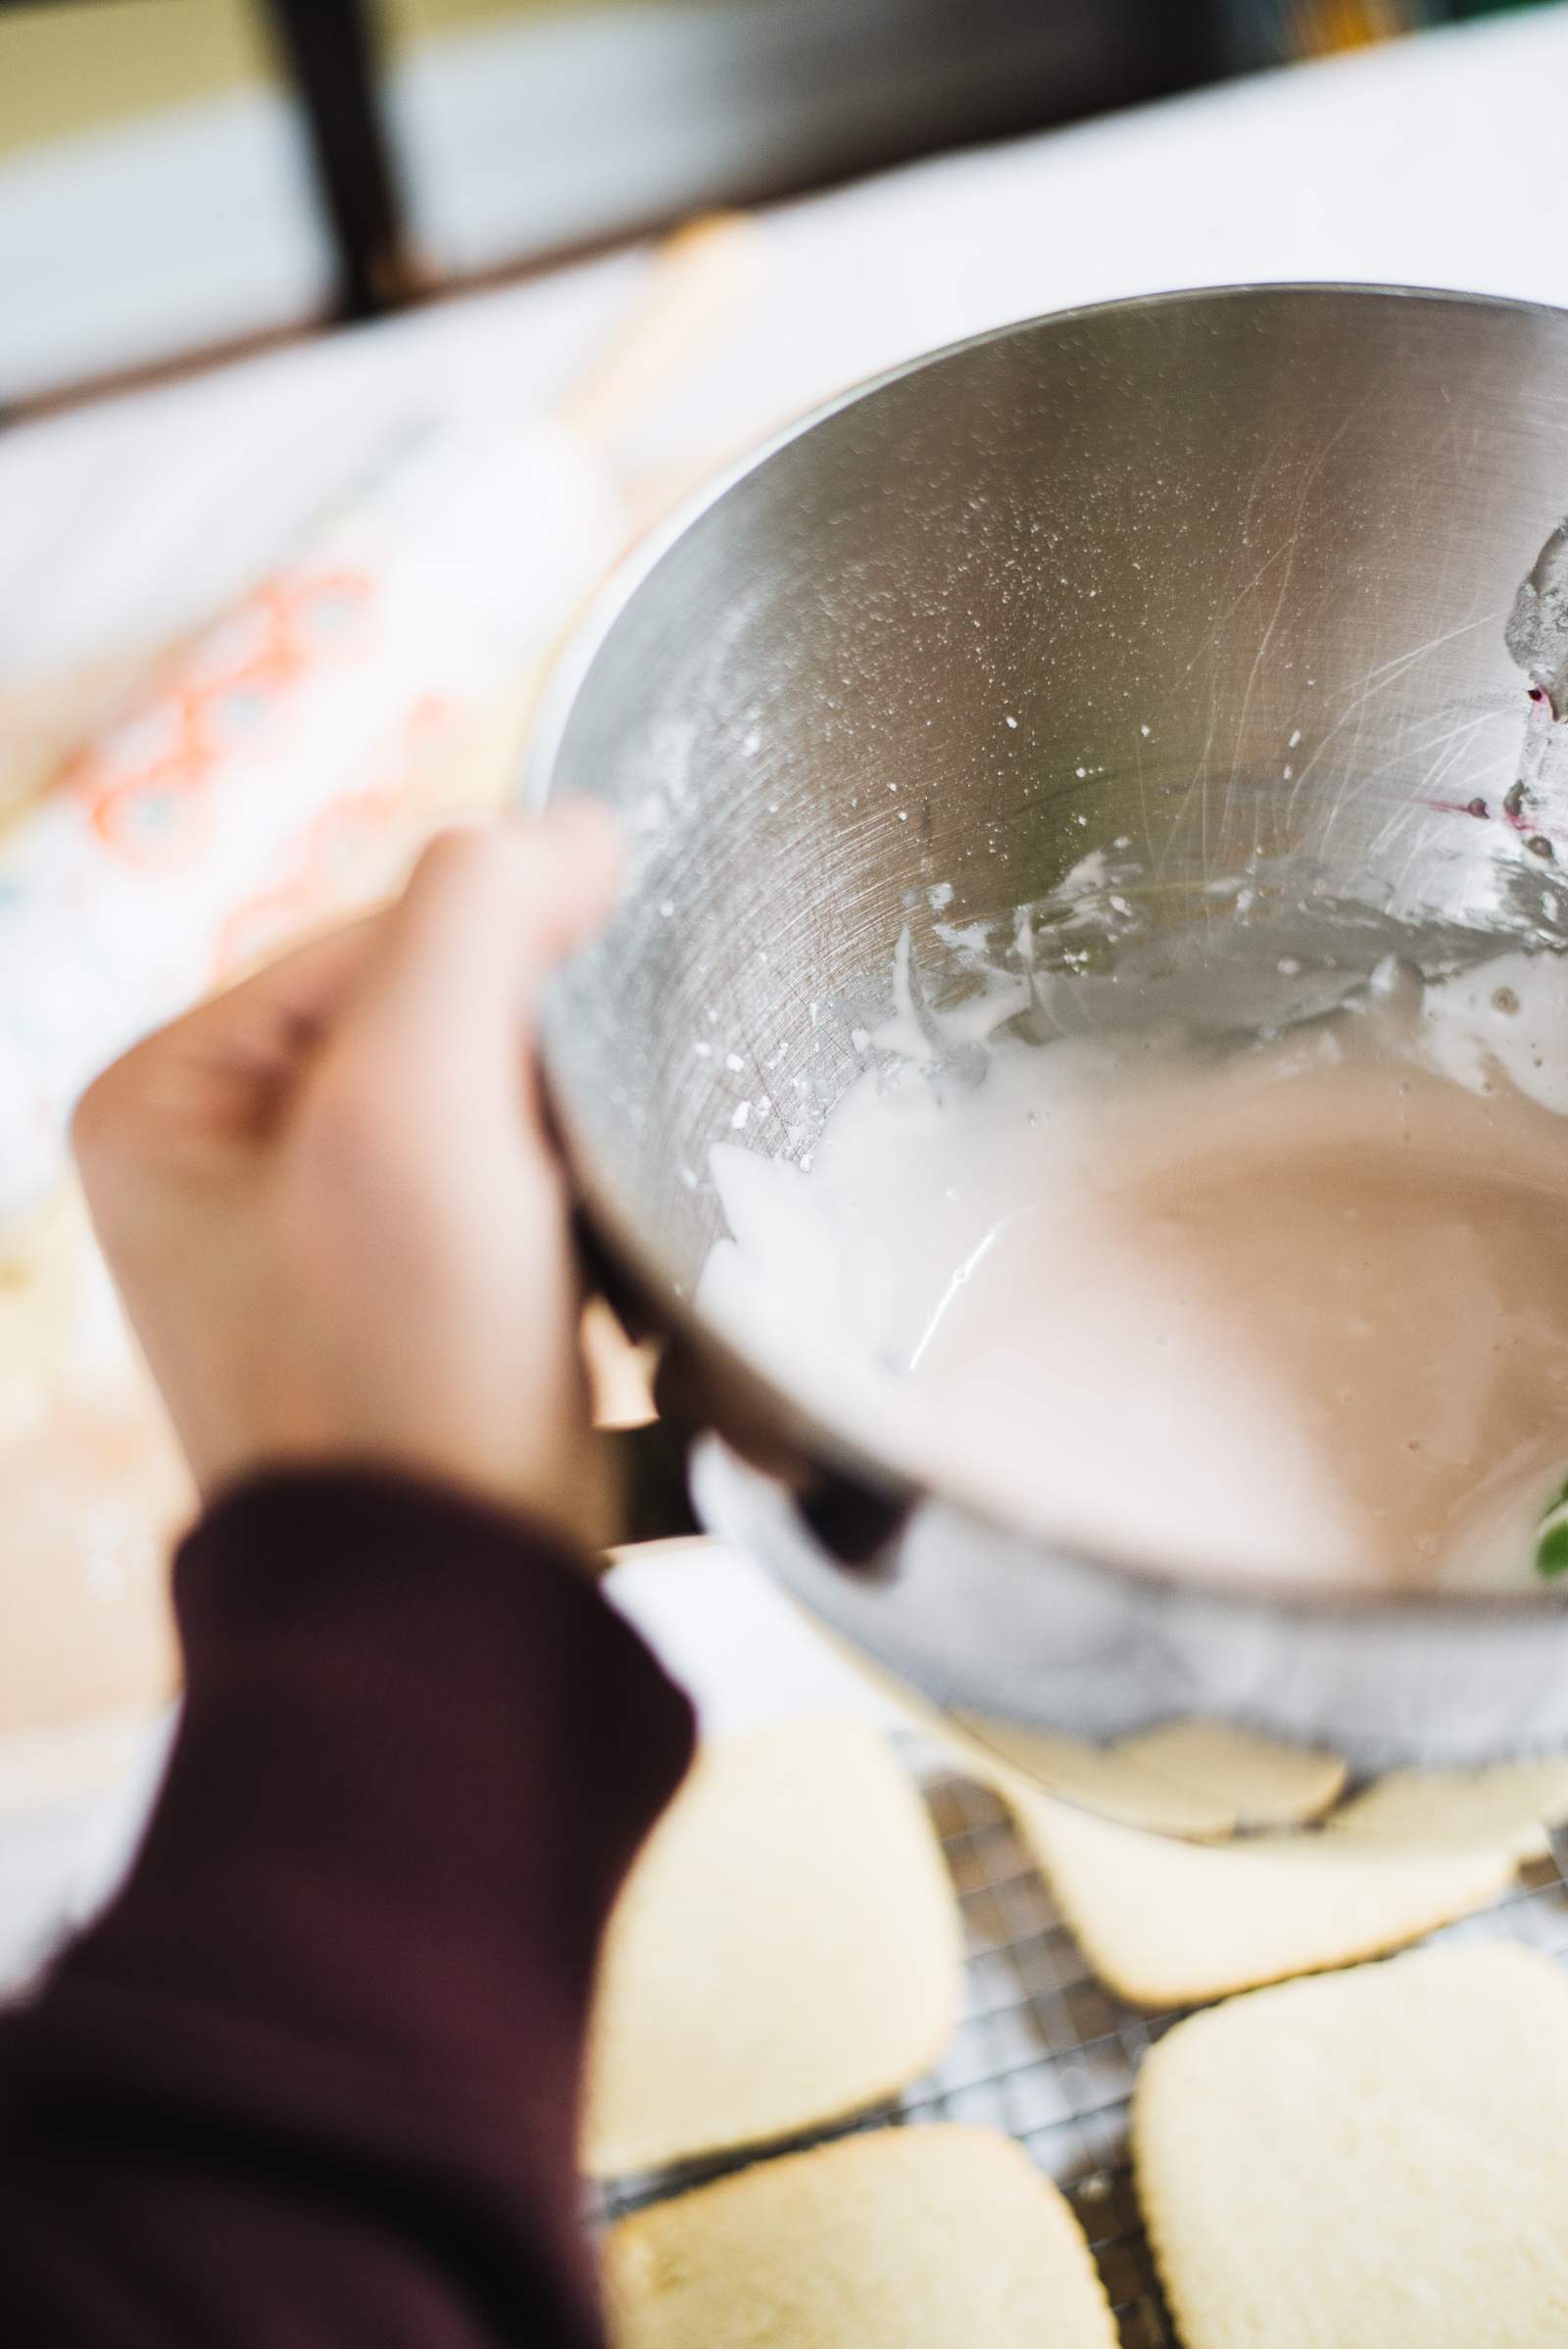
Whisk together the ingredients for the glaze (see recipe below). You want the consistency to resemble thick, pourable, glue. If it’s too thick, add a couple more drops of milk, and if it’s too thin, add a few more spoonfuls of powdered sugar. Incorporate the food dye until smooth and to reach desired color. I love using natural dye as it is cleaner, produces prettier colors, and is easy to find now in stores.
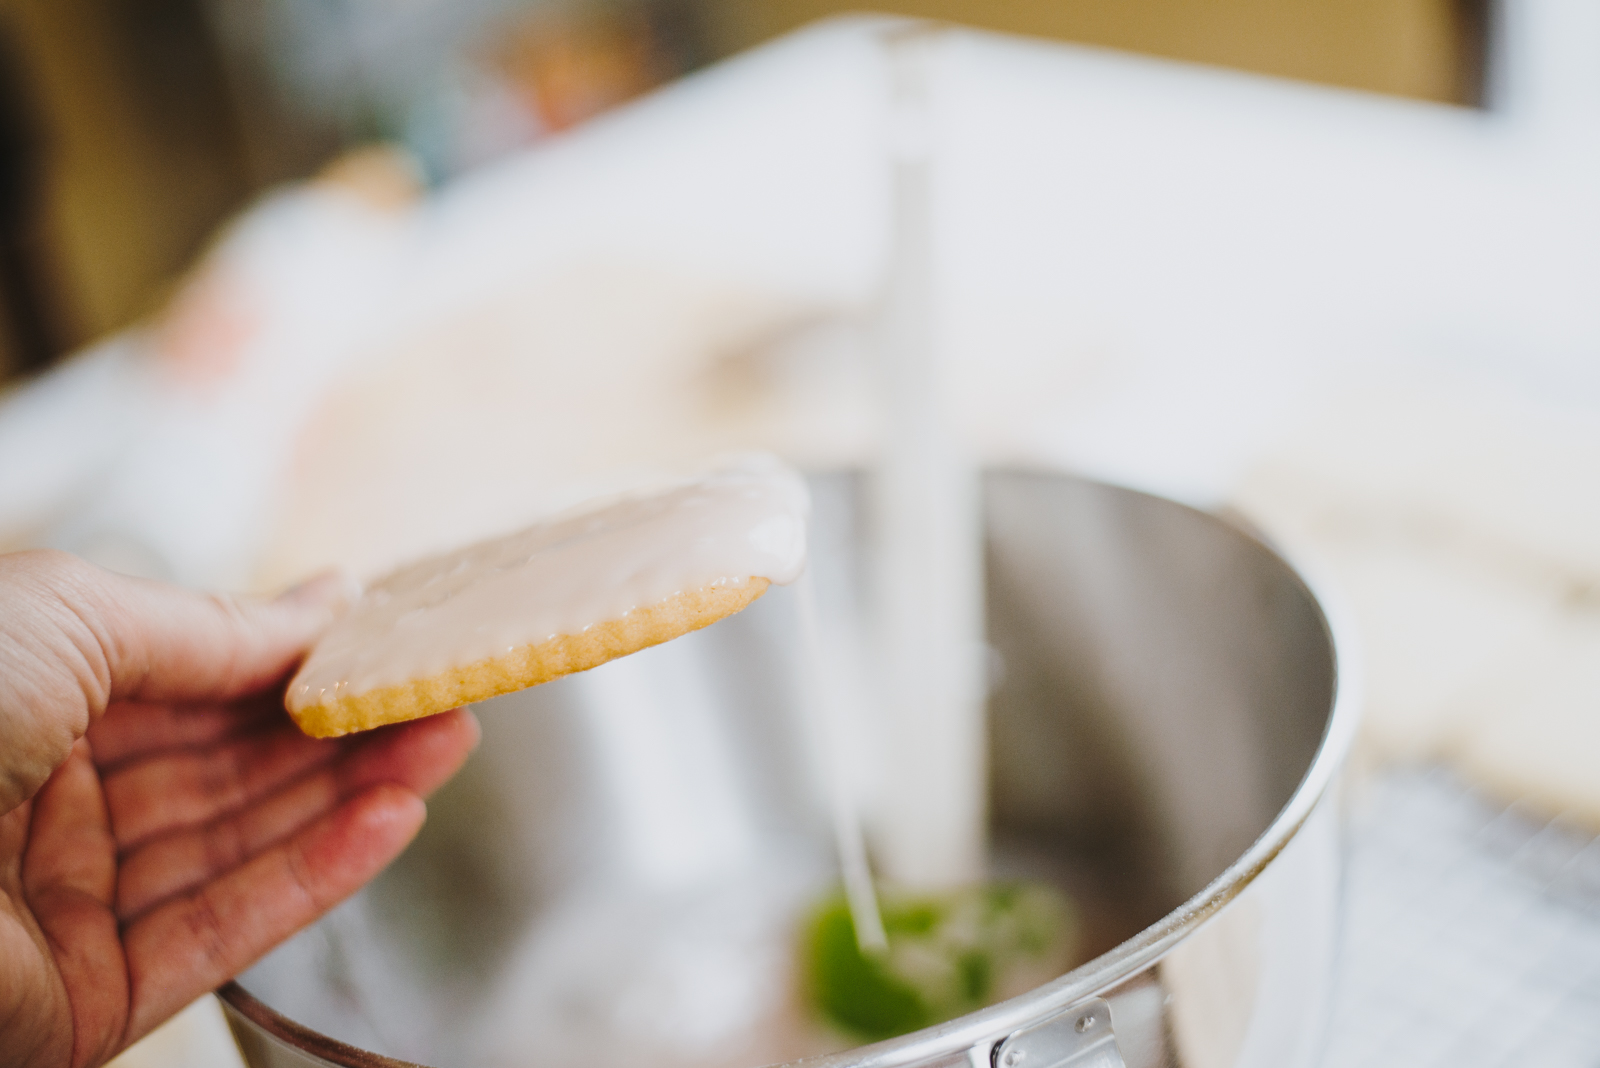
Dip the cooled cookies in the glaze.
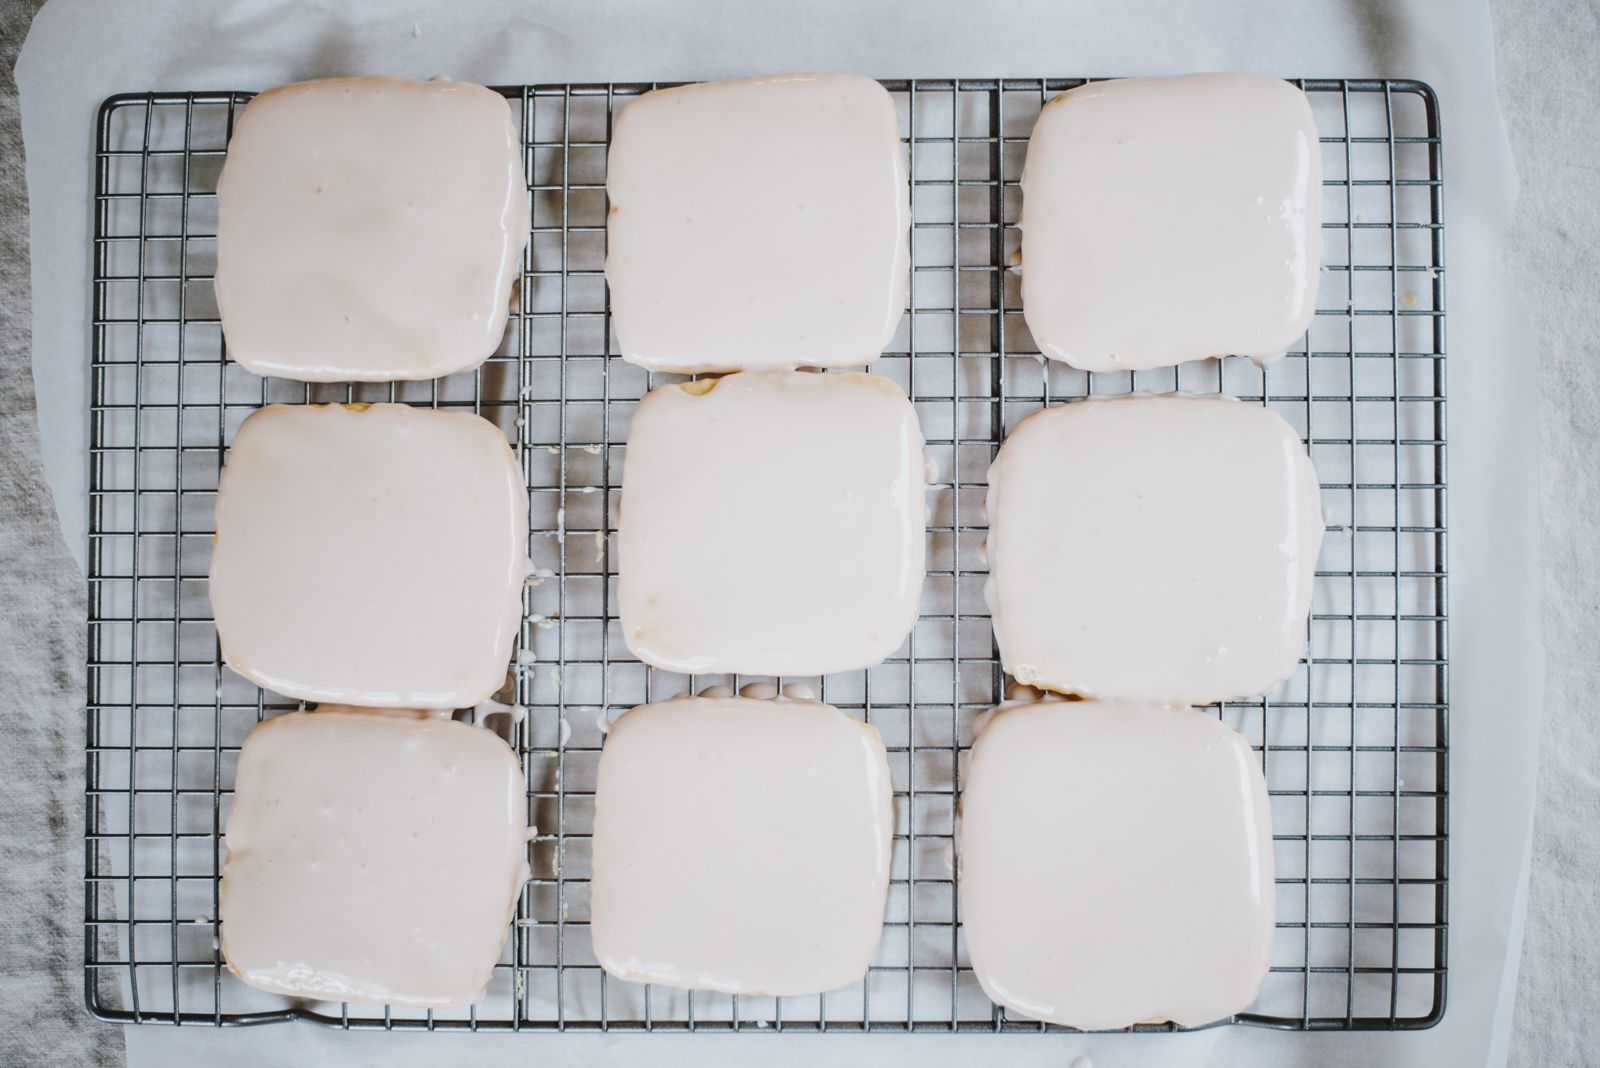
Set out on cooking rack to cool and harden over. This took maybe an hour? Then, prepare your buttercream icing in a stand mixer (if you have one) and separate the icing into little bowls if you want to make more than one color. Incorporate different food dyes into the little bowls to make several colors to work with. I put our icing into ziplock bags and snipped off the ends to make our own makeshift piping bags. Of course, you can use traditional icing bags with attachable tips, especially if you want to get fancy and make little stars and patterns. And then, let your kids go to town! They will have THE best time feeling like they’re on a baking show with their blank cookies and their icing bags. You could even hold a contest and give an extra cookie to the winner with the most creative design. Happy decorating!
Notes
Ingredients
- for the cookies:
- 1-½ cups unsalted butter
- 2 cups sugar
- 2 whole eggs
- 2 whole eggs yolks
- 4 tsp vanilla extract
- 2 tsp almond extract
- 4 cups all-purpose Flour
- 1 teaspoon salt
- 1 tsp baking powder
- for the glaze:
- 2 cups (240g) powdered sugar
- 2 tb (40g) honey
- 2 1/2 tb whole milk
- 1/2 tsp vanilla extract
- 1/4 tsp almond extract
- pinch of kosher salt
- food coloring
- for the buttercream:
- 1 c unsalted butter, softened
- 3 c (360g) powdered sugar
- food coloring
Instructions
- In a mixer, beat butter and sugar until well combined, about 2 minutes.
- Add in 2 eggs and 2 egg yolks and mix until combined. Add in vanilla and almond extract; mix until combined. In a separate bowl, sift together flour, salt, and baking powder. Slowly (about a cup at a time) add flour to butter mixture and mix just until combined. Over-mixing will make dough tough. Cover dough in saran wrap and refrigerate for at least one hour. (If you refrigerate for longer than an hour, let the dough rest on the counter for about 10 minutes before rolling it out.)
- When you are ready to bake, heat oven to 350 degrees. Roll dough out to desired thickness, cut out cookies, and bake on an un-greased cookie sheet for 6-8 minutes. The baking time will depend on how thick you roll out your dough and whether you prefer a crunchy or soft texture. We like ours soft, so we roll ours out pretty thick and bake for about 8-10 minutes.
- Let cool completely on a cooling rack before adding the icing.
- To make the glaze, whisk together the powdered sugar, honey, milk, vanilla, almond extract, salt, and a few drops of food coloring until very smooth. You want the consistency of thick, pourable glue. If it's too thick, add a little more milk, if it's too thin, add a few spoonfuls of powdered sugar.
- To make the buttercream, in a stand mixer fitted with a paddle attachment or in a large bowl with an electric mixer, beat together the butter and powdered sugar until smooth. Separate out into individual bowls and stir food coloring into each. Transfer to piping bags fitted with tiny round or star tips, or, go simple with ziplock bags and the corner snipped off.
- To assemble, dip the tops of the cookies into the glaze, letting any excess drip off, and then place on a wire rack to dry. After a few minutes, once they’re mostly dry to the touch (they don’t need to be completely dry), you can go ahead and pipe on your buttercream decorations.

View Comments +
+ Add A Comment