Buttery Thanksgiving Rolls
Mary Beth Johnson is a writer based in Atlanta, GA. She is currently writing her first book in between school drop off and laundry piles. She can be found every day on Instagram and at the local coffee shop.
Buttery Thanksgiving Rolls
Guests will be going back for seconds with these Buttery Thanksgiving Rolls that give a nod to your grandmother’s bread basket full of Parker House Rolls. These rolls are the perfect mix of crusty on the outside and fluffy on the inside. Slather them with butter right out of the oven and you’ve got yourself a no-fuss party in the mouth. If you’ve been intimidated by long and complicated yeast dough recipes before, this is not that kind of recipe. There are no fancy ingredients or extra tedious steps. Just a basic introduction to the art of yeast and the powerful aroma of dough baking in the oven.
If you grew up like I did, the rolls were the highlight of Thanksgiving dinner. Just a few minutes before the meal would start my grandmother would toast the Parker House rolls for a few minutes and then keep them warm in a basket with a towel. I would eat the rolls first, split them wide open, and slather real butter in the center. While the adults were busy talking, I’d go back for more and not stop until I couldn’t hold anymore. When I was a teenager, I decided to teach myself how to make bread from scratch. This was pre-internet, so I pulled out my mom’s Betty Crocker recipe book to learn how. The entire process of activating the yeast, getting the dough to rise, and then baking it fascinated me.
Bread baking is the ultimate science experiment.
I soon learned that working with yeast was basically a science experiment using edible elements. While I never considered myself “good at science” I became very good at baking bread. It took patience and practice. At first, I couldn’t get my dough to rise. Then, I couldn’t get the bread to have that glossy, golden brown finish I’d seen in the pages of Betty Crocker. Or, I would over-cook the bread and it would taste like dry cardboard. (Tip: get yourself a thermometer.) However, I appreciated a type of science experiment where I was rewarded with something tangible people could enjoy.
It might be dry bread at first, but it was edible!
Your results will vary every time.
It’s been years since those Betty Crocker days and now with practice and the internet I’ve learned that yeast is finicky and has a mind of its own. I still scratch my head at my results from time to time. Each and every time I show up to the yeast foaming in the water my heart pounds a little. “Will it turn out this time?” I ask myself. As I work my way through the stages of dough, rise, repeat, I also work through my own stages of insecurity. I am stretched, humbled, and molded, much like the dough I am forming in my hands.
While the yeast dough turns out differently for me every time, it is the practice that I am proud of. And when the buttery Thanksgiving rolls slide out of the oven onto the cooling rack I think to myself, “I made this.”
The temperature matters.
If you learn nothing else from me describing the yeast dough process, learn this: the temperature matters. Whether you’re using this recipe for buttery Thanksgiving yeast rolls, or homemade pizza crust for movie night. The yeast needs a warm environment to work its magic. Before you dissolve the yeast into the warm water, make sure the liquid is warmer than lukewarm, but not hot. Recipes typically suggest the temperature of the liquid to be around 110 degrees Fahrenheit. You can use a thermometer, but I find that the index finger does a phenomenal job of gauging the temperature once you familiarize yourself with what “hotter than lukewarm” feels like.
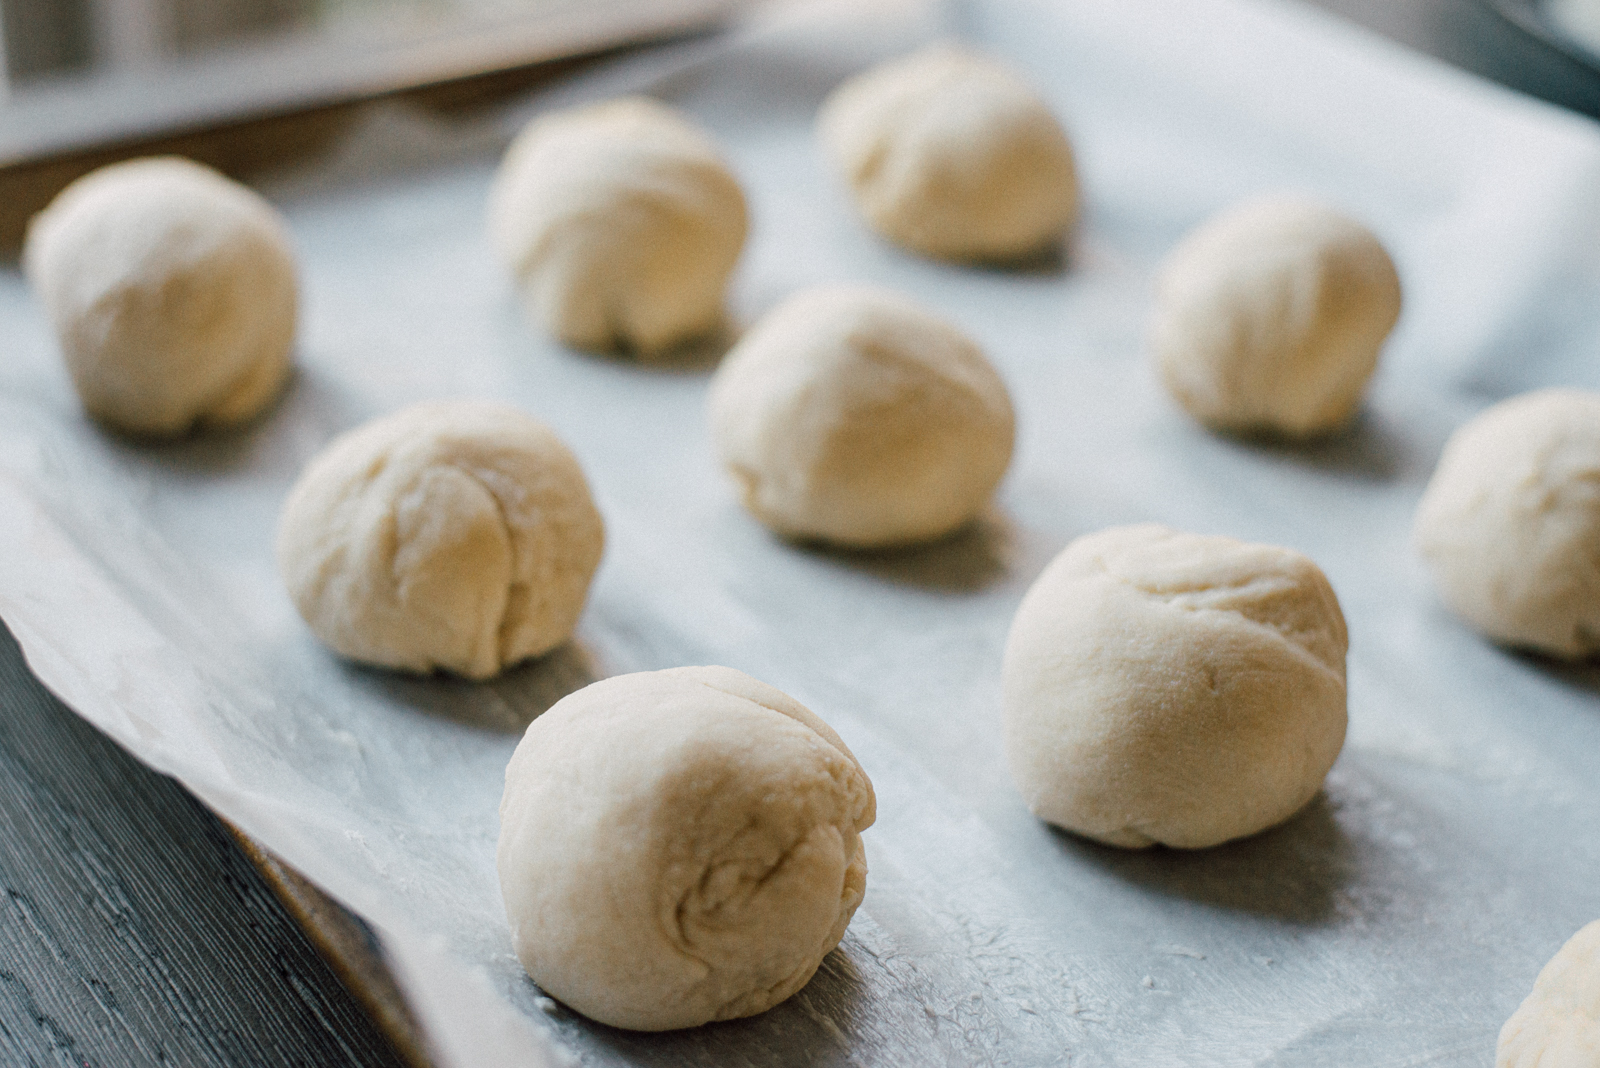
Yeast dough rises much better in a warm environment with no cold drafts. Preheat your oven slightly (not too hot) to create a warm place for the dough to rise in. If your oven is not available, places like the microwave or underneath a sunny window are also perfect. Cover the dough loosely with a slightly damp towel or saran wrap. You’ll know that the dough has successfully risen when it has doubled in size and/or when you press your finger into the dough it springs back, but leaves a slight dent.
Roll out the buttery Thanksgiving rolls close together.
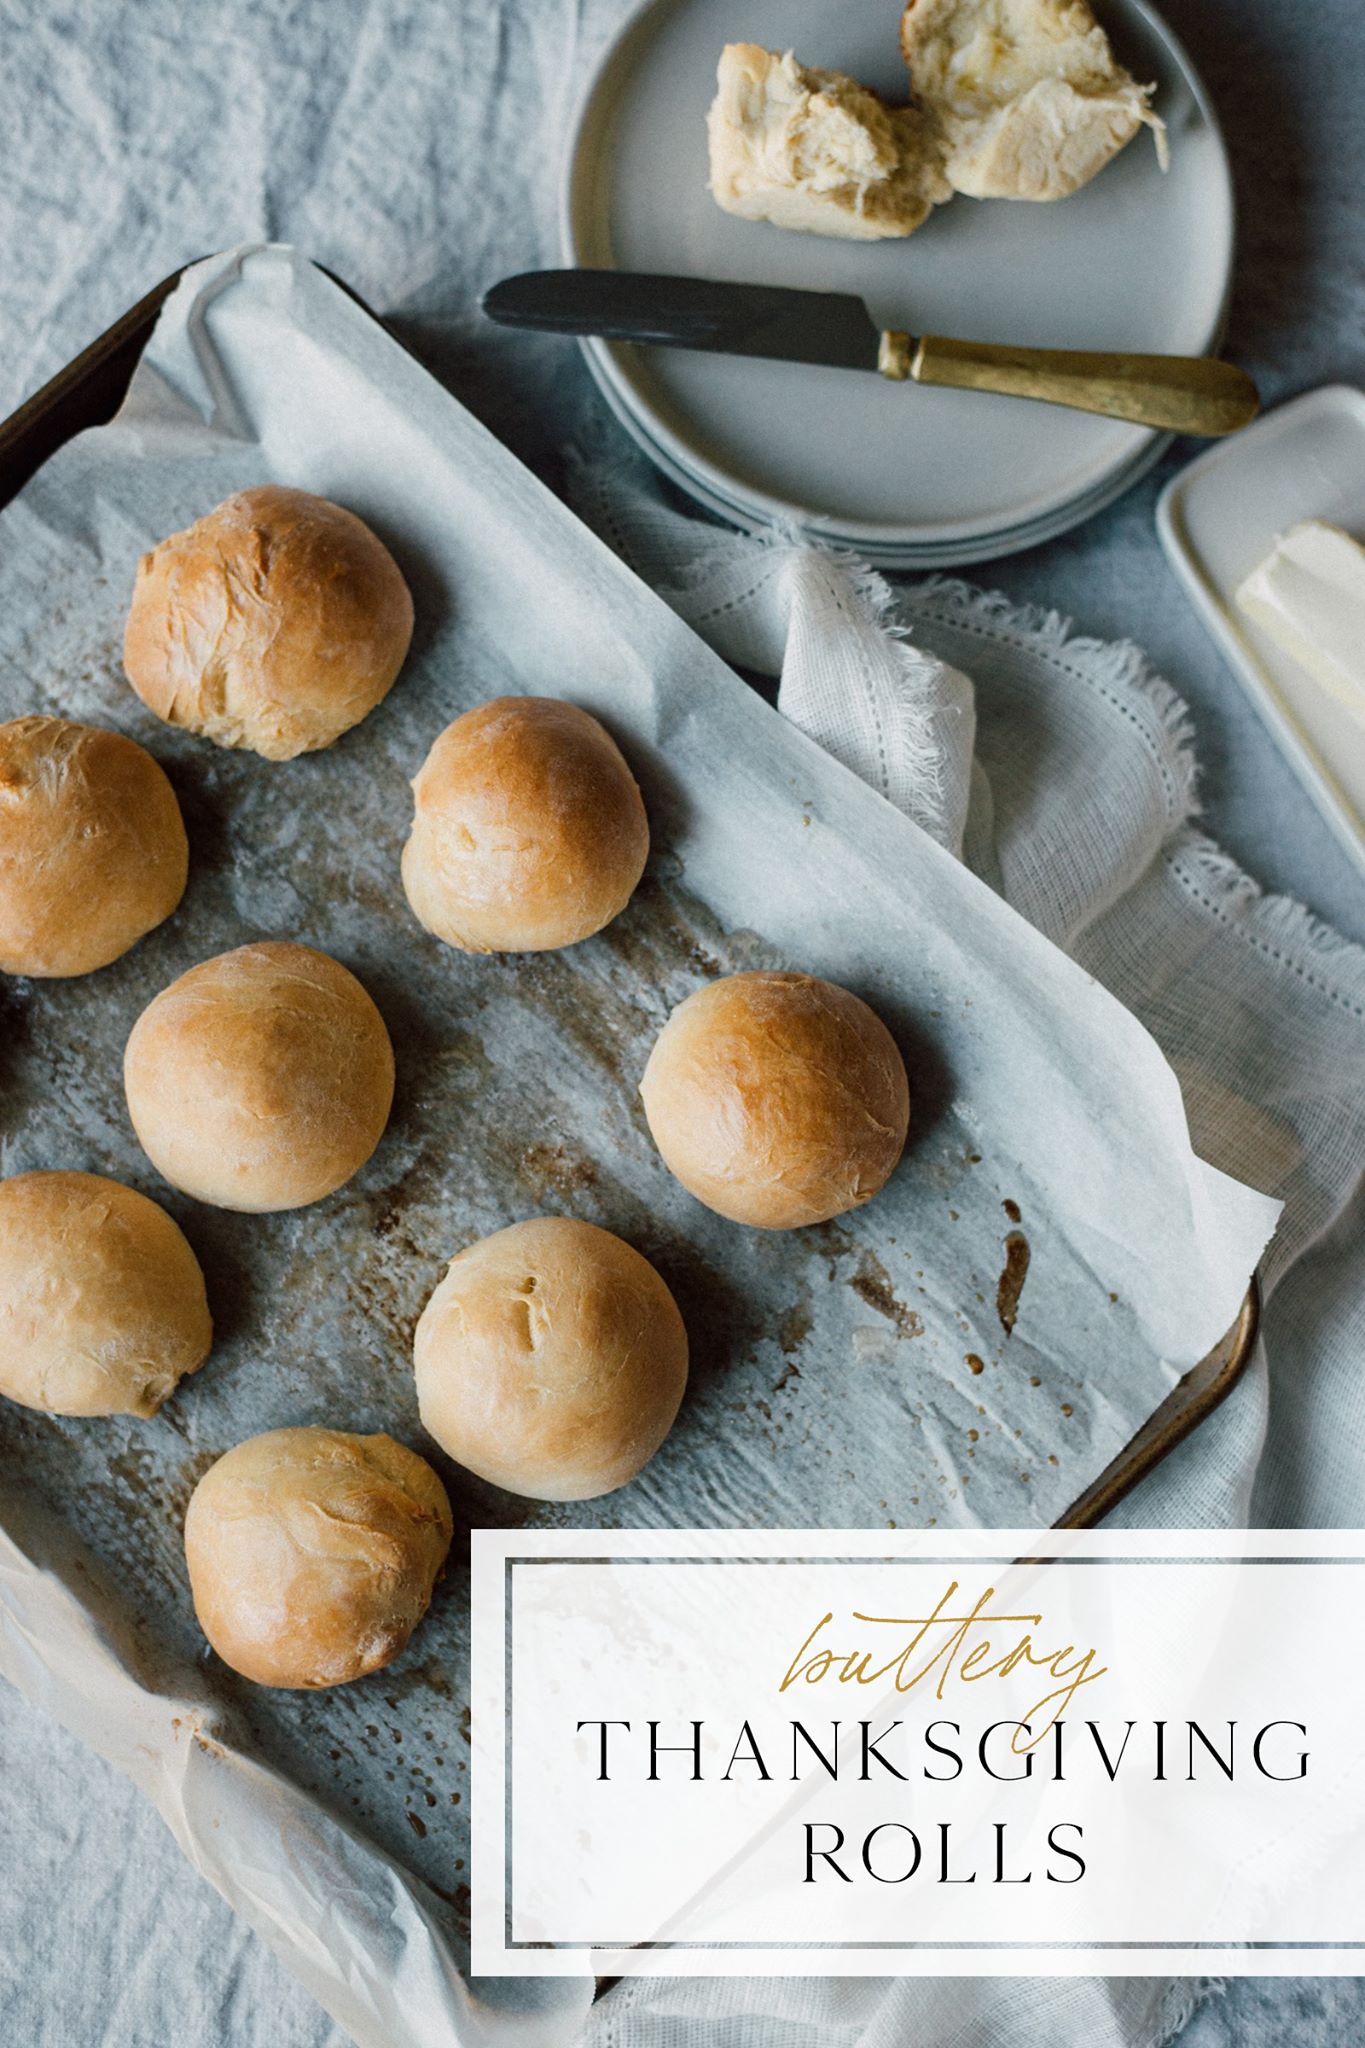
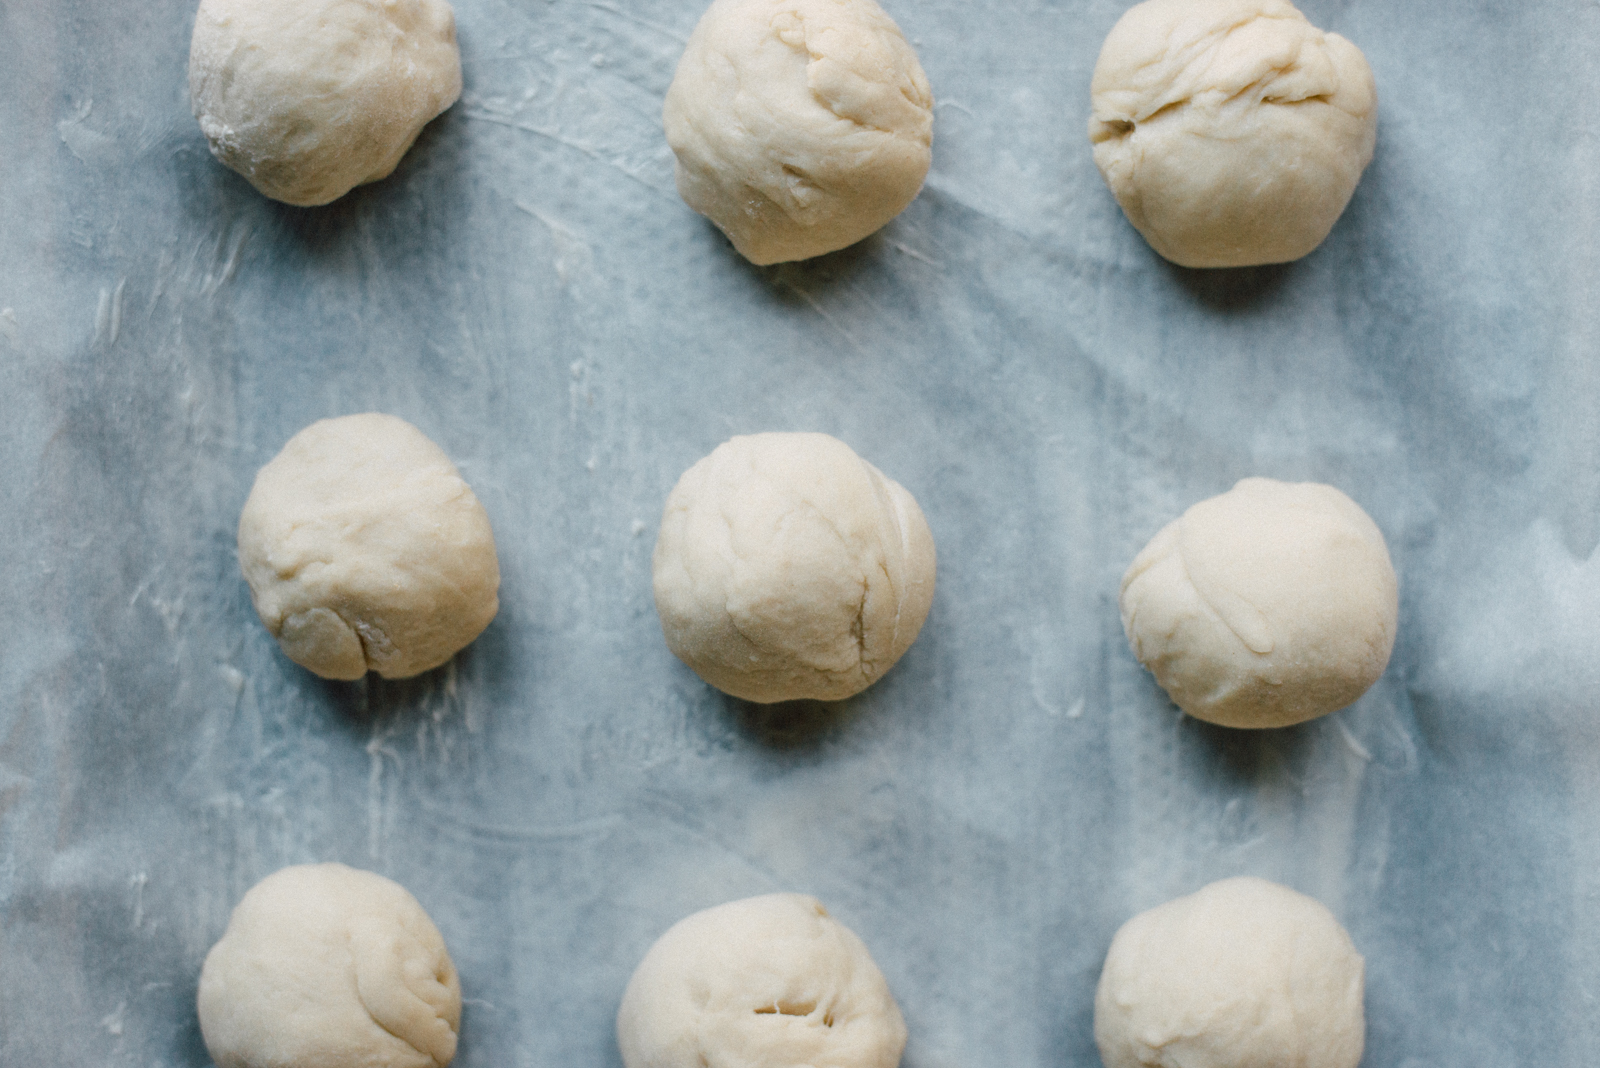
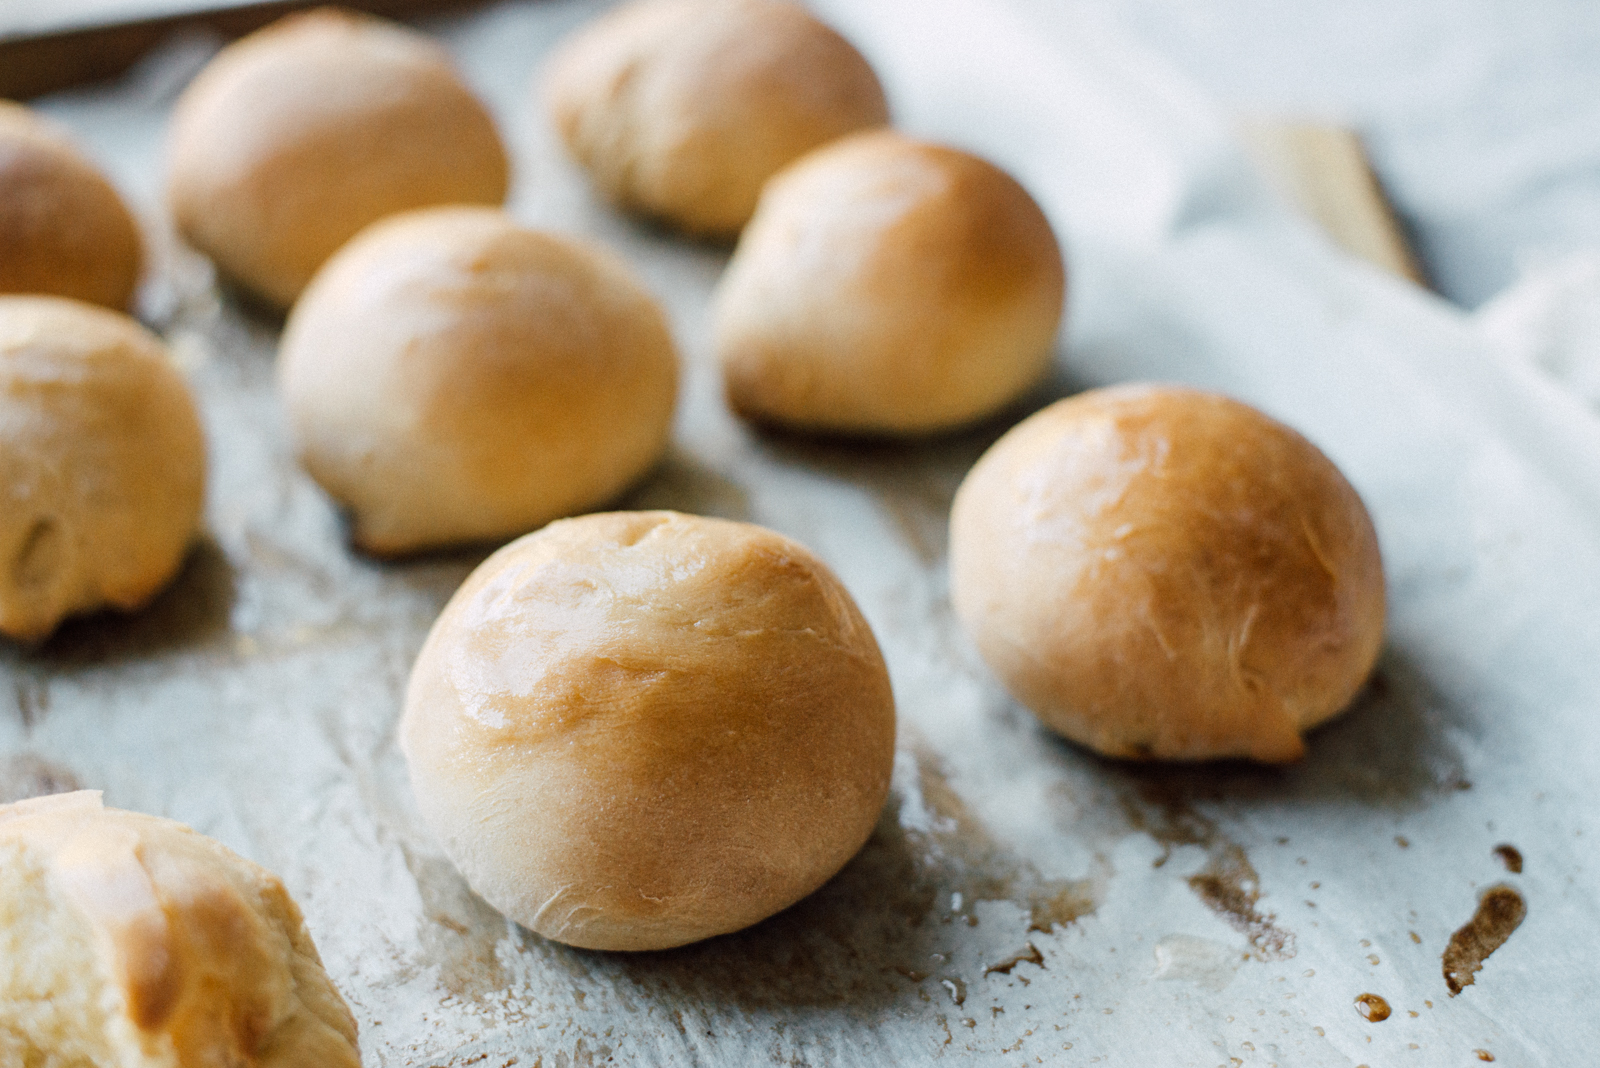
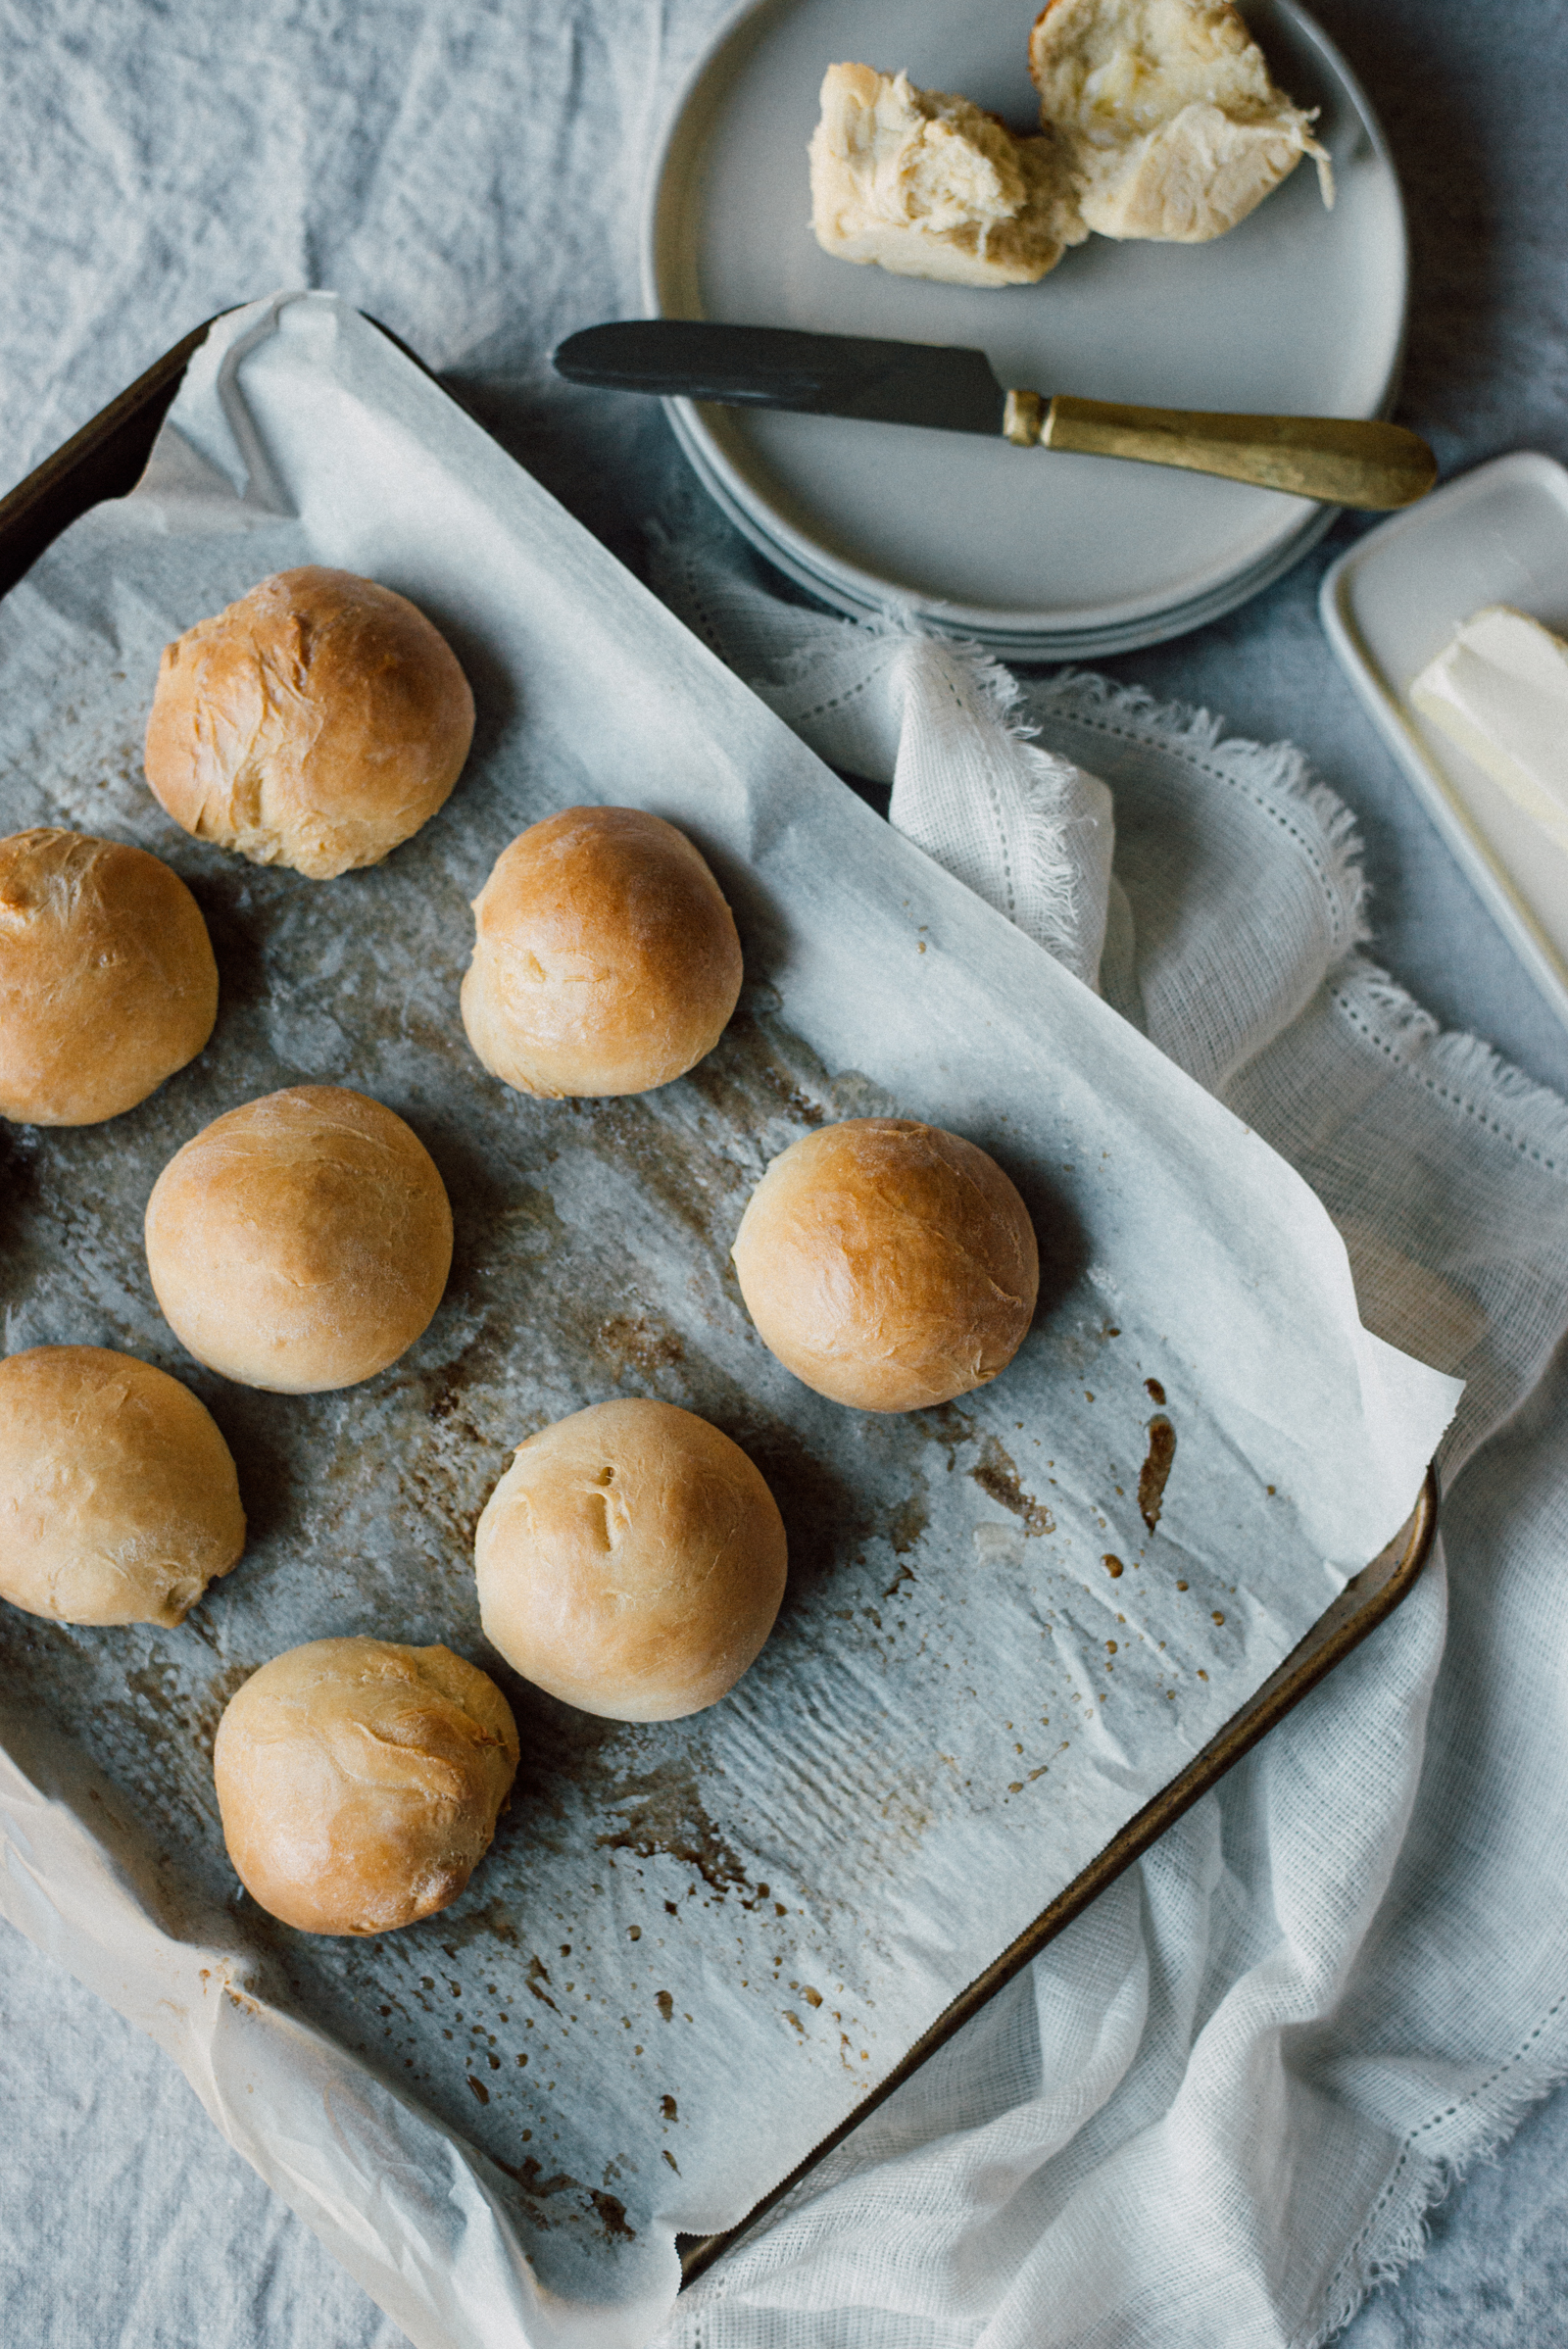
This recipe makes about 24 rolls if you divide the dough into balls about 3-4 inches in diameter. Keep in mind that the rolls will rise to about double and then get even fluffier through the baking stage. I made the mistake of giving my rolls too much breathing room on the baking pan (as pictured in the photos) so they didn’t touch each other and get that nice, soft flaky layer when you break them apart. I suggest that you lay out the rolls so they’ll rise into each other, about 1 inch apart on your parchment-lined baking sheet or buttered, 9 x 13 inch glass pan.
Buttery Thanksgiving Rolls
Notes
Recipe from Bobby Flay.
Ingredients
- 1 1/2 cups milk
- 1 stick unsalted butter, cut into pieces, plus more for brushing
- 1/2 cup sugar
- 1 package active dry yeast
- 1/2 cup warm water
- 3 large eggs, lightly beaten
- 1 1/2 teaspoons salt
- 6 cups all-purpose flour
Instructions
- Place milk in saucepan and bring to a simmer. Remove from the heat, stir in the butter and sugar and let cool. Dissolve yeast in warm water and let sit until all dissolved and foamy.
- Combine milk mixture, eggs, yeast, salt, and 1/2 of the flour in a mixer with the dough attachment and mix until smooth. Add the remaining flour, 1/2 cup at a time, and stir until a smooth ball forms.
- Remove from the bowl and knead by hand on a floured surface for about 5 minutes. Place in a greased bowl, cover, and let rise in a warm place until doubled in bulk, about 60 to 70 minutes.
- On a floured surface, punch down the dough and begin pulling off sections of dough to form into balls. Balls should be about 3-4 inches in width. Place 1-2 inches apart on a parchment, paper-lined baking sheet. You want them close enough to give them room to rise, but also touch each other snuggly when they expand. Cover again and let rise until doubled, about 30 to 40 minutes.
- Preheat oven to 350 degrees F.
- Bake for about 20 minutes or until golden brown. Remove from the oven and brush with melted butter before serving.

View Comments +
+ Add A Comment