
a lifestyle blog about motherhood, intention, whimsical moments, and wellness
How To Organize and Store Your Kids’ Artwork Forever
")
Mary Beth Johnson is a writer based in Atlanta, GA. She is currently writing her first book in between school drop off and laundry piles. She can be found every day on Instagram and at the local coffee shop.
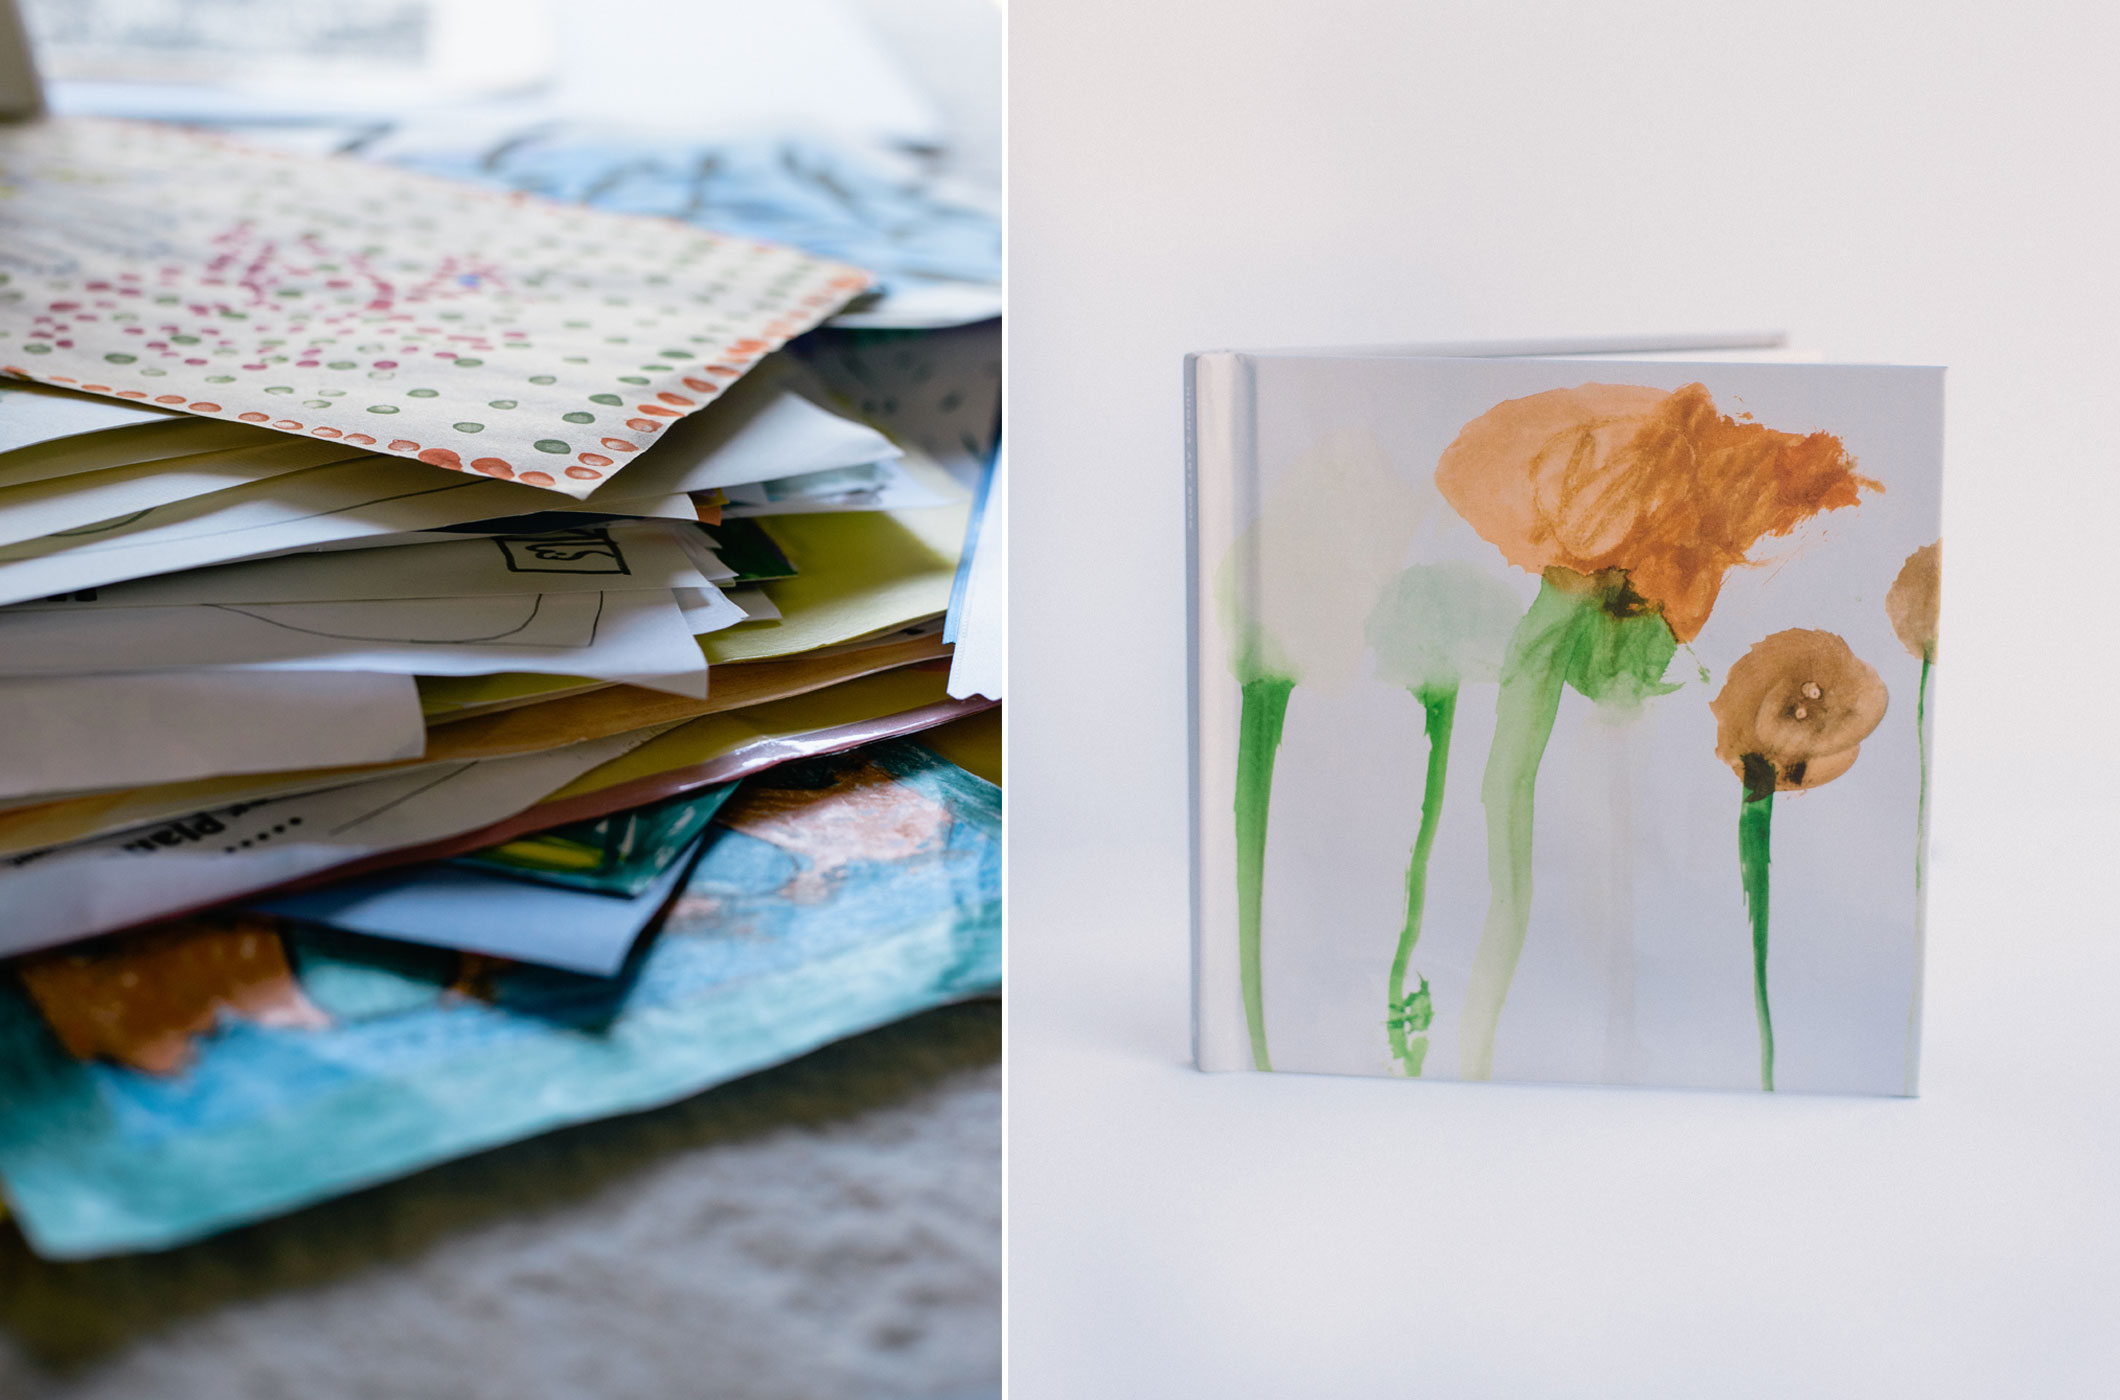
With the new school year just around the corner, the issue of how to organize and store kids’ artwork begins to loom. If your kids are anything like mine, they’ve caught you throwing away their masterpieces, awards, certificates, or special “you-name-its” and protested till your mom guilt ran deep. Rather than allowing the guilt to take over, I decided to use the summertime to come up with a system for organizing and storing my kids’ artwork in one simple place where we could actually enjoy it.
To succeed at this, I knew I needed a solution that was simple, fast, and inexpensive or I would never stick with it. After some trial and error, I turned all of the piles into digital files, and created art books for each of my kids:
Here’s the step-by-step process of how I got rid of the clutter and organized my kids’ artwork so we could enjoy it forever.
Gather every piece of your kids’ artwork and store it in one place.
World-renowned home organizer, Marie Kondo, suggests organizing your home by category, not room so that you can see the full scope of what you’re dealing with. Go through the house and gather all of your kids’ artwork hiding in closets, backpacks, piles, and vehicles and put it in one place. To assuage any doubts or fears that their artwork will end up in the trashcan again, explain to your kids that mommy is going to make something super special with all of their masterpieces. Your kids will begin to check in with you and ask if you’ve finished the “special project” yet, which is a great motivation to stick with the process and see it through to the end.
Organize your kids’ artwork into two piles: stay and go.
Having all of your children’s artwork in one place, you will probably begin to notice whether or not you have duplicates, are heavily favoring one child over another, or you just have more than you want to actually document. This is the time to get rid of the excess.
Organize and store your kids’ artwork in two piles: one pile stays and one pile goes. Here’s how I decide what stays:
- artwork that demonstrates your child’s personality
- artwork that represents a particular phase your child went through
- artwork that documents a particular developmental milestone, such as your child writing their name for the first time
- artwork that includes handprints, footprints, or photos
- documents of recognition, such as certificates, ribbons, and personal notes from your child’s friends or teachers
If you have particularly crafty kids who like to create ambitious 3-D art, you can include these multi-dimensional projects in your stay pile as well.
Divide the artwork by child, year, or grade.
Once you’ve sifted through what to keep and what to get rid of, it’s time to decide if you’re going to create photo books by child, year, or grade. This step depends entirely on what’s important to you. However, I think it’s important to note that many moms get stuck on a step like this because it’s easy to get hung up on the details. Maybe the artwork isn’t dated, or they don’t know the name of the child who drew it so they just stare at the piles hoping the information will come to them.
In the words of the wise Sheryl Sandberg, “done is better than perfect.”
So, if you feel like dividing the artwork by child, year, or grade will stall your momentum, then, by all means, skip this step and make one giant photo book with all the artwork. I promise you your kids will never pester you about the date they drew that amazing “H”.
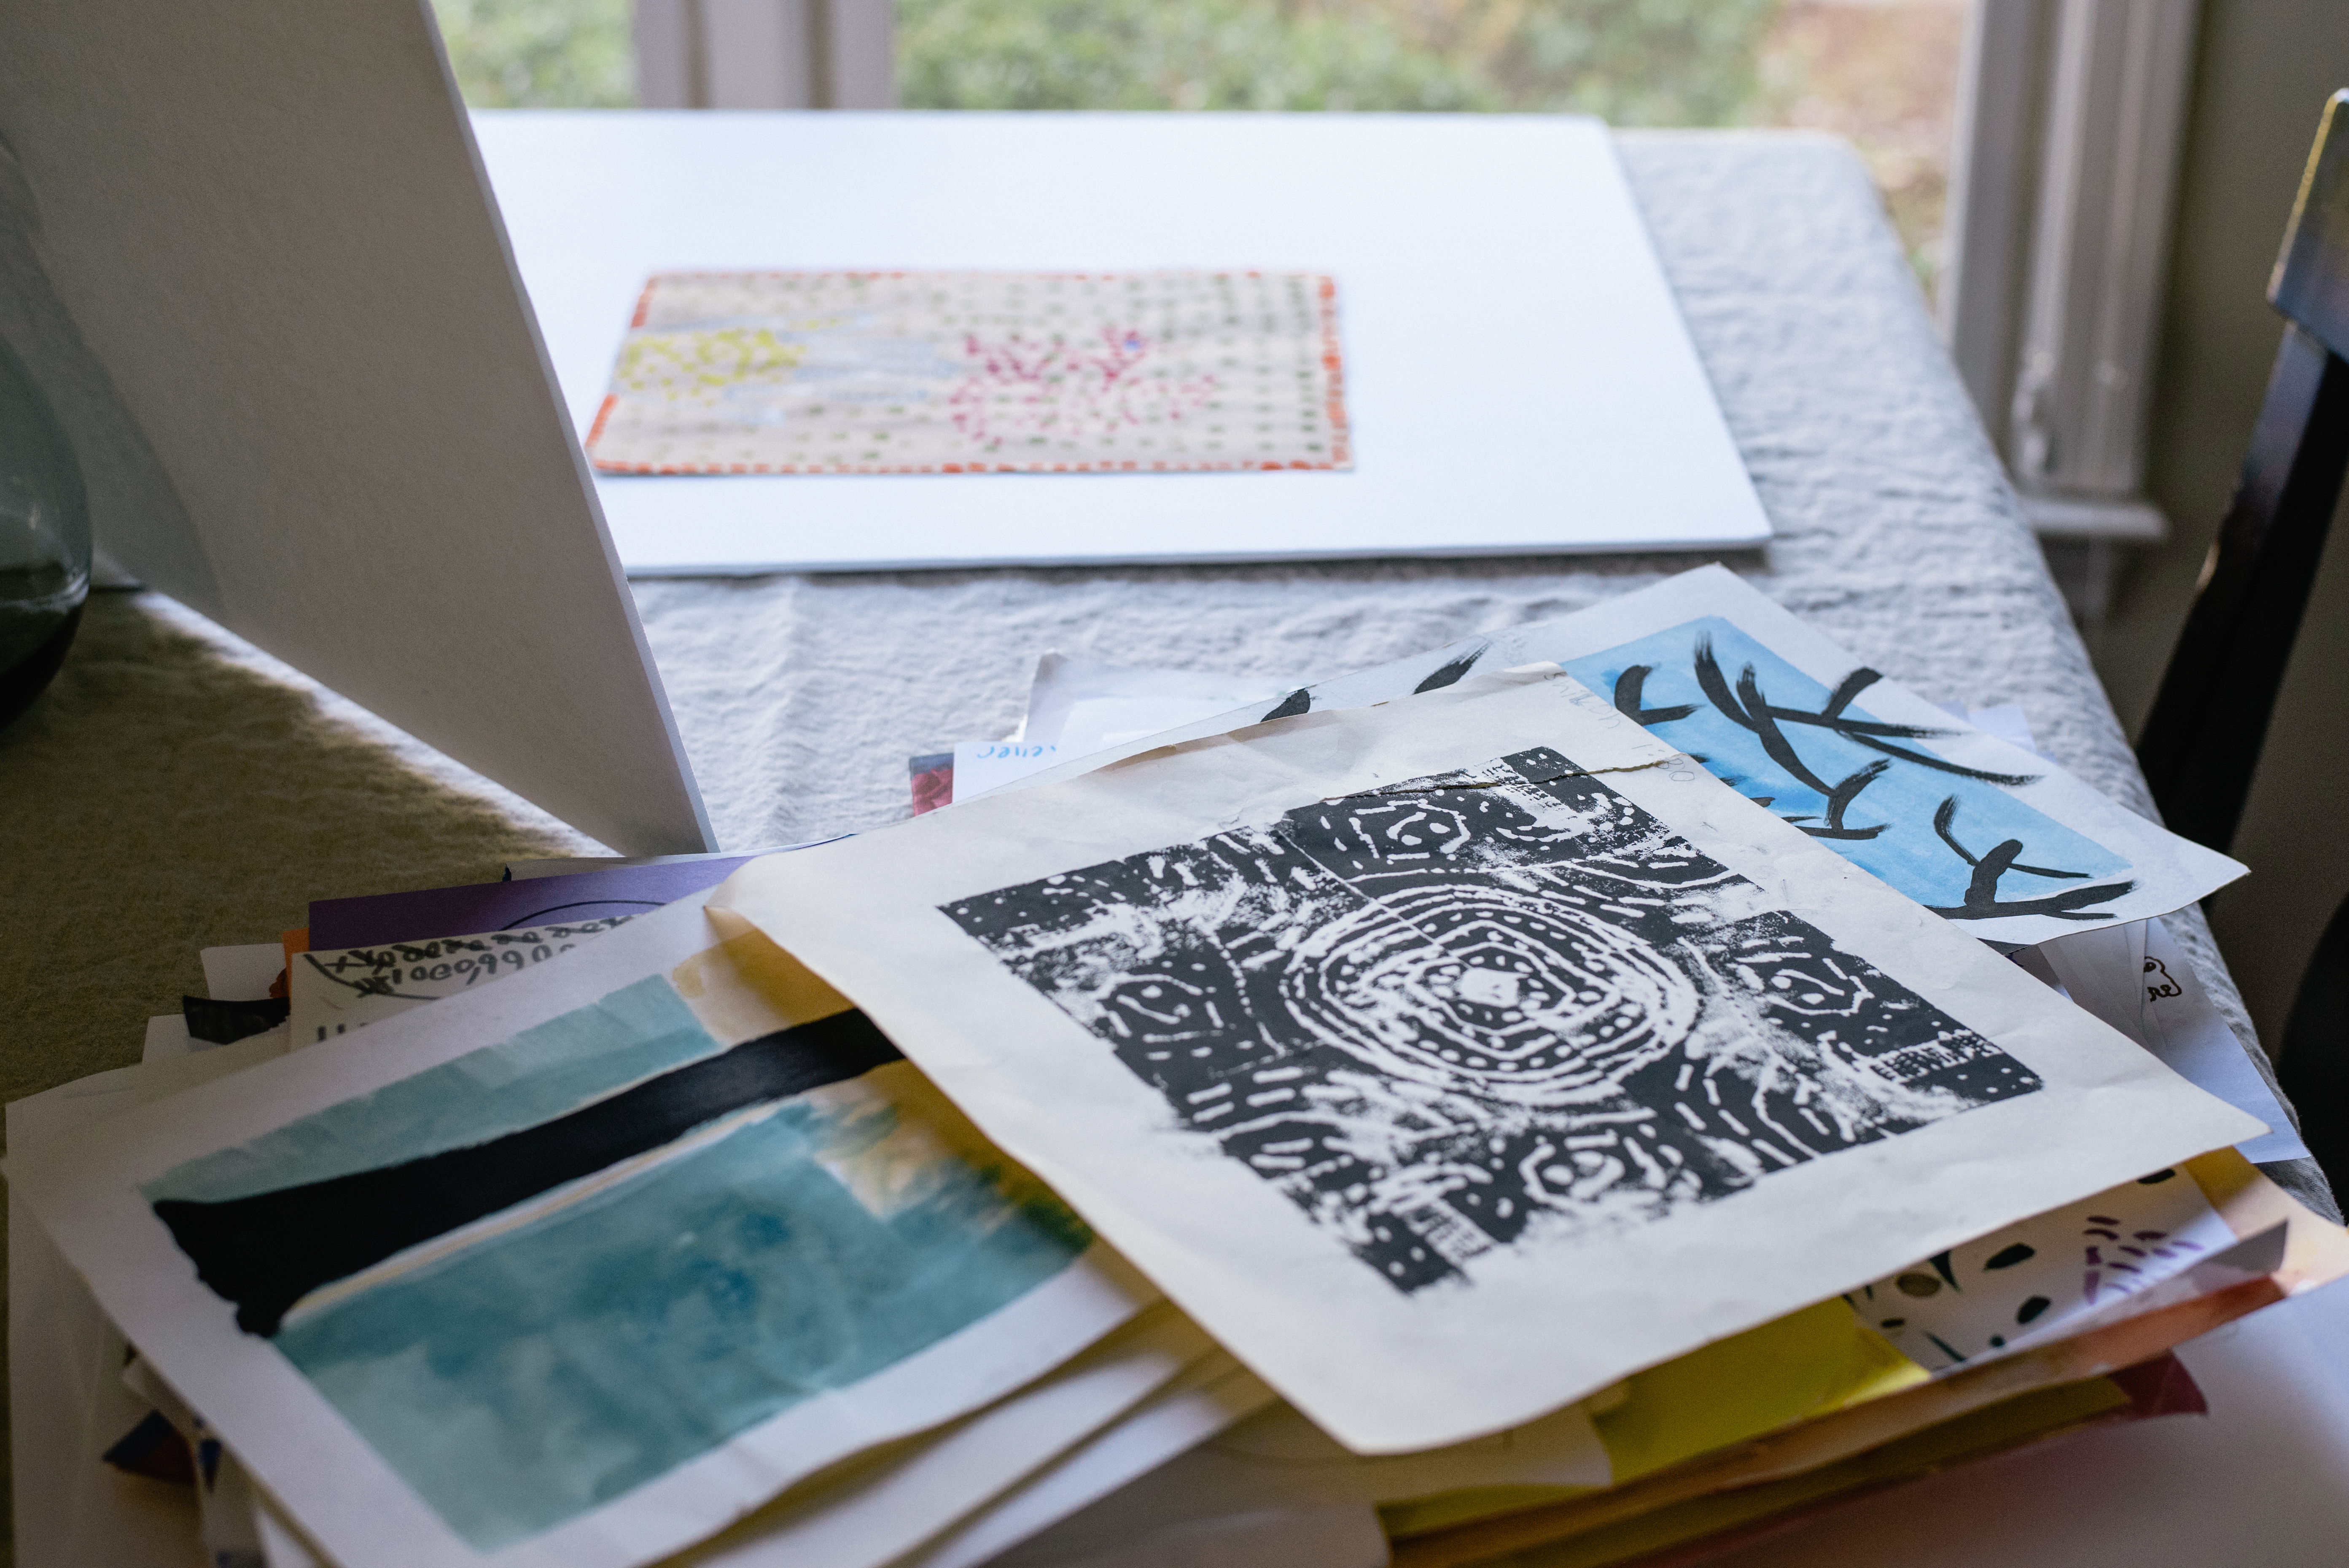
Take photos of the artwork on a white background.
Choosing whether to scan or photograph your child’s artwork is up for debate. Having tried both, I can attest that taking photos is far faster and the quality is just as good, if not better. All you need is a decent phone camera, a white foam board or poster board large enough to set your artwork on, and a natural light source.
Lighting really is everything, so look for an area in your home that has filtered, even light. I find that the countertops underneath a kitchen window work well, or the dining room table pushed up close to a nearby window. Bonus: both places are high enough to keep little hands at bay.
Pro tip: shoot your images during daylight and shut off all interior lights as it can cause unwanted glare and distortion of the colors.
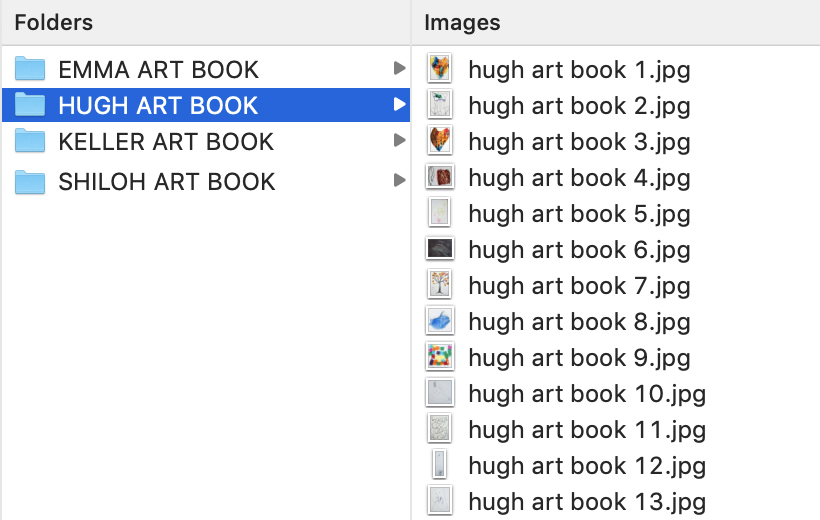
Organize your kids’ artwork into digital files with a few simple edits.
Once I’ve photographed each piece and thrown away the originals, I organize and store my kids’ artwork into digital files on Google Drive with corresponding folders for each of my kids. You can see how mine looks here:
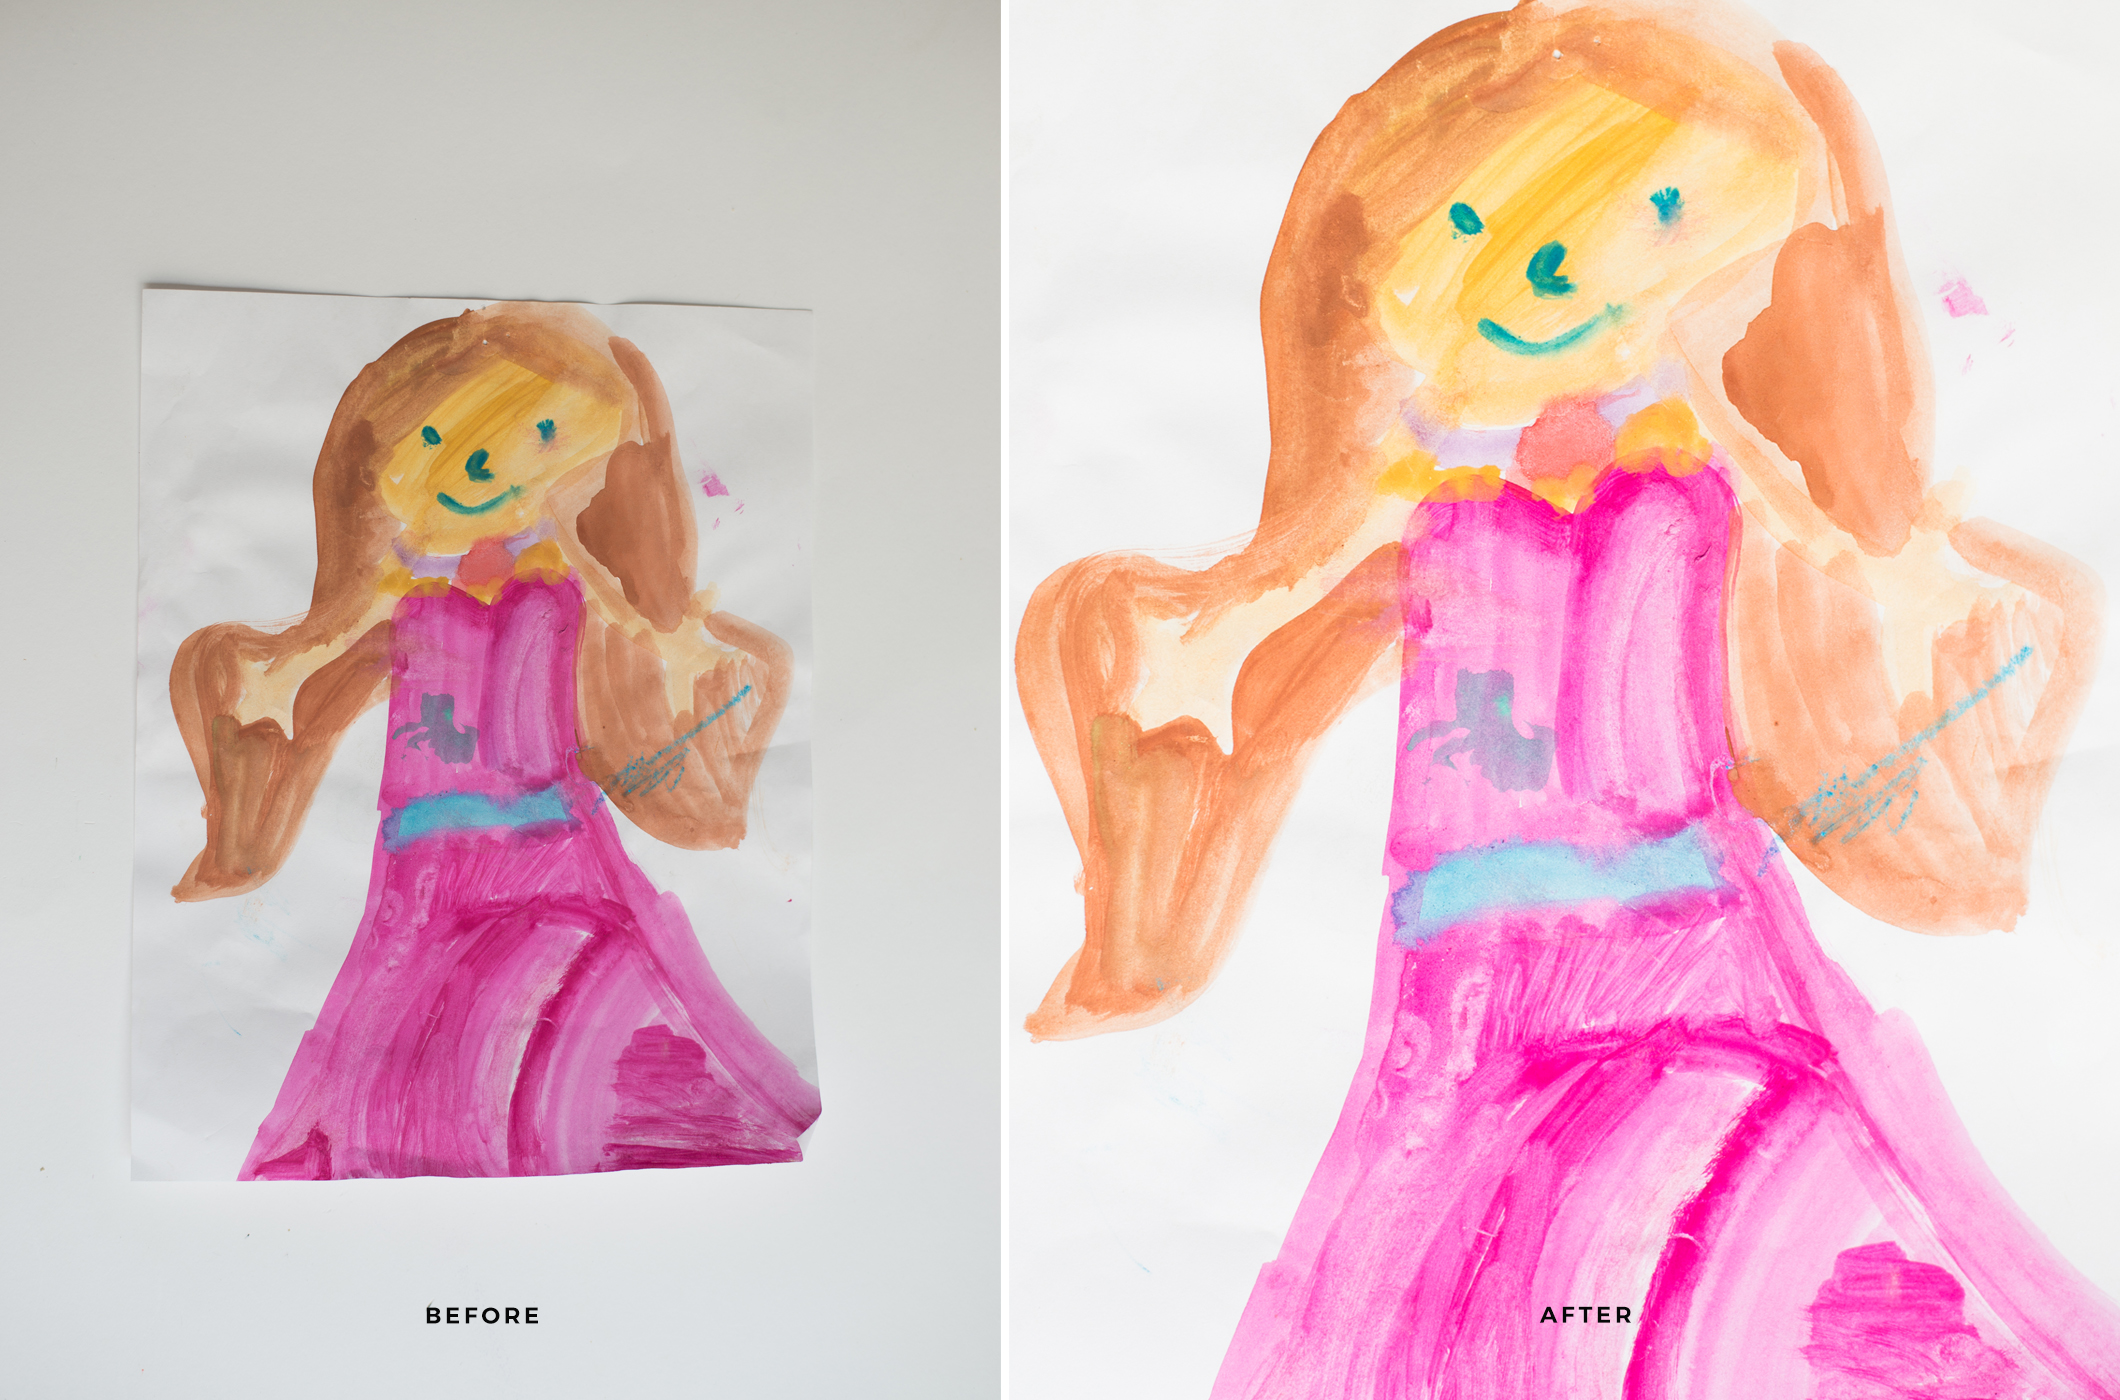
Before I add the artwork to a photo book, I like to make three simple edits so the artwork really pops:
- Crop the photo to the edge if the piece is square or rectangular
- Heighten the contrast
- Heighten the exposure
My before and after typically looks something like this:
You can make these edits in a photo editing app on your phone, or a desktop program on your computer. When I’m on my phone, I prefer the app VSCO for its simplicity and easy slide tools, or I will edit directly in the Instagram app. When I’m working on my desktop, I use tools such as Lightroom, Canva, or Picmonkey.
Organize and store your kids’ artwork in a permanent home.
The last step is to take all of those images that are digitally stored and edited and give them a permanent home: a photo book. You can certainly choose any printing company you are loyal to, but as a professional photographer I’ve been around the block a few times and chose Chatbooks for this project for a few reasons:
- Inexpensive, but great quality. A 6 x 6 hardcover photo book starts at $15.
- Ongoing photo book series option which connects to Instagram or Facebook. You are automatically sent a new book every 60 photos and you can cancel anytime.
- Simple designs. I wanted this project done like yesterday, so I didn’t need fancy photo book bells and whistles slowing me down. It took me maybe 15 minutes to put the book together.
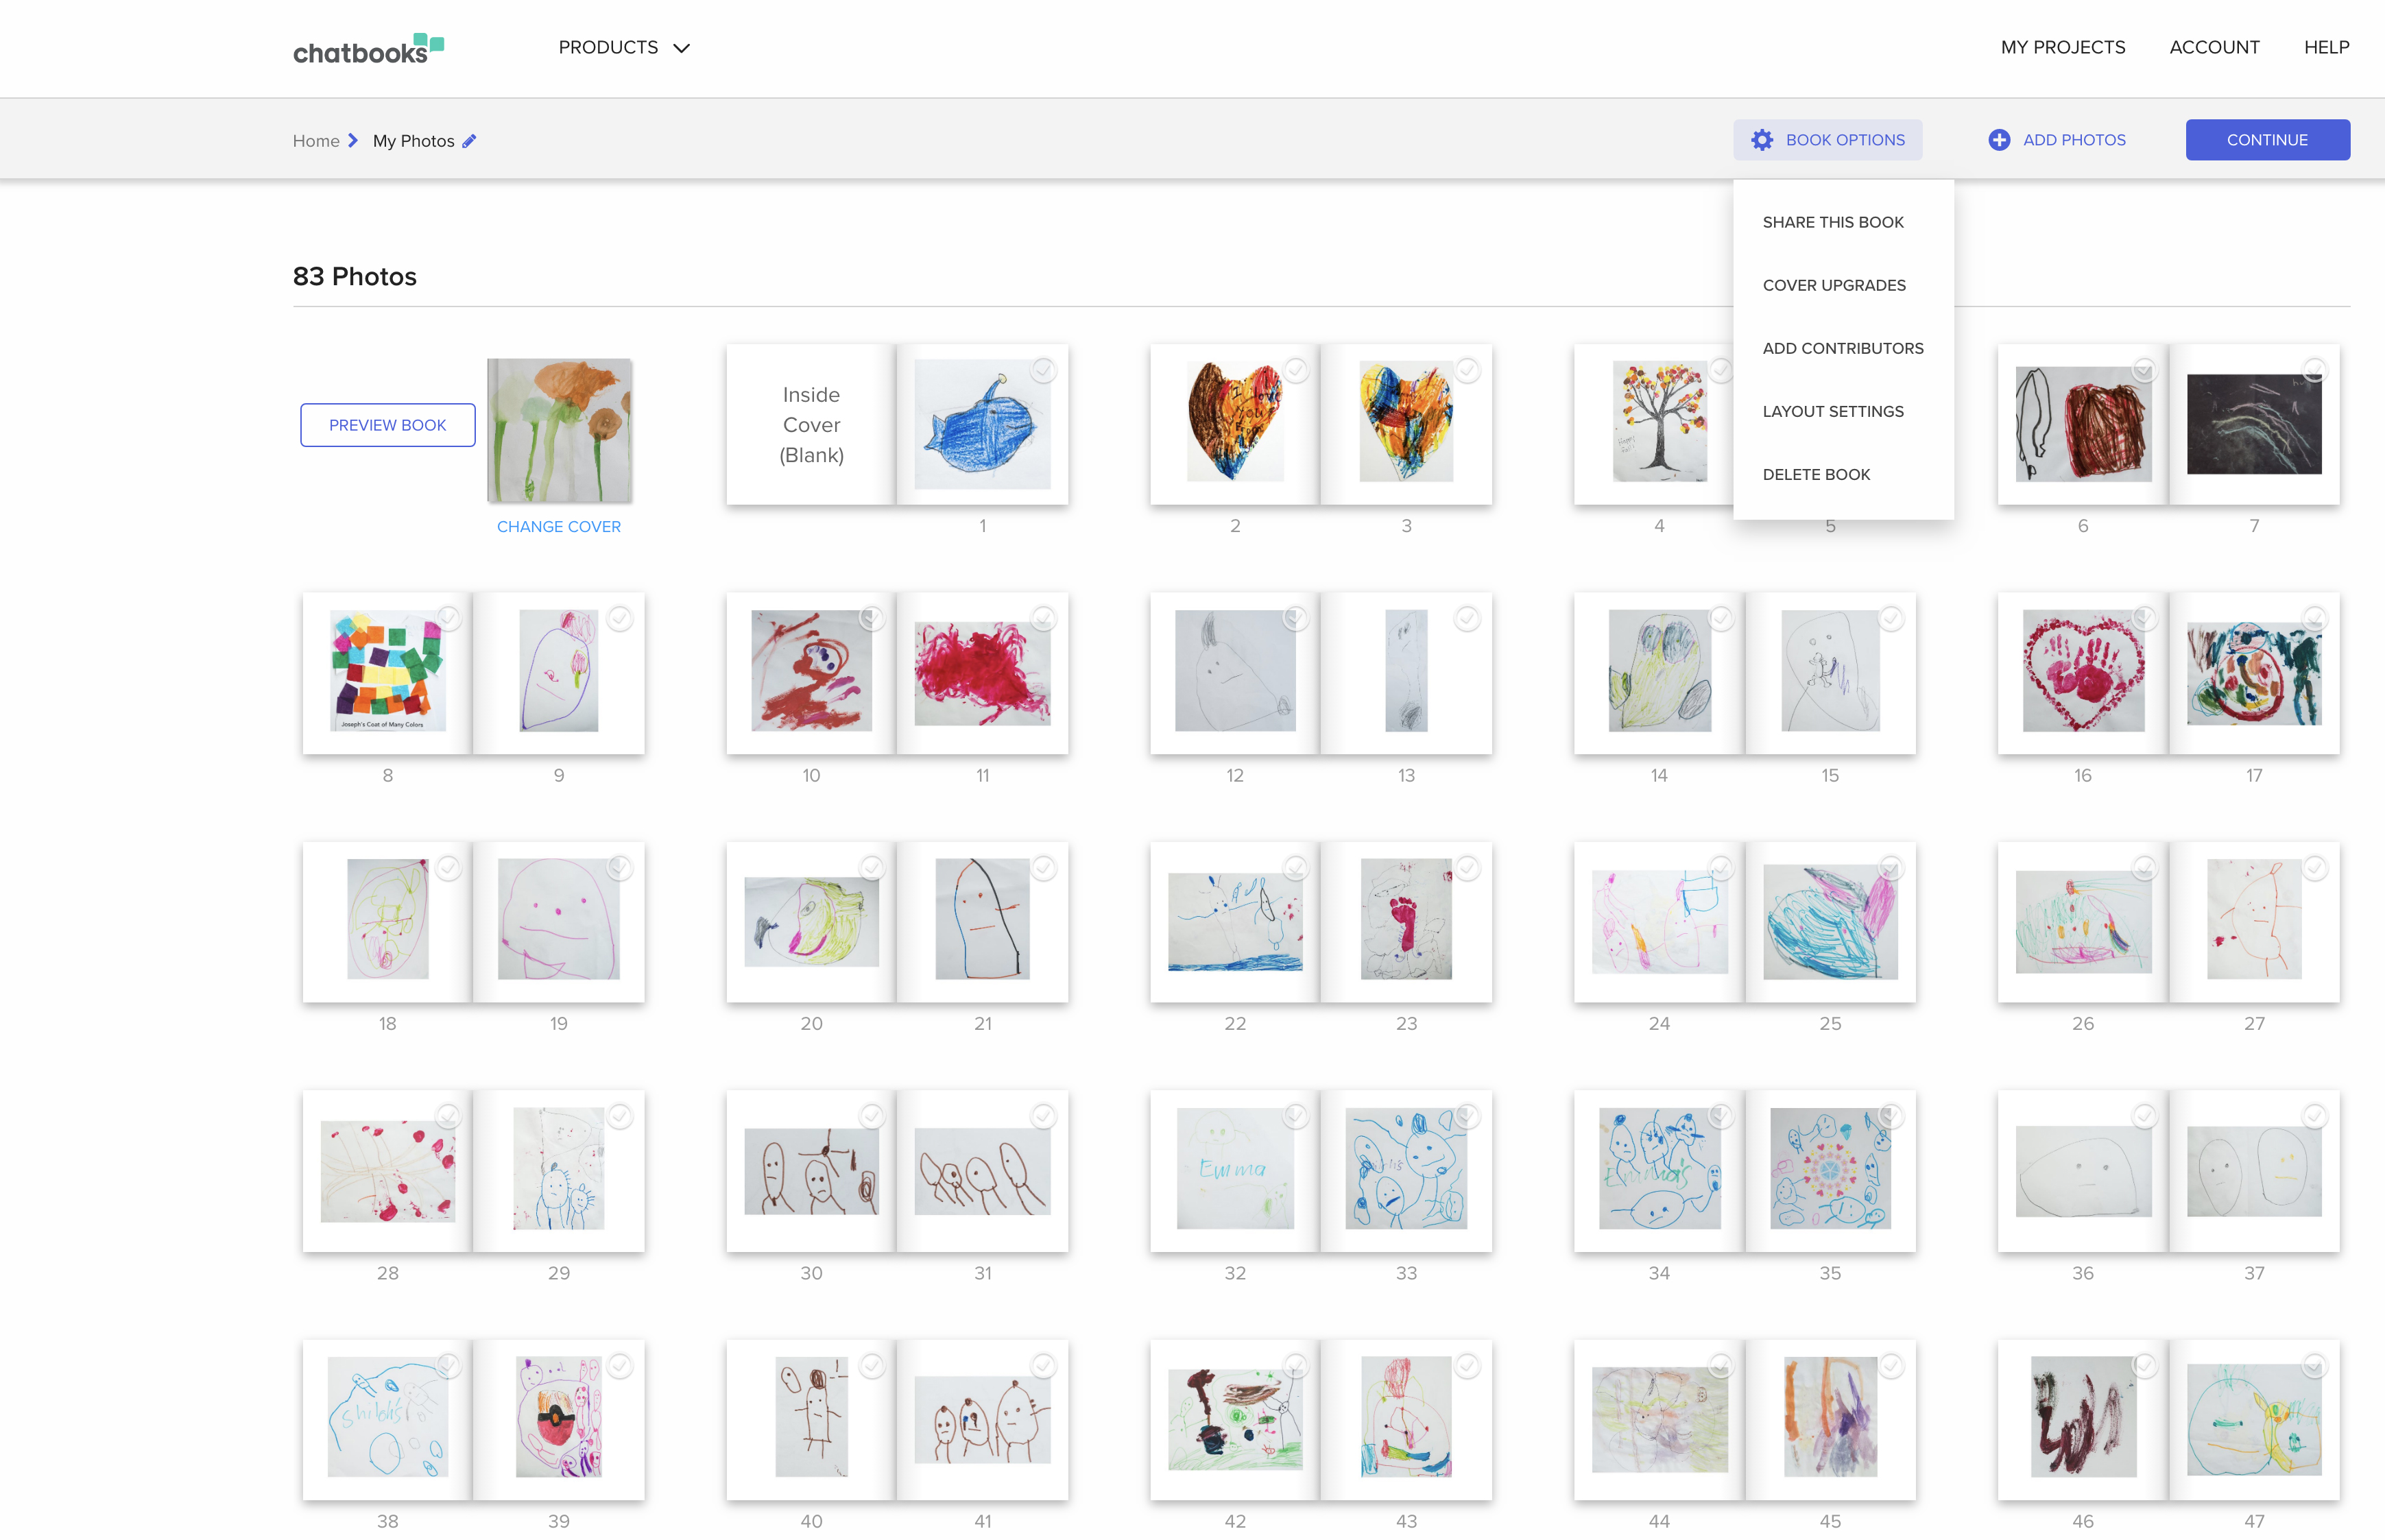
Once you set up an account with Chatbooks and select the size of the book you’re making, you will be asked to upload your photos via Instagram, Facebook, or your computer. When the photos are all loaded it will look something like this:
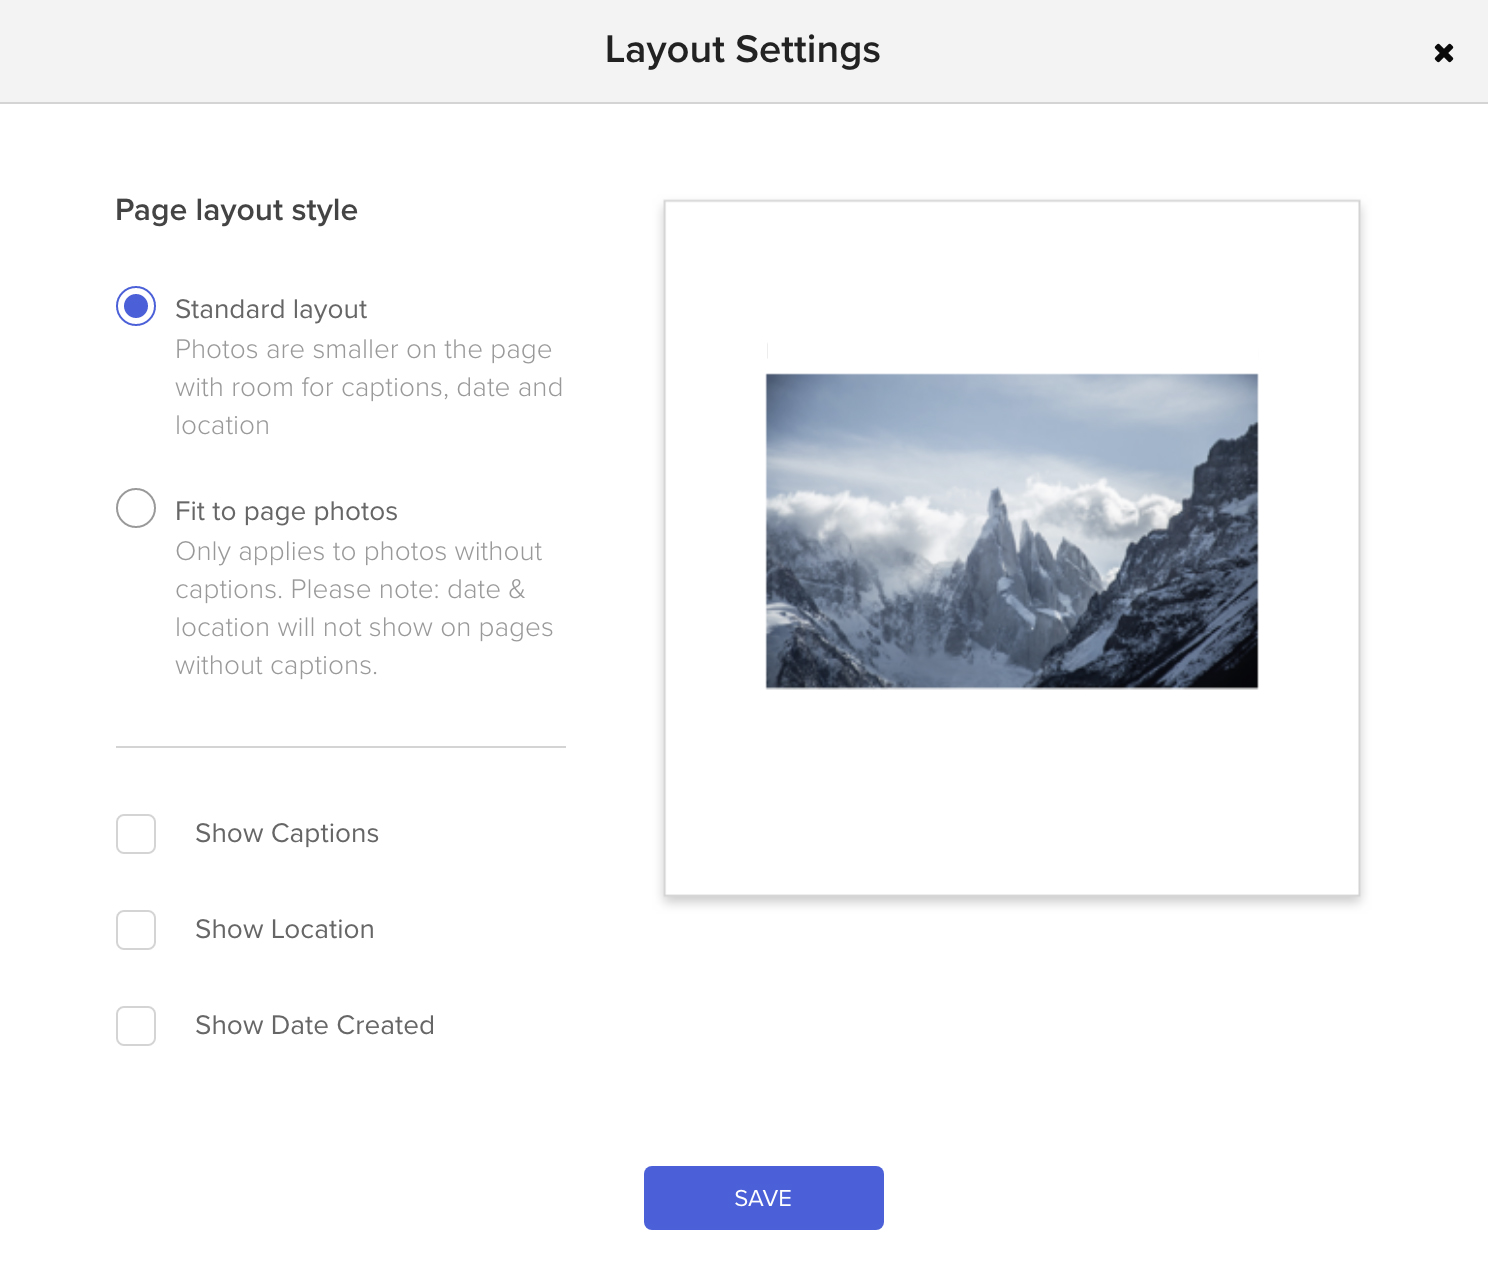
There is an option to change the layout of your book in the top right corner. When you select “layout settings” you will be given two layouts to choose from, standard and fit to page. You can also choose to add a caption and the date the book was created. As you can see below, I chose the standard layout with no captions:
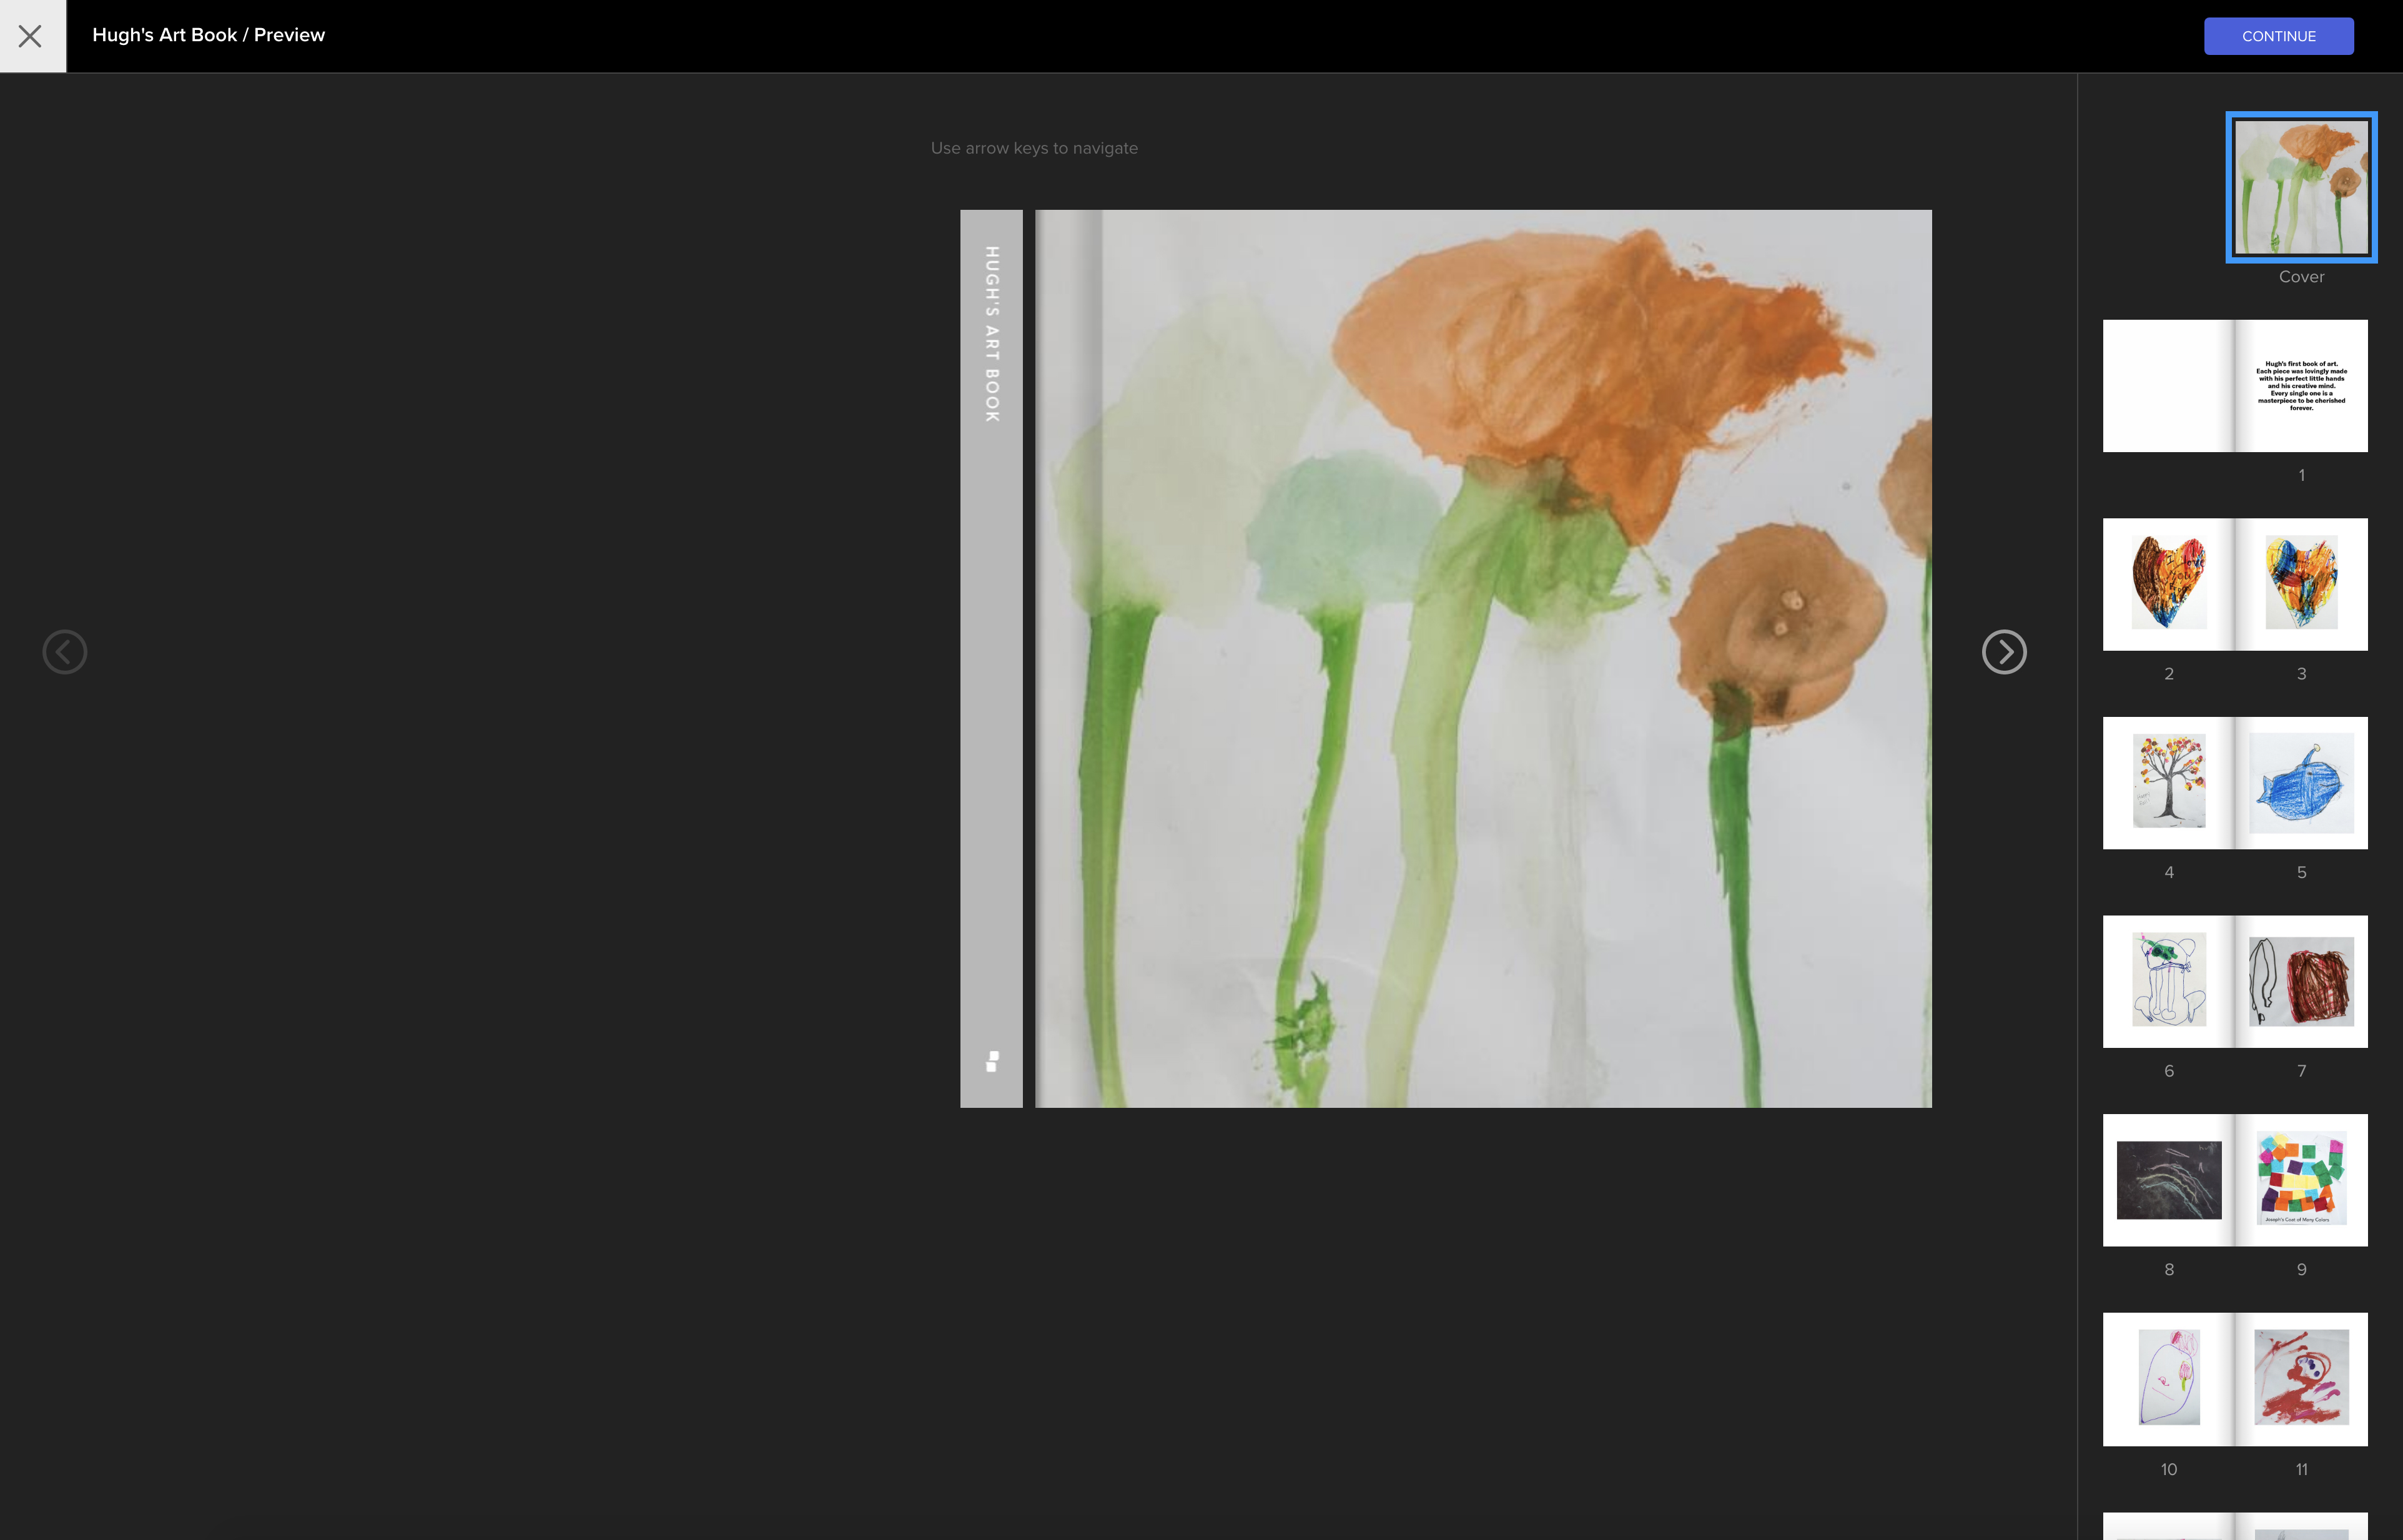
I rearranged a few pages, selected a cover image, and added a caption page at the very beginning before giving the book one final review:
After double checking the layout, I realized I needed to add a title to the project, or the spine of the book would default to “My Project”. After that small change, I was ready to order.
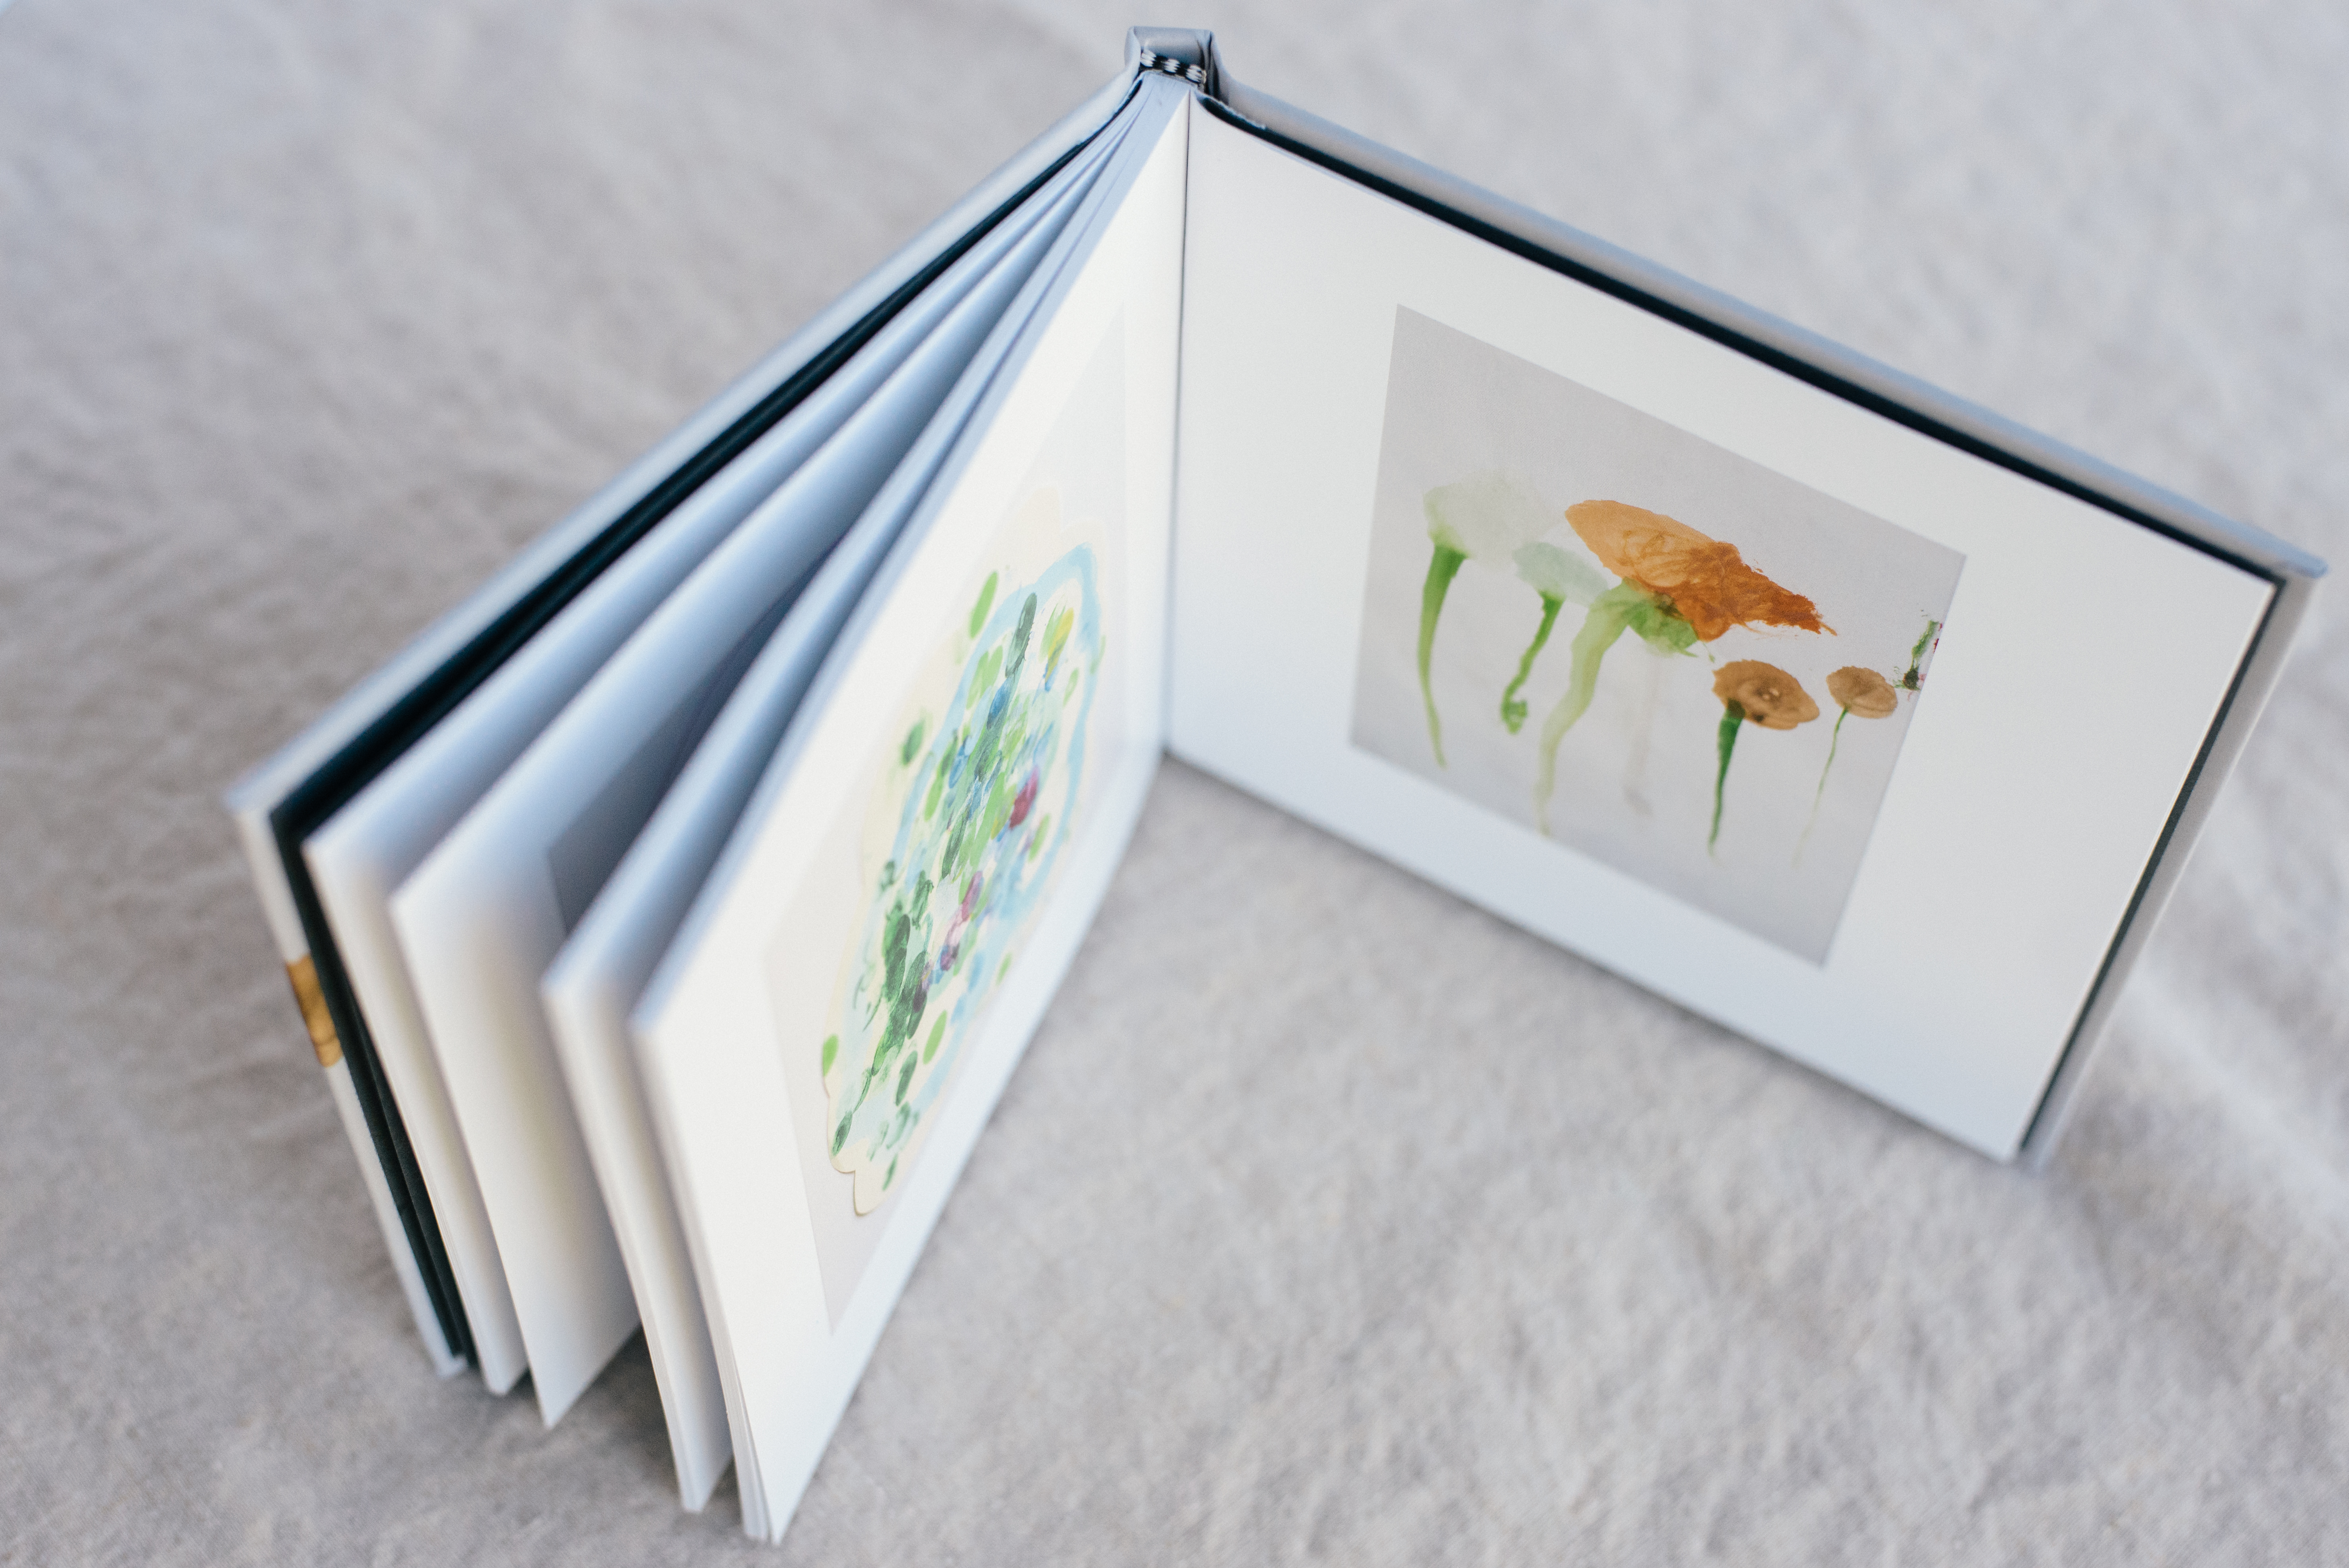
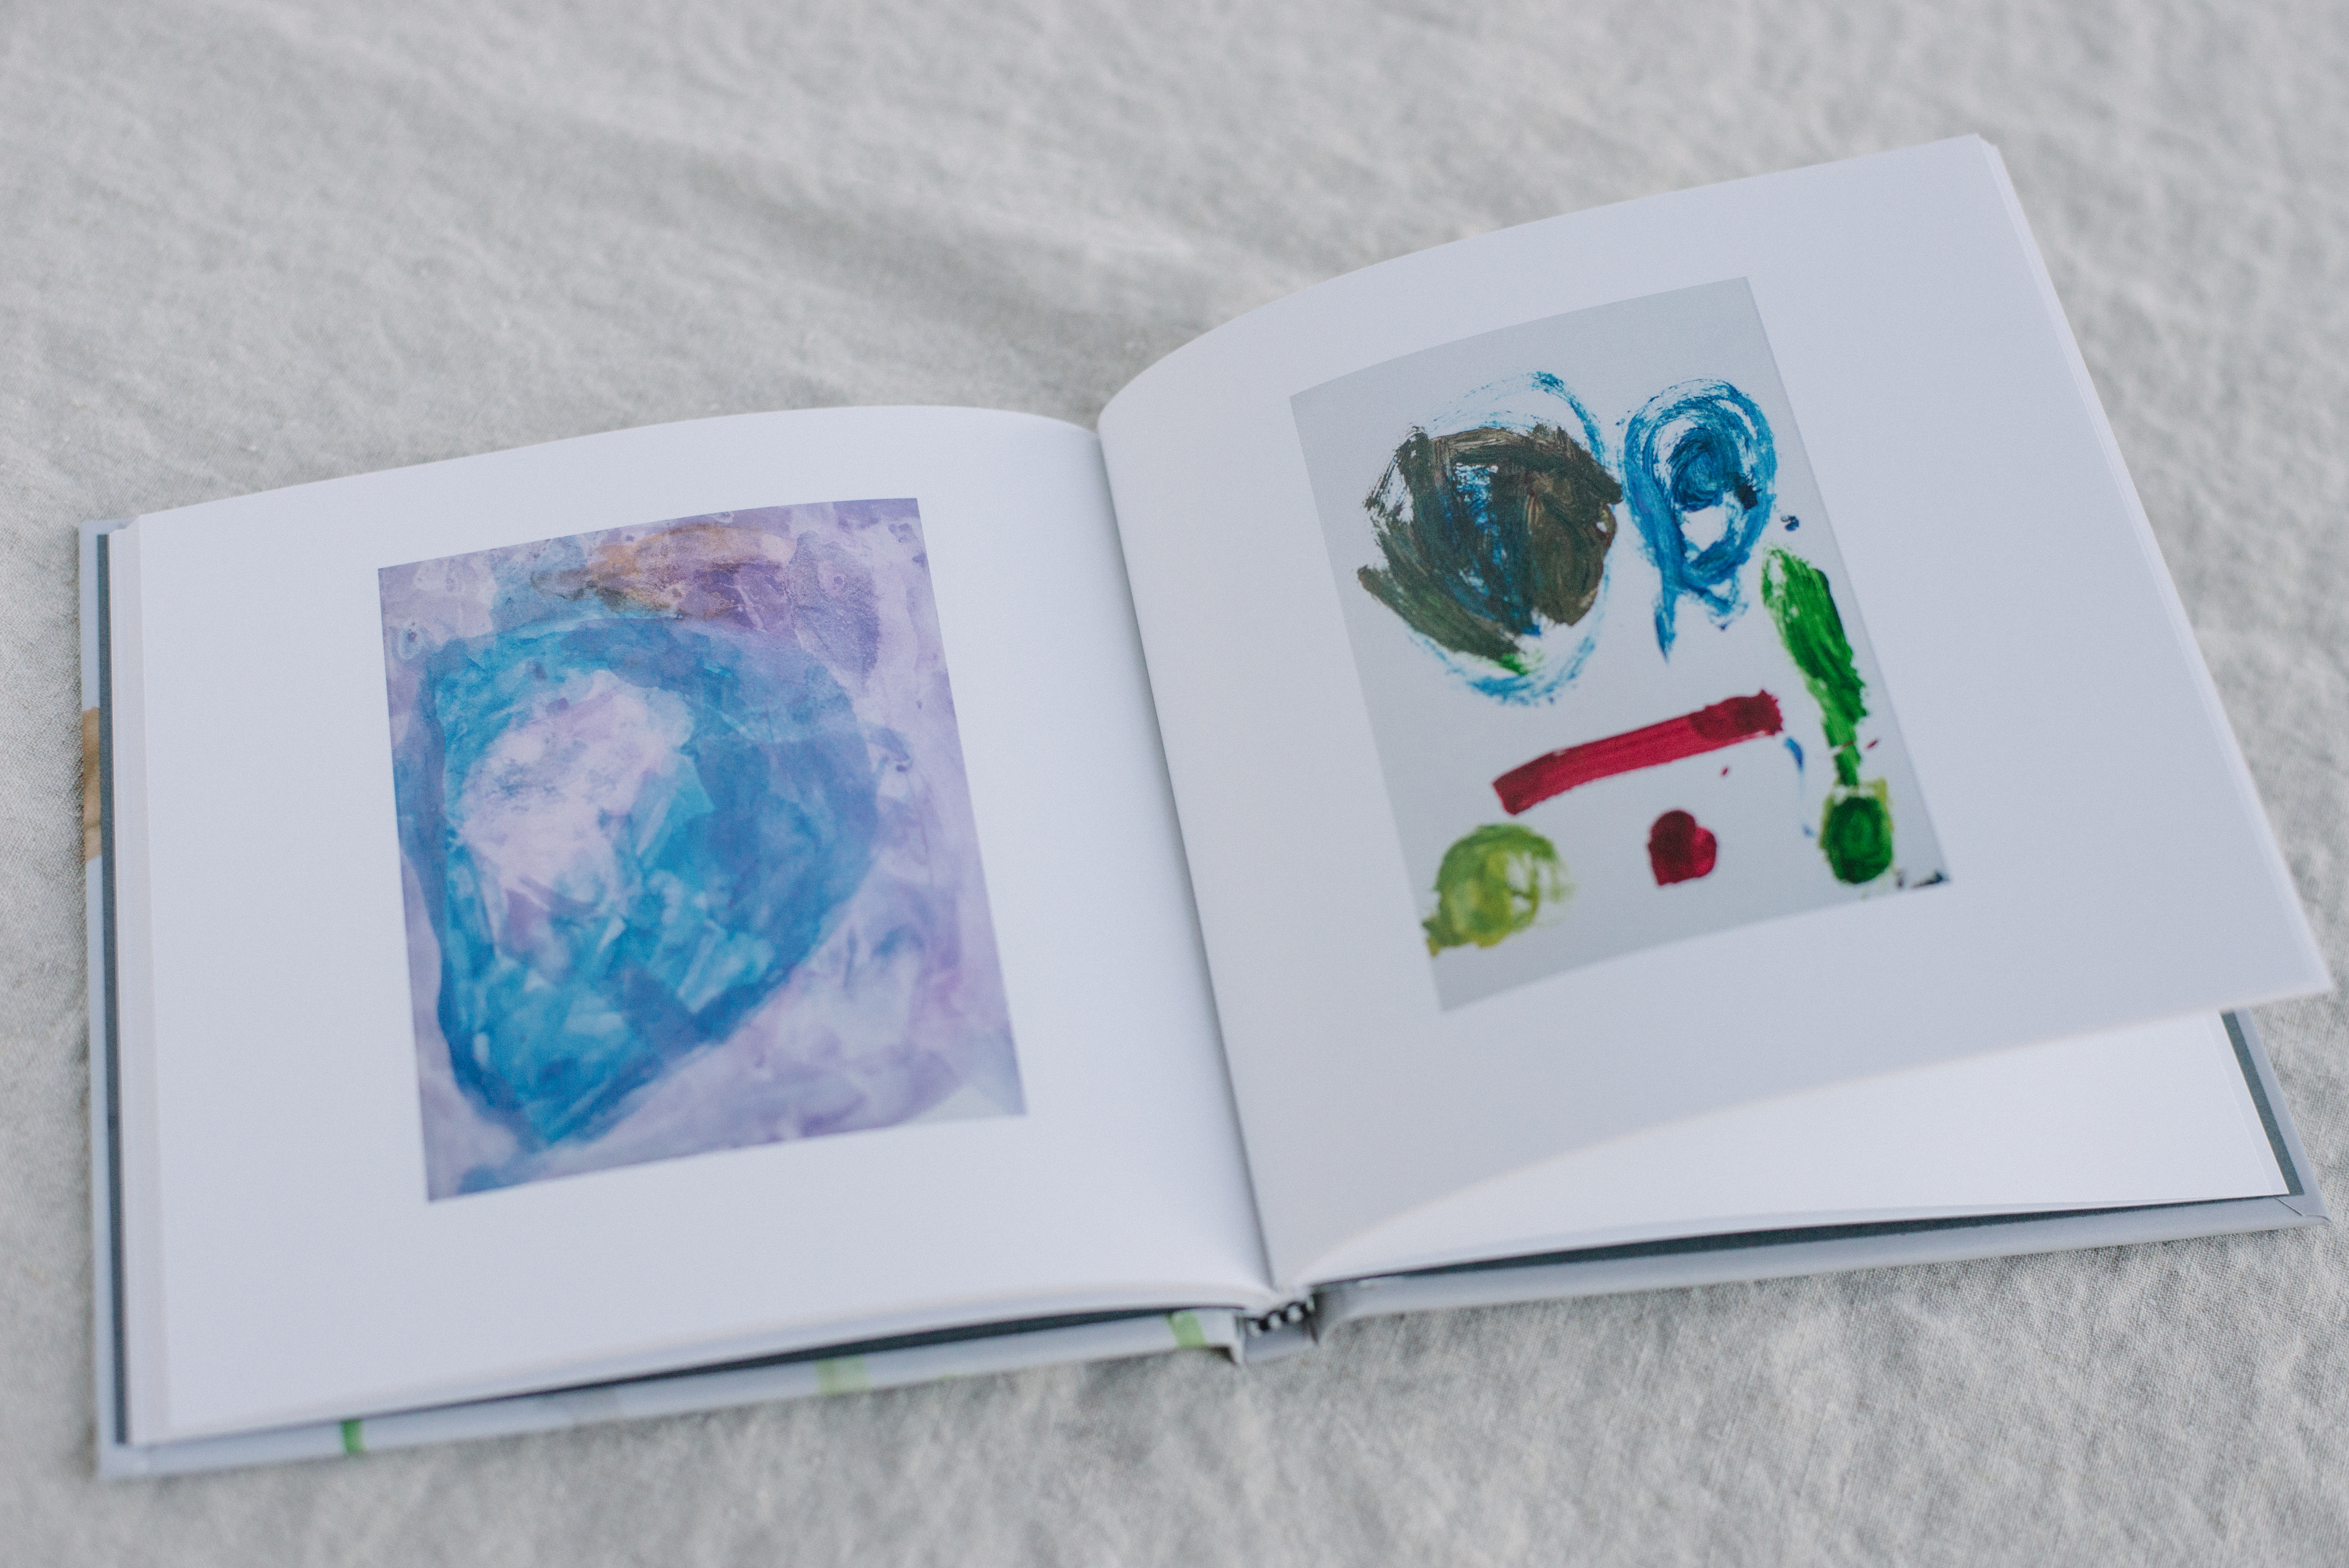
When the artbook came in the mail, it completely surpassed all of my expectations:
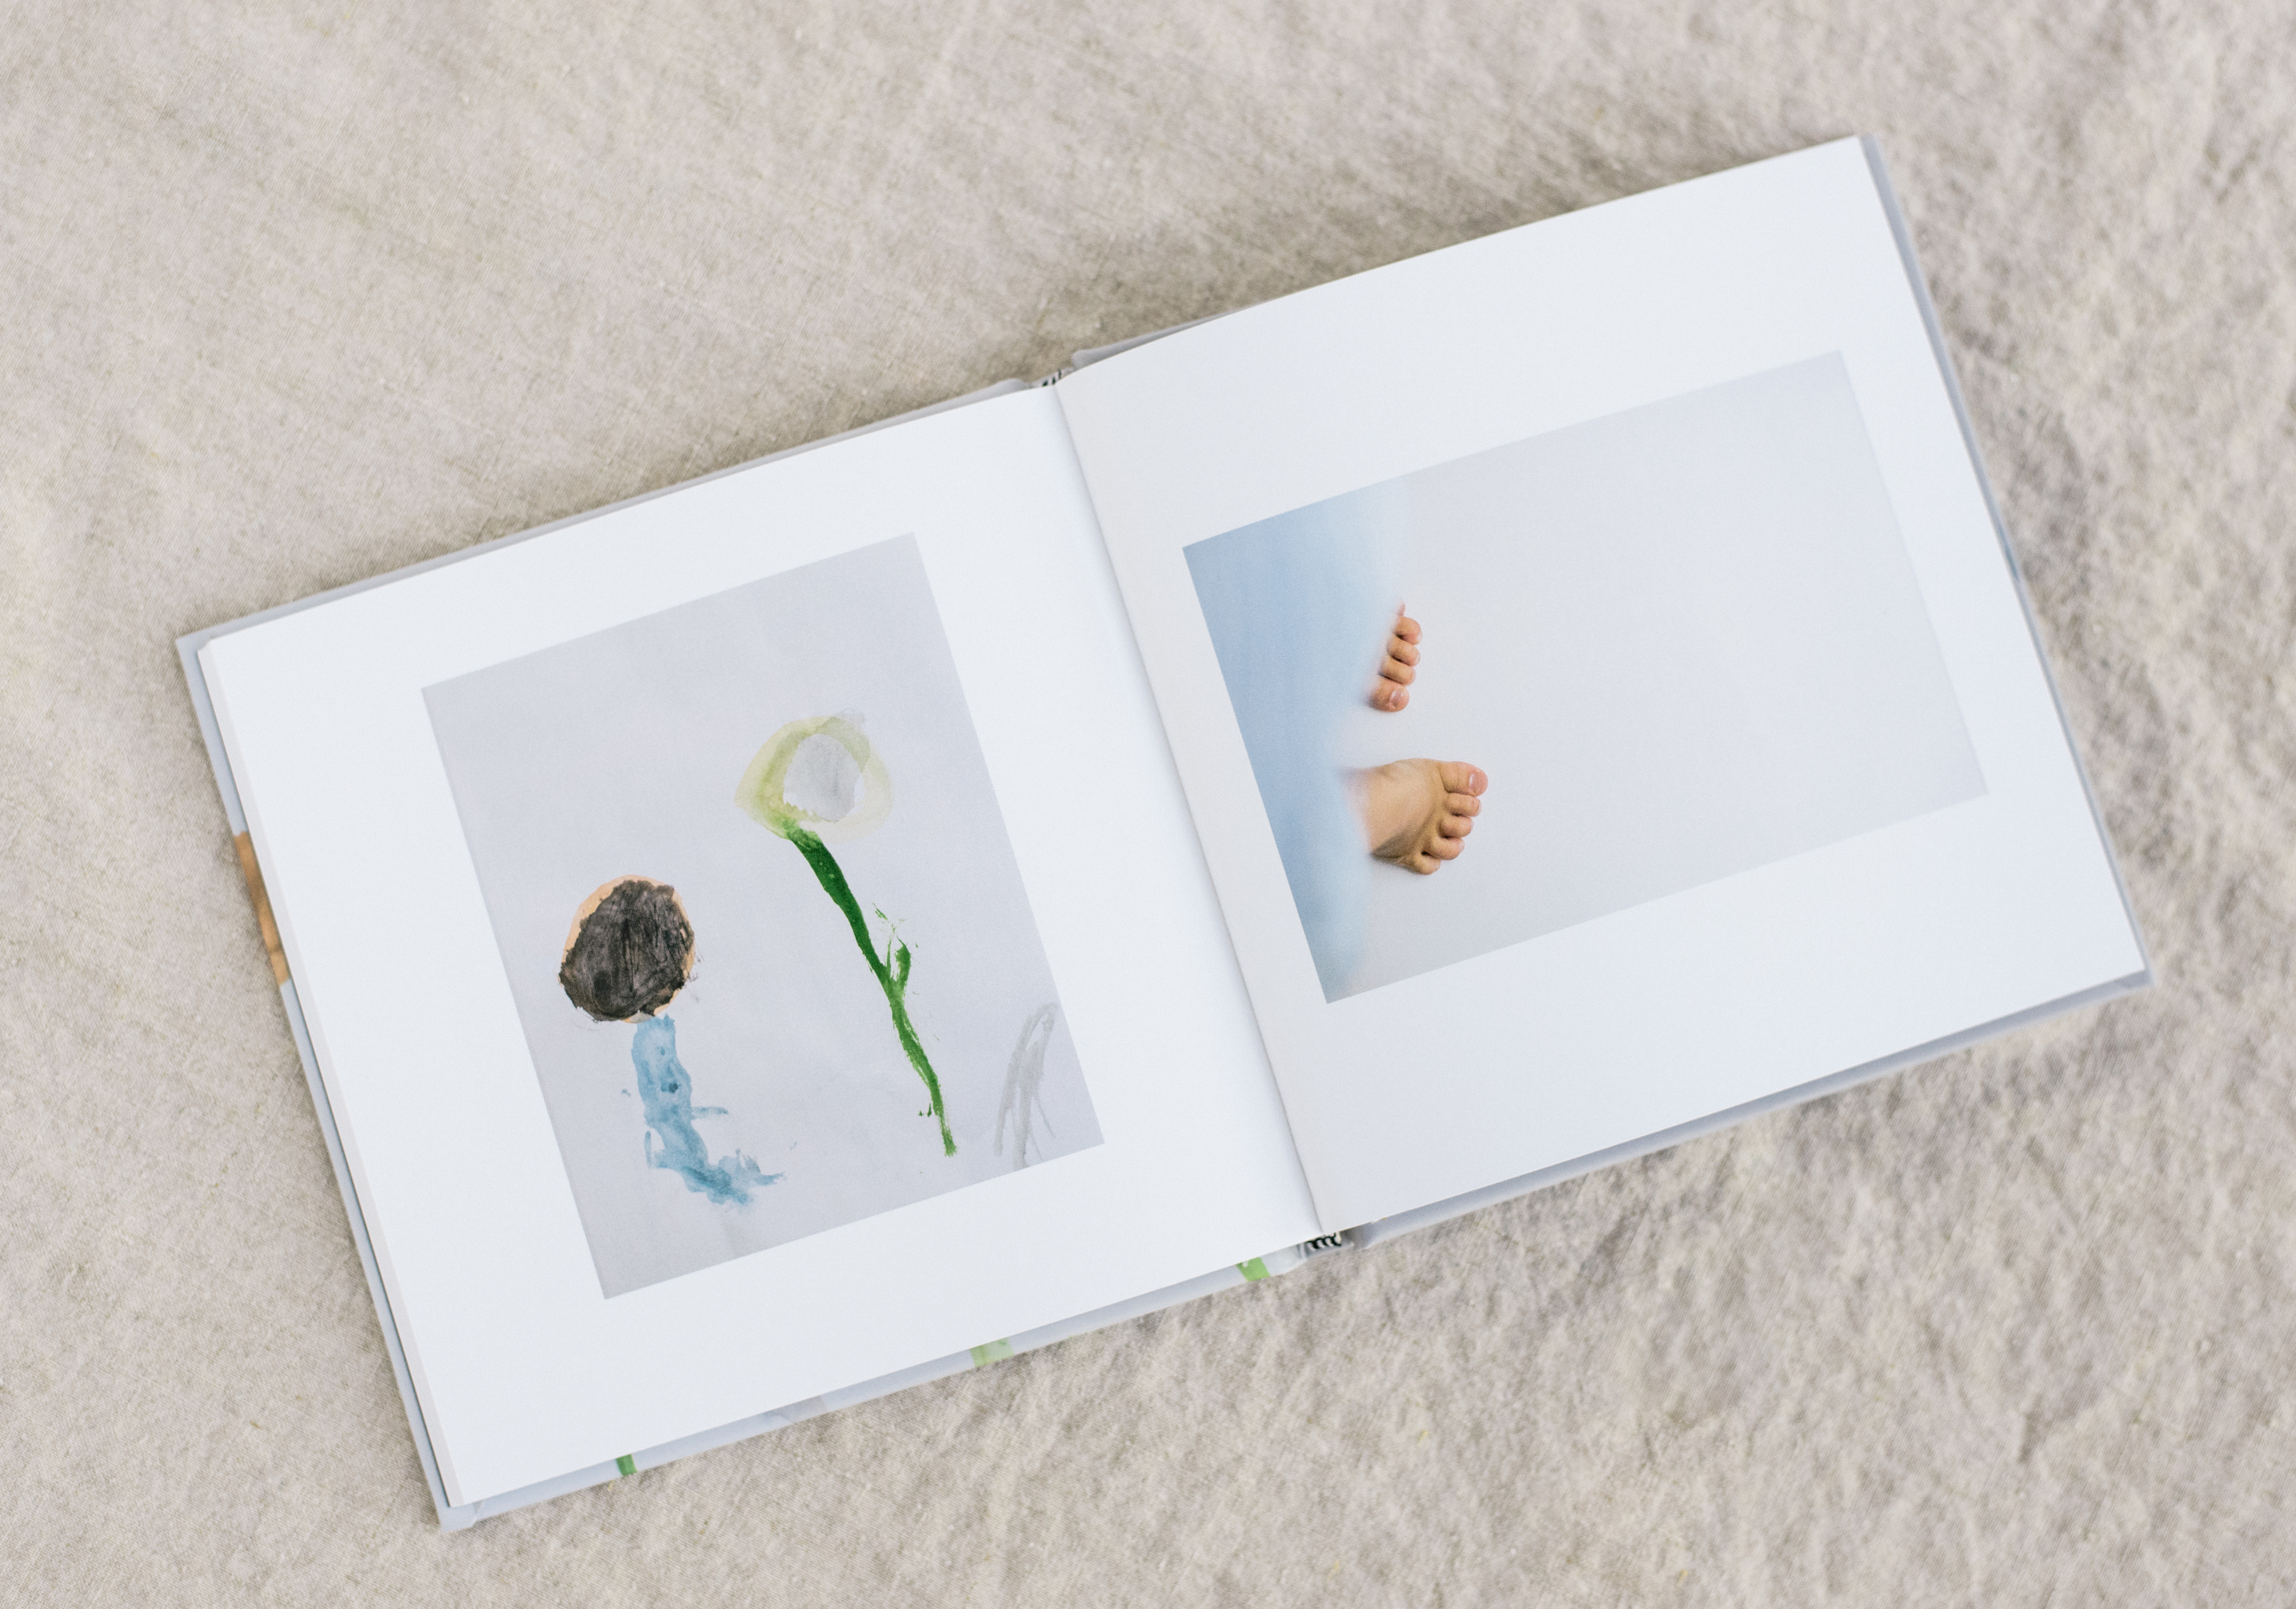
The real stamp of approval came when my kids saw the artbooks. Their eyes completely lit up when they saw their names on the book, flipped through the pages, and realized their art was organized and stored in a safe place forever (i.e., not the trash can).
Good habits often take longer than twenty-one days to establish. You may be wondering if I manage to keep up with the steady flow of artwork coming through my doorway after these books were finished. Yes, and no. Instead of letting the artwork backlog again I decided to have Chatbooks do some of the work for me by signing up for their ongoing photo book series. I set up a private Instagram account just to organize and store my kids’ artwork, and after every sixty photos, Chatbooks sends me a new book. No more clutter on my kitchen table, which makes me and my kids super happy.
So, there you have it. A complete guide on how to organize and store your kids’ artwork forever, without tears, without (much) frustration, without making more work for yourself, and without getting into the same situation a couple of months from now.
If you found this tutorial helpful, will you let us know? We would love it if you tagged us on Instagram or Facebook with your little artist’s work.
July 5, 2019


")
freebies
We've created free resources and downloads just for you!! Be sure to check them out!
take me to the freebies!
Leave a Reply


[…] Take a picture and then create a memory book using the pictures or use Chatbooks to create the memory book. […]