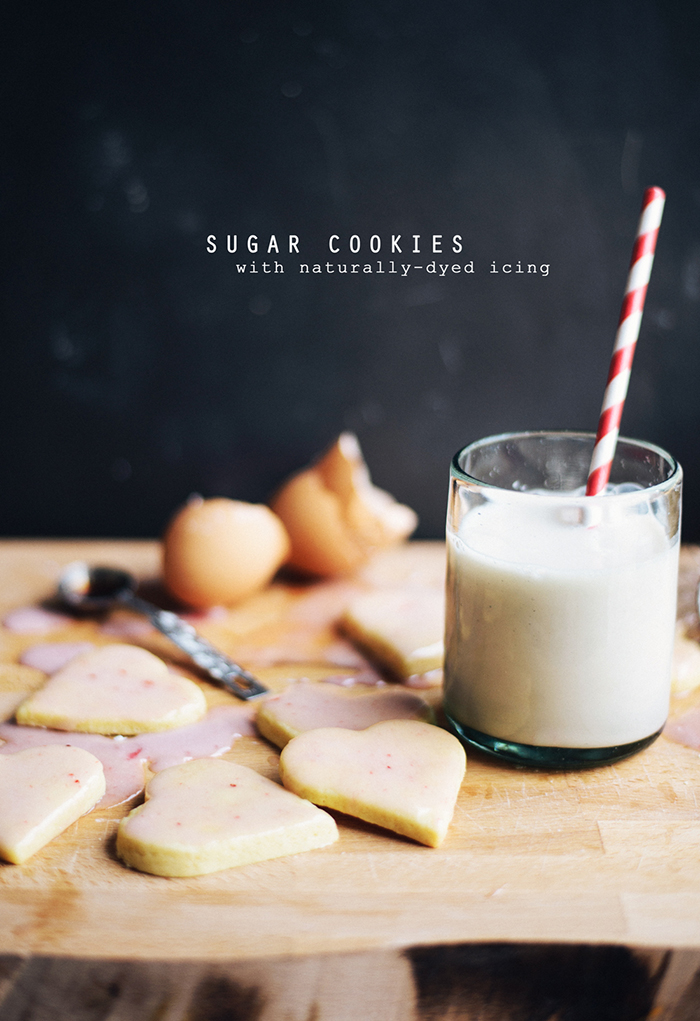
SUGAR COOKIES

Mary Beth Johnson is a wife and mum to four schooners, as she’s dubbed her children. On a normal afternoon, you would find her in moccasins, skinny jeans and a comfortable tee, camera in hand. Recently moving to the suburbs of Atlanta, Mary Beth spends her days homeschooling, sneaking away to the bookstore, trying to act the part of a southerner, and sifting through recipes in The Vegetarian Times. Food is her love language.
We take Valentine’s Day seriously over here, but skip all of the candy and chocolates focusing on love notes, coffee, and baking instead. It’s one of my favorite days of the year and always has been.
I know people who say that it is an overly commercialized day in our culture and I get that, I really do. But what better thing to set aside an entire day to celebrate than love? For love is what brought Christ to earth as a tiny baby at Christmastime. Love is what compelled Him to die for us on the cross. Love is what binds our hearts to his and ultimately enables us to give and receive love here on earth. I think that’s truly amazing and worth celebrating!
For a few years now we’ve made these cookies together in February. The icing is easy to pour and my little ones have a blast. I’ve tried a lot of sugar cookie recipes and this one is my favorite with a history of memories swirled into the dough. This year, I tried dyeing the icing naturally with some cranberries we had leftover and I had so much fun with it I thought I would share here. This recipe makes a lot of dough, so I usually divide the dough in half and freeze one half for a rainy day when we need something fun to do and keep the other for rolling out and baking. I hope you’re able to make these one day, creating lots of new memories with your loved ones this year!!!
1-½ cups unsalted butter
2 cups sugar
2 whole eggs
2 whole eggs yolks
4 tsp vanilla extract
2 tsp almond extract
4 cups all-purpose Flour
1 teaspoon salt
1 tsp baking powder
Instructions:
In a mixer, beat butter and sugar until well combined, about 2 minutes.
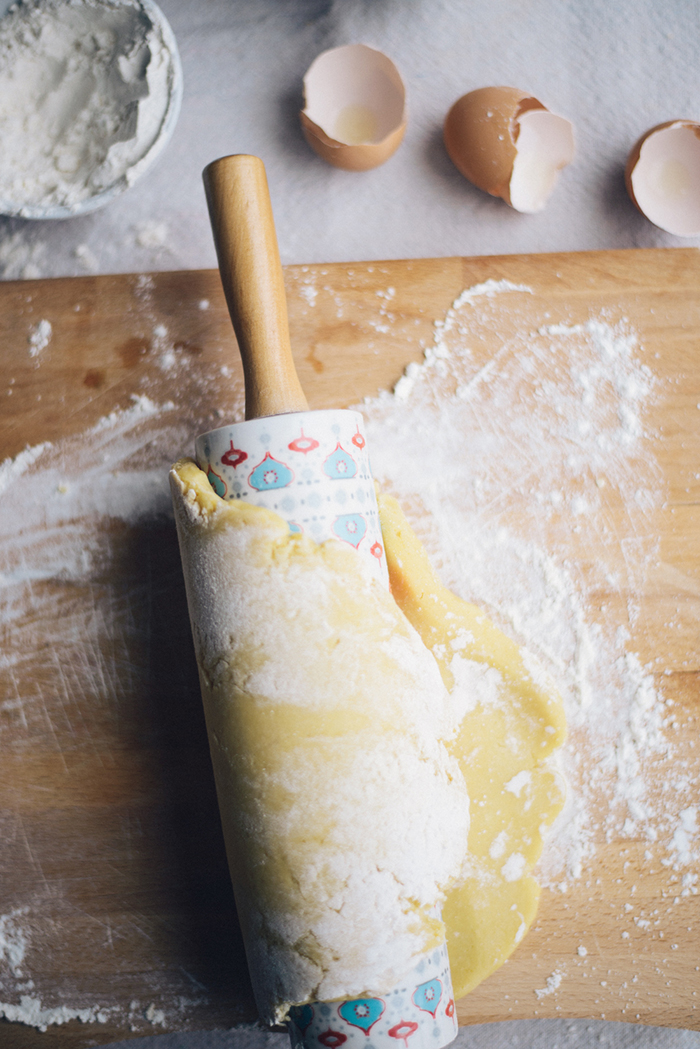
Add in 2 eggs and 2 egg yolks and mix until combined. Add in vanilla and almond extract; mix until combined. In a separate bowl, sift together flour, salt, and baking powder. Slowly (about a cup at a time) add flour to butter mixture and mix just until combined. Over-mixing will make dough tough. Cover dough in saran wrap and refrigerate for at least one hour. (If you refrigerate for longer than an hour, let the dough rest on the counter for about 10 minutes before rolling it out.)
When you are ready to bake, heat oven to 350 degrees. Roll dough out to desired thickness, cut out cookies, and bake on an un-greased cookie sheet for 6-8 minutes. The baking time will depend on how thick you roll out your dough and whether you prefer a crunchy or soft texture. We like ours soft, so we roll ours out pretty thick and bake for about 8-10 minutes.
//ICING
1 cup powdered sugar
1-3 tablespoons milk
1 drop lemon juice (I used YL Lemon Essential Oil)
Red fruit for dyeing (cranberries, strawberries, or raspberries will all do)
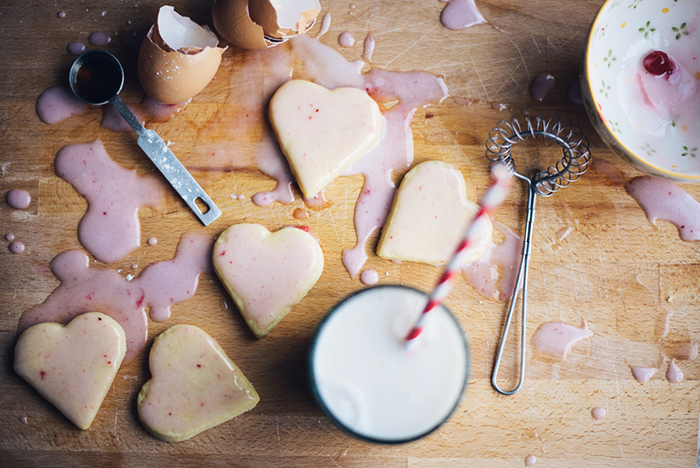
Get a small pot of water boiling on the stove (about 1/2 – 1 cup). Add a big handful of fruit and let simmer till fruit is soft and juice is red. Remove from stove, crush slightly with a fork, and set aside to cool. In a separate bowl, combine powdered sugar and lemon juice in a bowl. Add in milk, one tablespoon at a time, till you reach desired consistency. Add in red juice from your fruit mixture, a teaspoon at a time, till you reach desired icing color. (It takes a lot more fruit juice than traditional dye to make the icing get colorful so if you find your icing gets too runny, simply add a little more powdered sugar to thicken.) Drizzle over cookies on a cooling rack and let set. ENJOY!!!
*If you want to add different flavors, you can add drops of vanilla extract, almond extract, lemon, etc. to flavor your frosting. This frosting will stay good for days in the fridge.
Source: Adapted from I Am Baker (All photography is my own.)
*** Any suggestions made on this blog are very specific to Young Living essential oils and should not be used with oils from another source. Statements made on this website about Young Living Essential Oils have not been evaluated by the FDA. These products and information are not intended to diagnose, treat, cure or prevent any disease. Anyone suffering from disease or injury should consult with a physician. If you are currently on medication, please DO NOT STOP. This is just how I make & do things. you must make informed decisions for yourself and your own family.
“We are starting our journey with Essential Oils and have done our own research on the purity of oils. I am confident in using oils in our recipes because we only use Young Living. They are beyond organic and never use pesticides, herbicides or any harmful chemicals. Their soil has never been exposed to them as well. I don’t suggest ever using any other oil for ingestion because I don’t know of their purity. “


View Comments +
+ Add A Comment