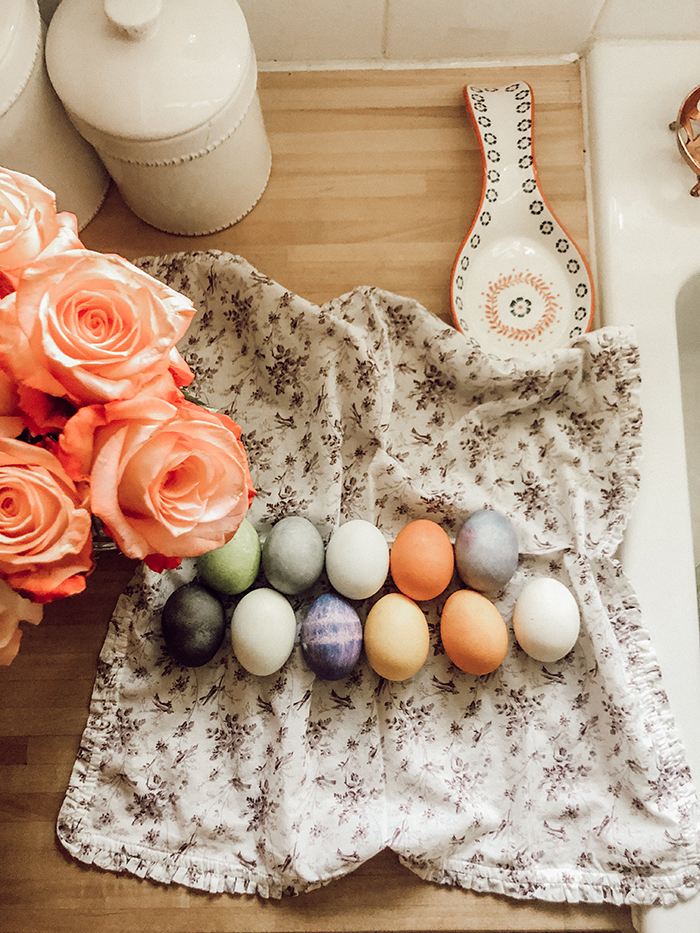
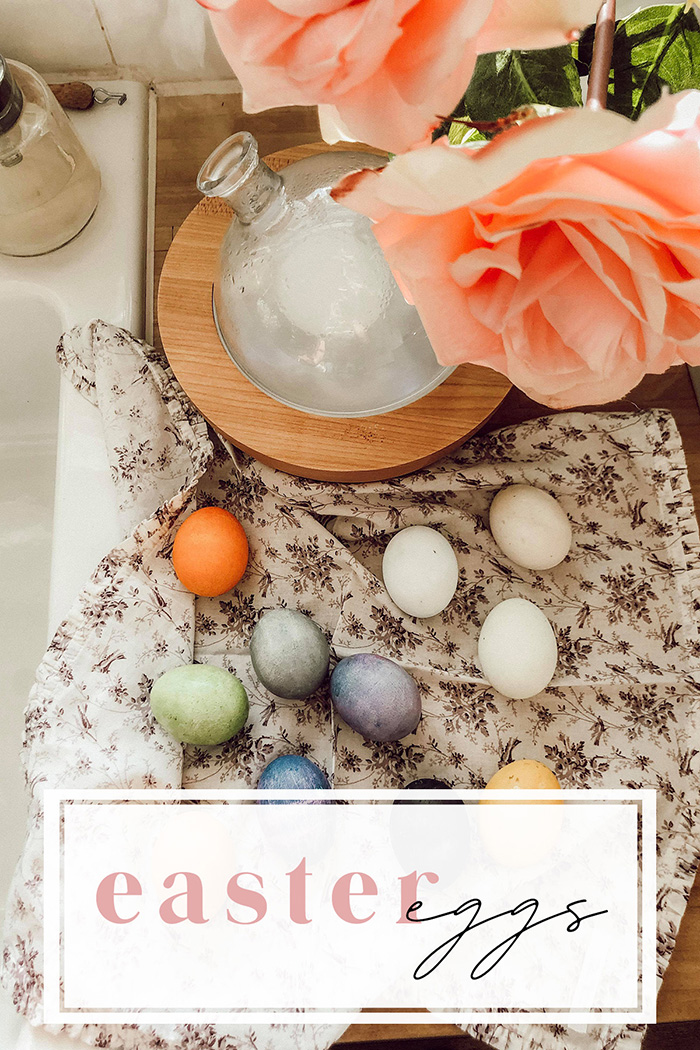
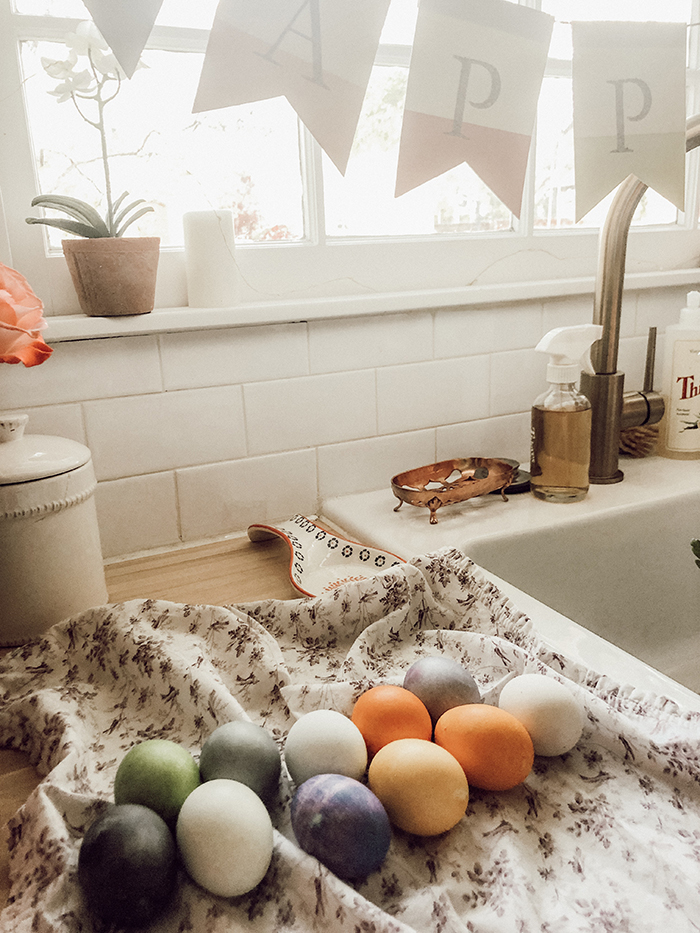
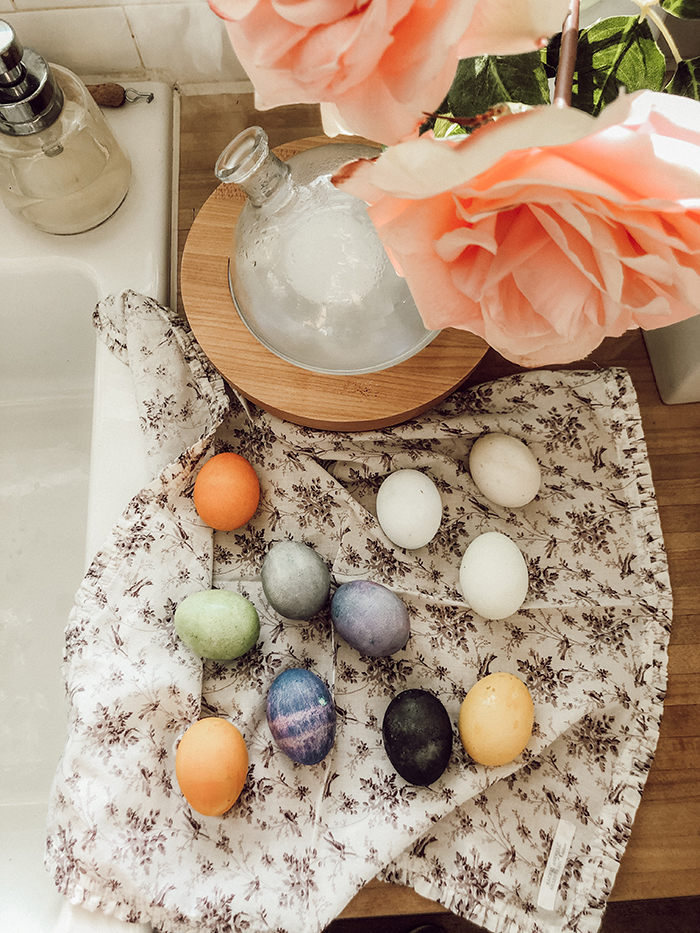
Naturally Dyed Easter Eggs
As we looked into getting toxins out of our home over the last couple of years, we also started looking into dyes that go into our foods. I knew that as I created these special moments with the kids – even things like how we dye our Easter eggs matters!
There are so many beautiful colors found in fruits and vegetables – making your own natural dye isn’t too complicated and can bring so much beauty to your holiday traditions!!
There are so many beautiful colors found in fruits and vegetables – making your own natural dye isn’t too complicated and can bring so much beauty to your holiday traditions!!
Want an easy Natural egg dye kit? HERE is one we tried also!
The process takes a little longer than store bought kits, but it’s such a fun experience for the kids, and a great lesson in patience 😉 I did link above the store bought kits for those of you wanting that instead though!
If you’re a homeschooling mama, this would a great addition to your science lessons!
You’ll need to get your ingredients that create the color.
For pink: two cups of grated beets and two cups of water.
For orange: two cups of yellow onion skins and three cups of water.
For yellow: a tablespoon of tumeric and two cups of water.
For greenish blue: hibiscus tea, steeped extra strong.

To create the colorful dye, add the ingredients for each to separate pots. Let them simmer anywhere from 15-45 minutes. The longer you let the color develop, the richer it’ll be! Remove from heat and let cool to room temp. Add a tablespoon of white vinegar to each mixture and you’re ready to dye your eggs! (This is a great time to diffuse some Purification because those ingredients are pretty strong smelling!)
Once your eggs are hardboiled and cooled, add them to the colors of your choice. You can let them sit for a couple of hours, or overnight for the deepest hues.
Have fun creating sweet memories with your little ones, and learning something about nature all along the way! A rainbow straight from all natural ingredients is such a beautiful thing!
Two posts I loved on Natural dyed Easter eggs you should check out, here & here!
Help with our gorgeous eggs HERE
Help with our gorgeous eggs HERE


View Comments +
+ Add A Comment